


Rib protectors are commonly found on the upper treble bout rib on violins and cellos. This rib ends up getting more contact with skin because players are touching the rib wile shifting into higher positions. The acidity, natural oils, and sweat wear away the varnish and begin to discolor the wood. Unless you want the upper bout of your violin to look like Willy Nelson’s guitar, I would recommend installing a rib protector.

Ok, Willie Nelson’s guitar is a rather extreme example, but you get the idea.
MATERIALS AND TOOLS
Clear Contact Paper
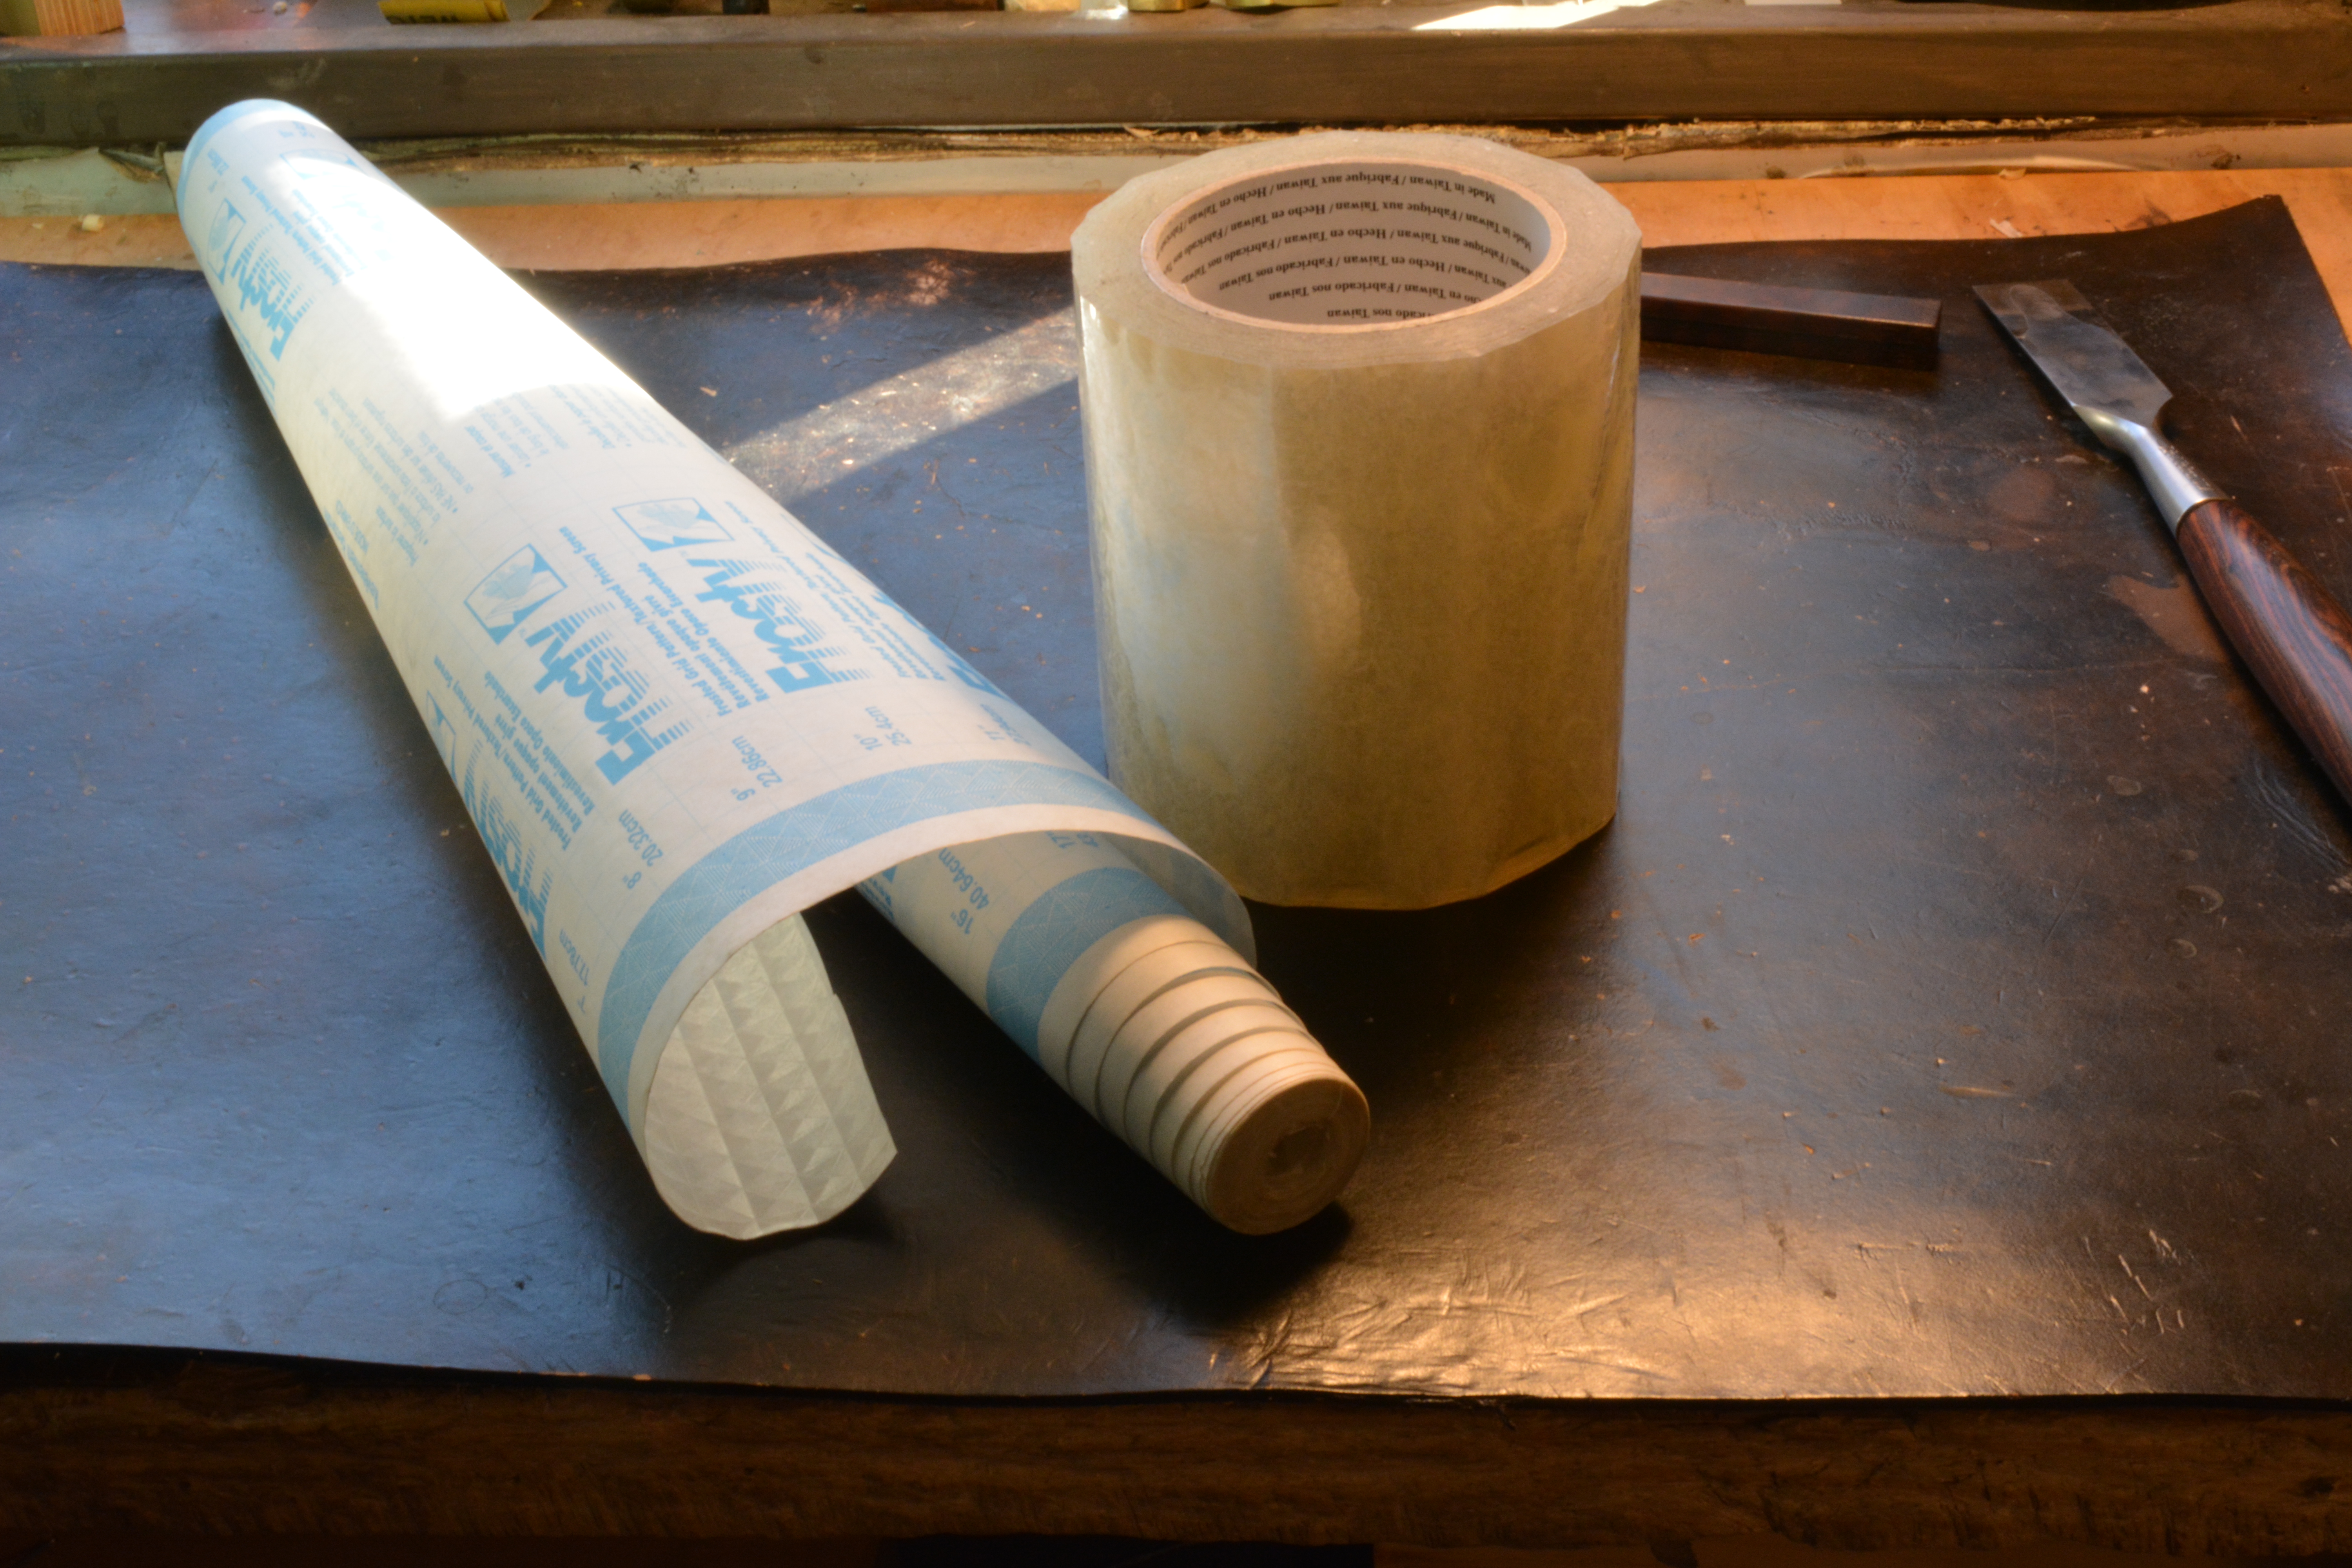
A wide roll of thin Packing Tape, we use 3M Tartan 3765 tape
Masking Tape
Mineral Spirits
1 Tooth Pick Sharpened into a Spatula
Sharp Scissors
Ruler
Pencil
Measuring Tape
Contact Paper
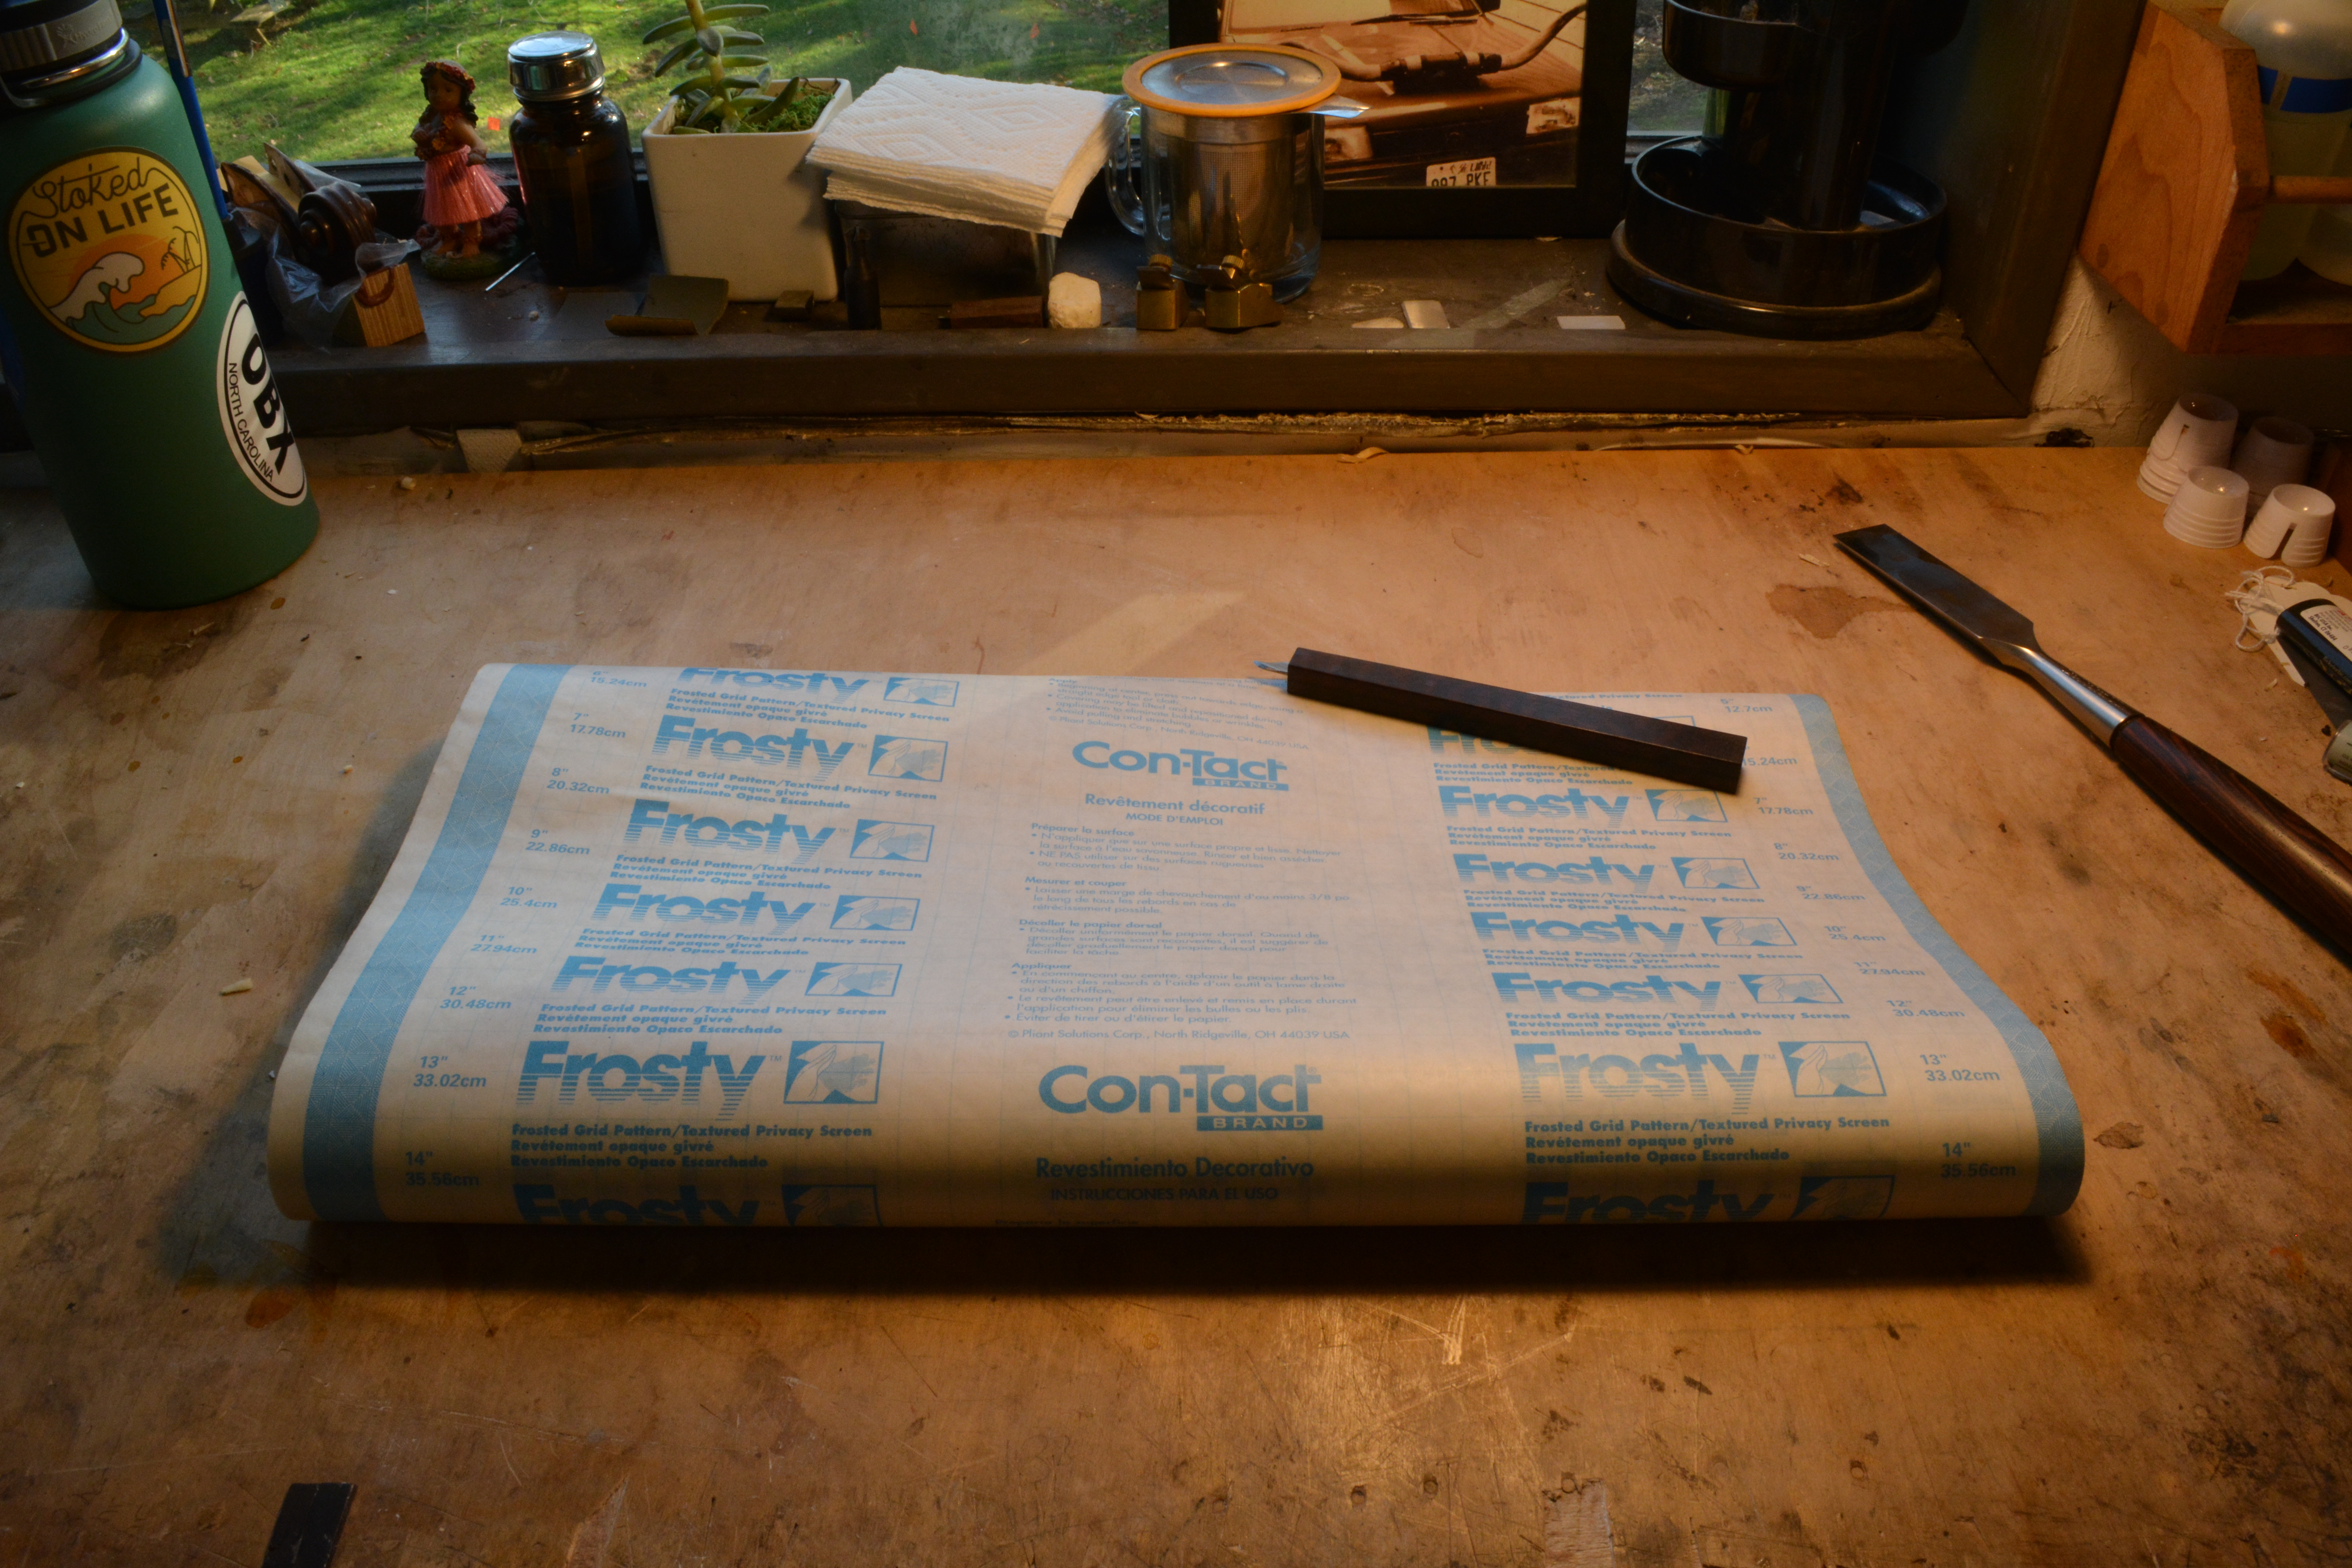
I’m sure you’re asking,”What is contact paper?” and,”Why would you need contact paper to do a rib protector?” Contact paper is used to line cabinets in your kitchen and bathroom. For this process we are actually just using the backing from the contact paper, and throwing the contact paper in the trash can. The backing is designed to keep the contact paper attached, and allow the contact paper to release easily. For this reason the backing for the contact is ideal for our purposes. It most likely doesn’t matter what kind of contact paper you get, but we use clear contact paper.

Packing Tape

I’m sure there are many other materials that make excellent rib protectors, but we have found the Tartan 3765 packing tape to work well for us. It’s very thin, and it’s easy to release the adhesive when you need to remove it. It also comes in large rolls that are around the same width as a cello rib.
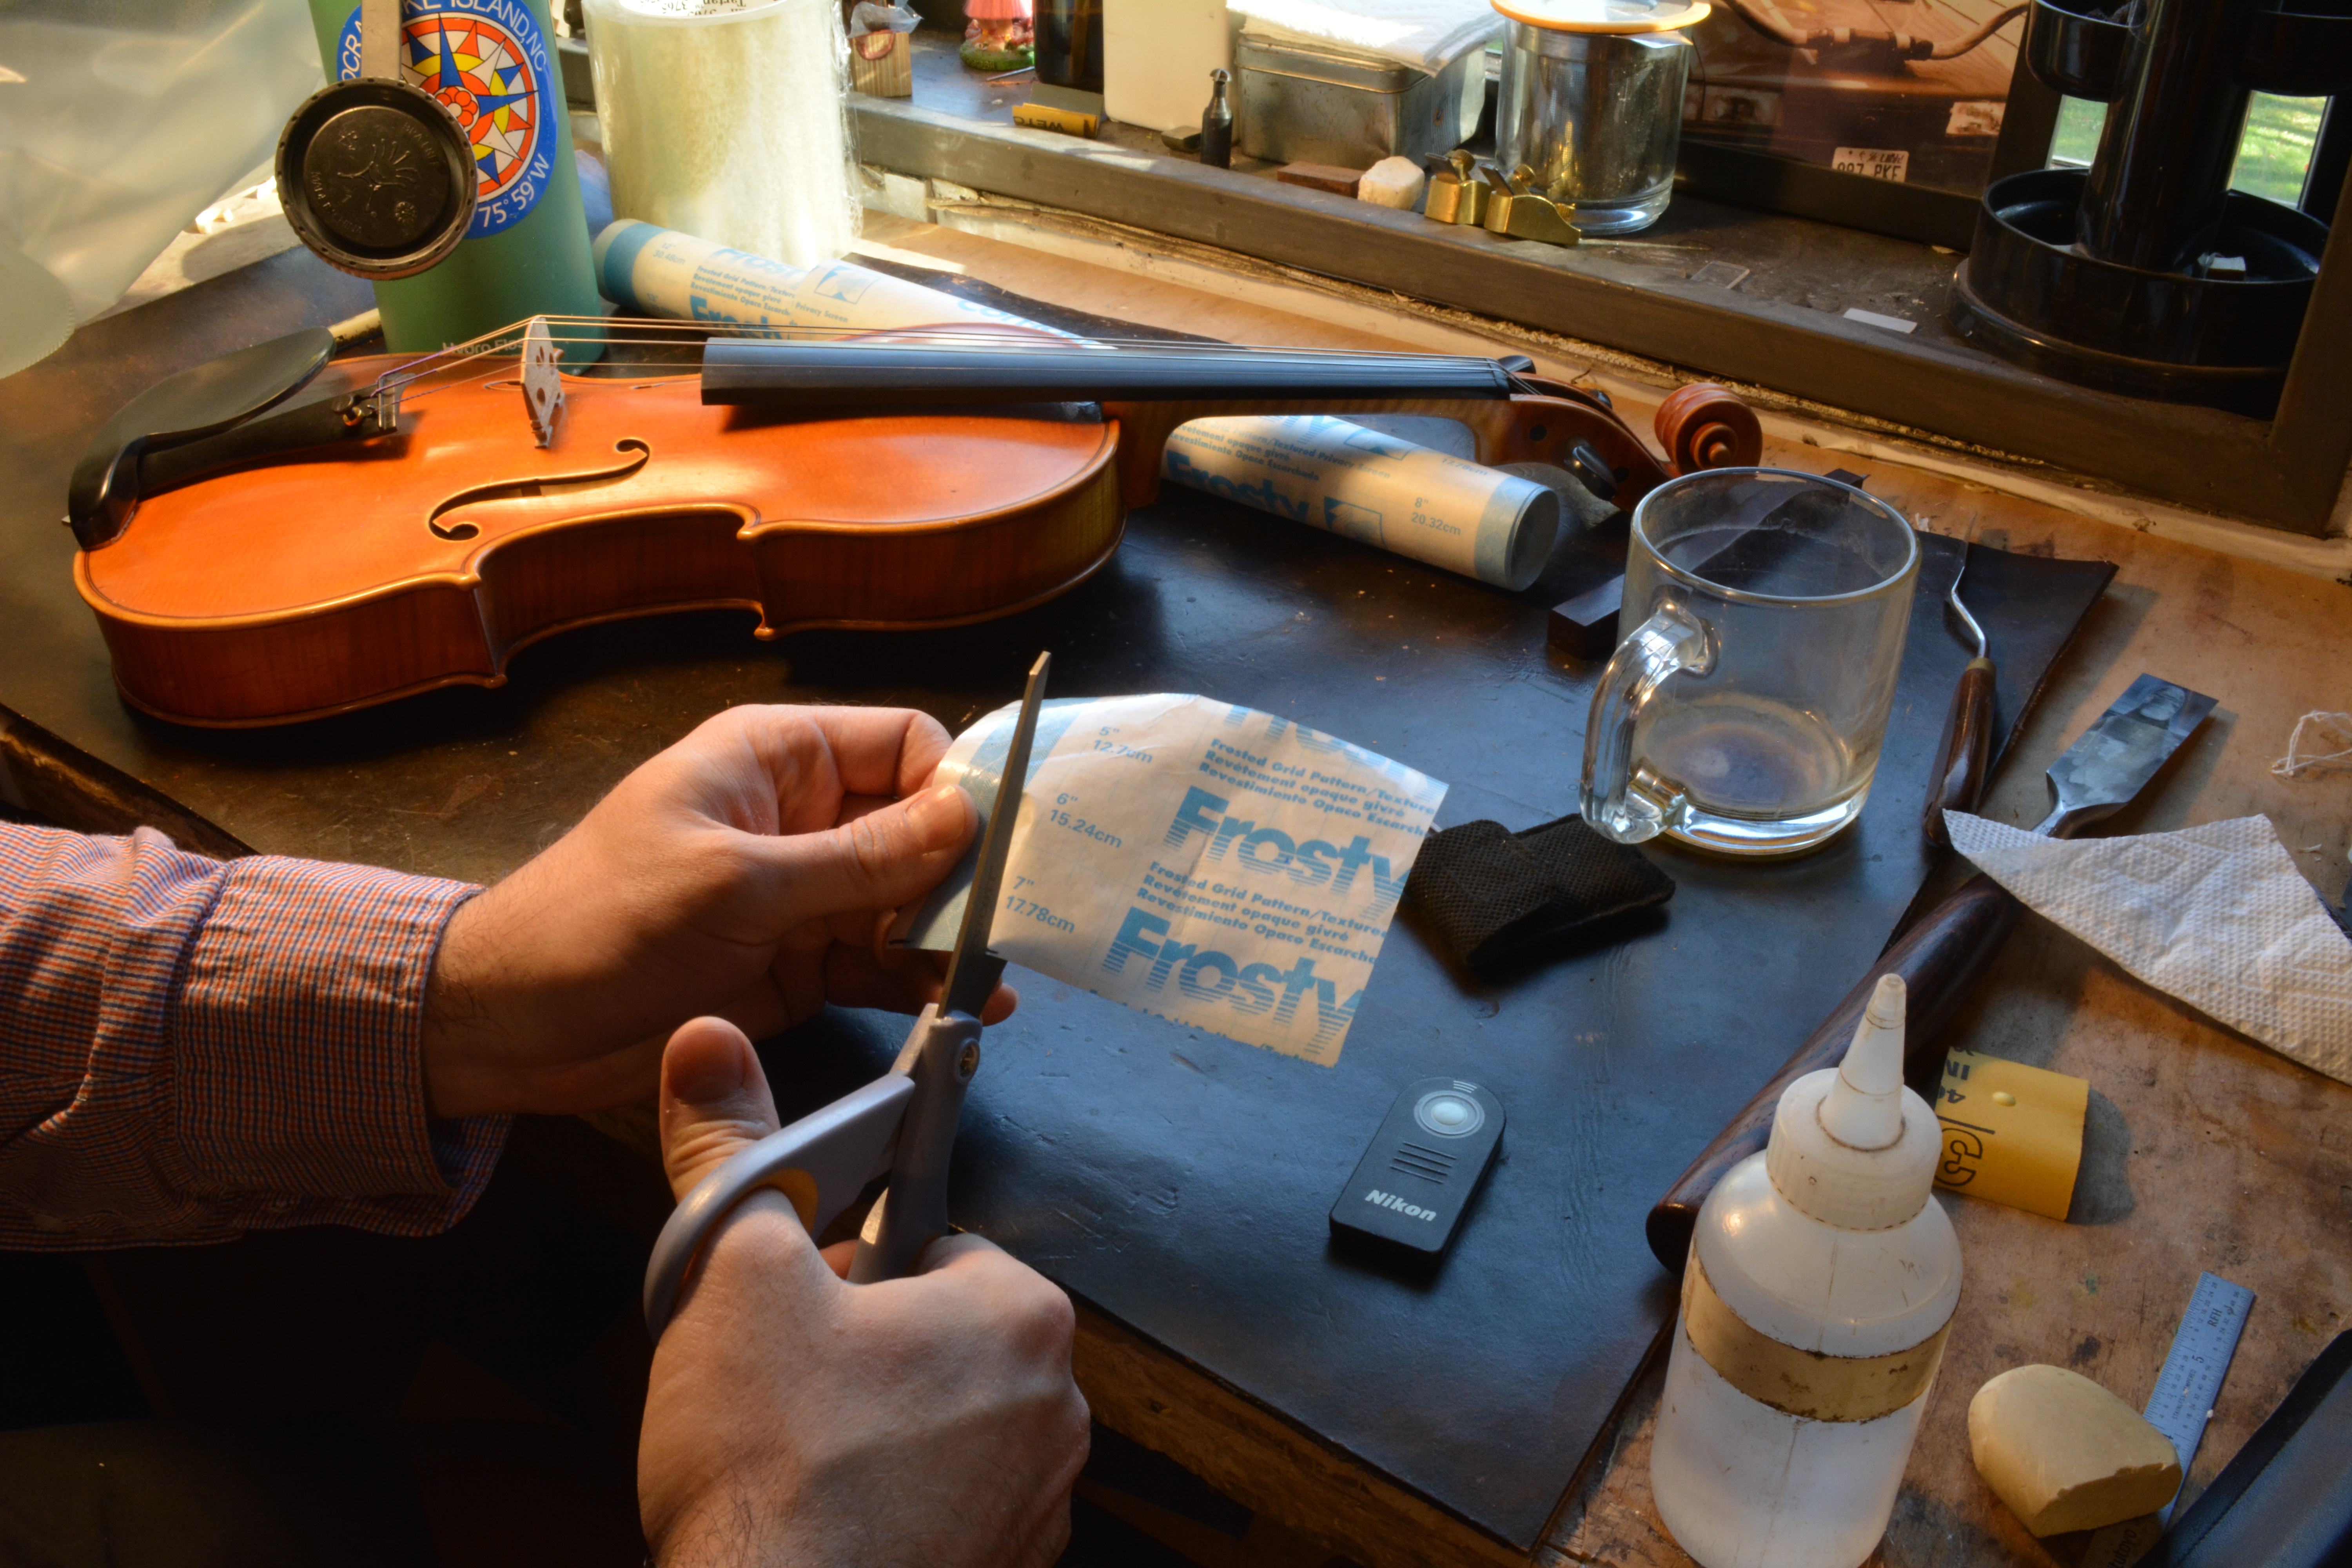
To start the process, you need for figure out how big the rib protector needs to be. You could cover the entire rib from the neck block to the corner block, but I usually only cover the area that is worn all the way up to the neck heel.
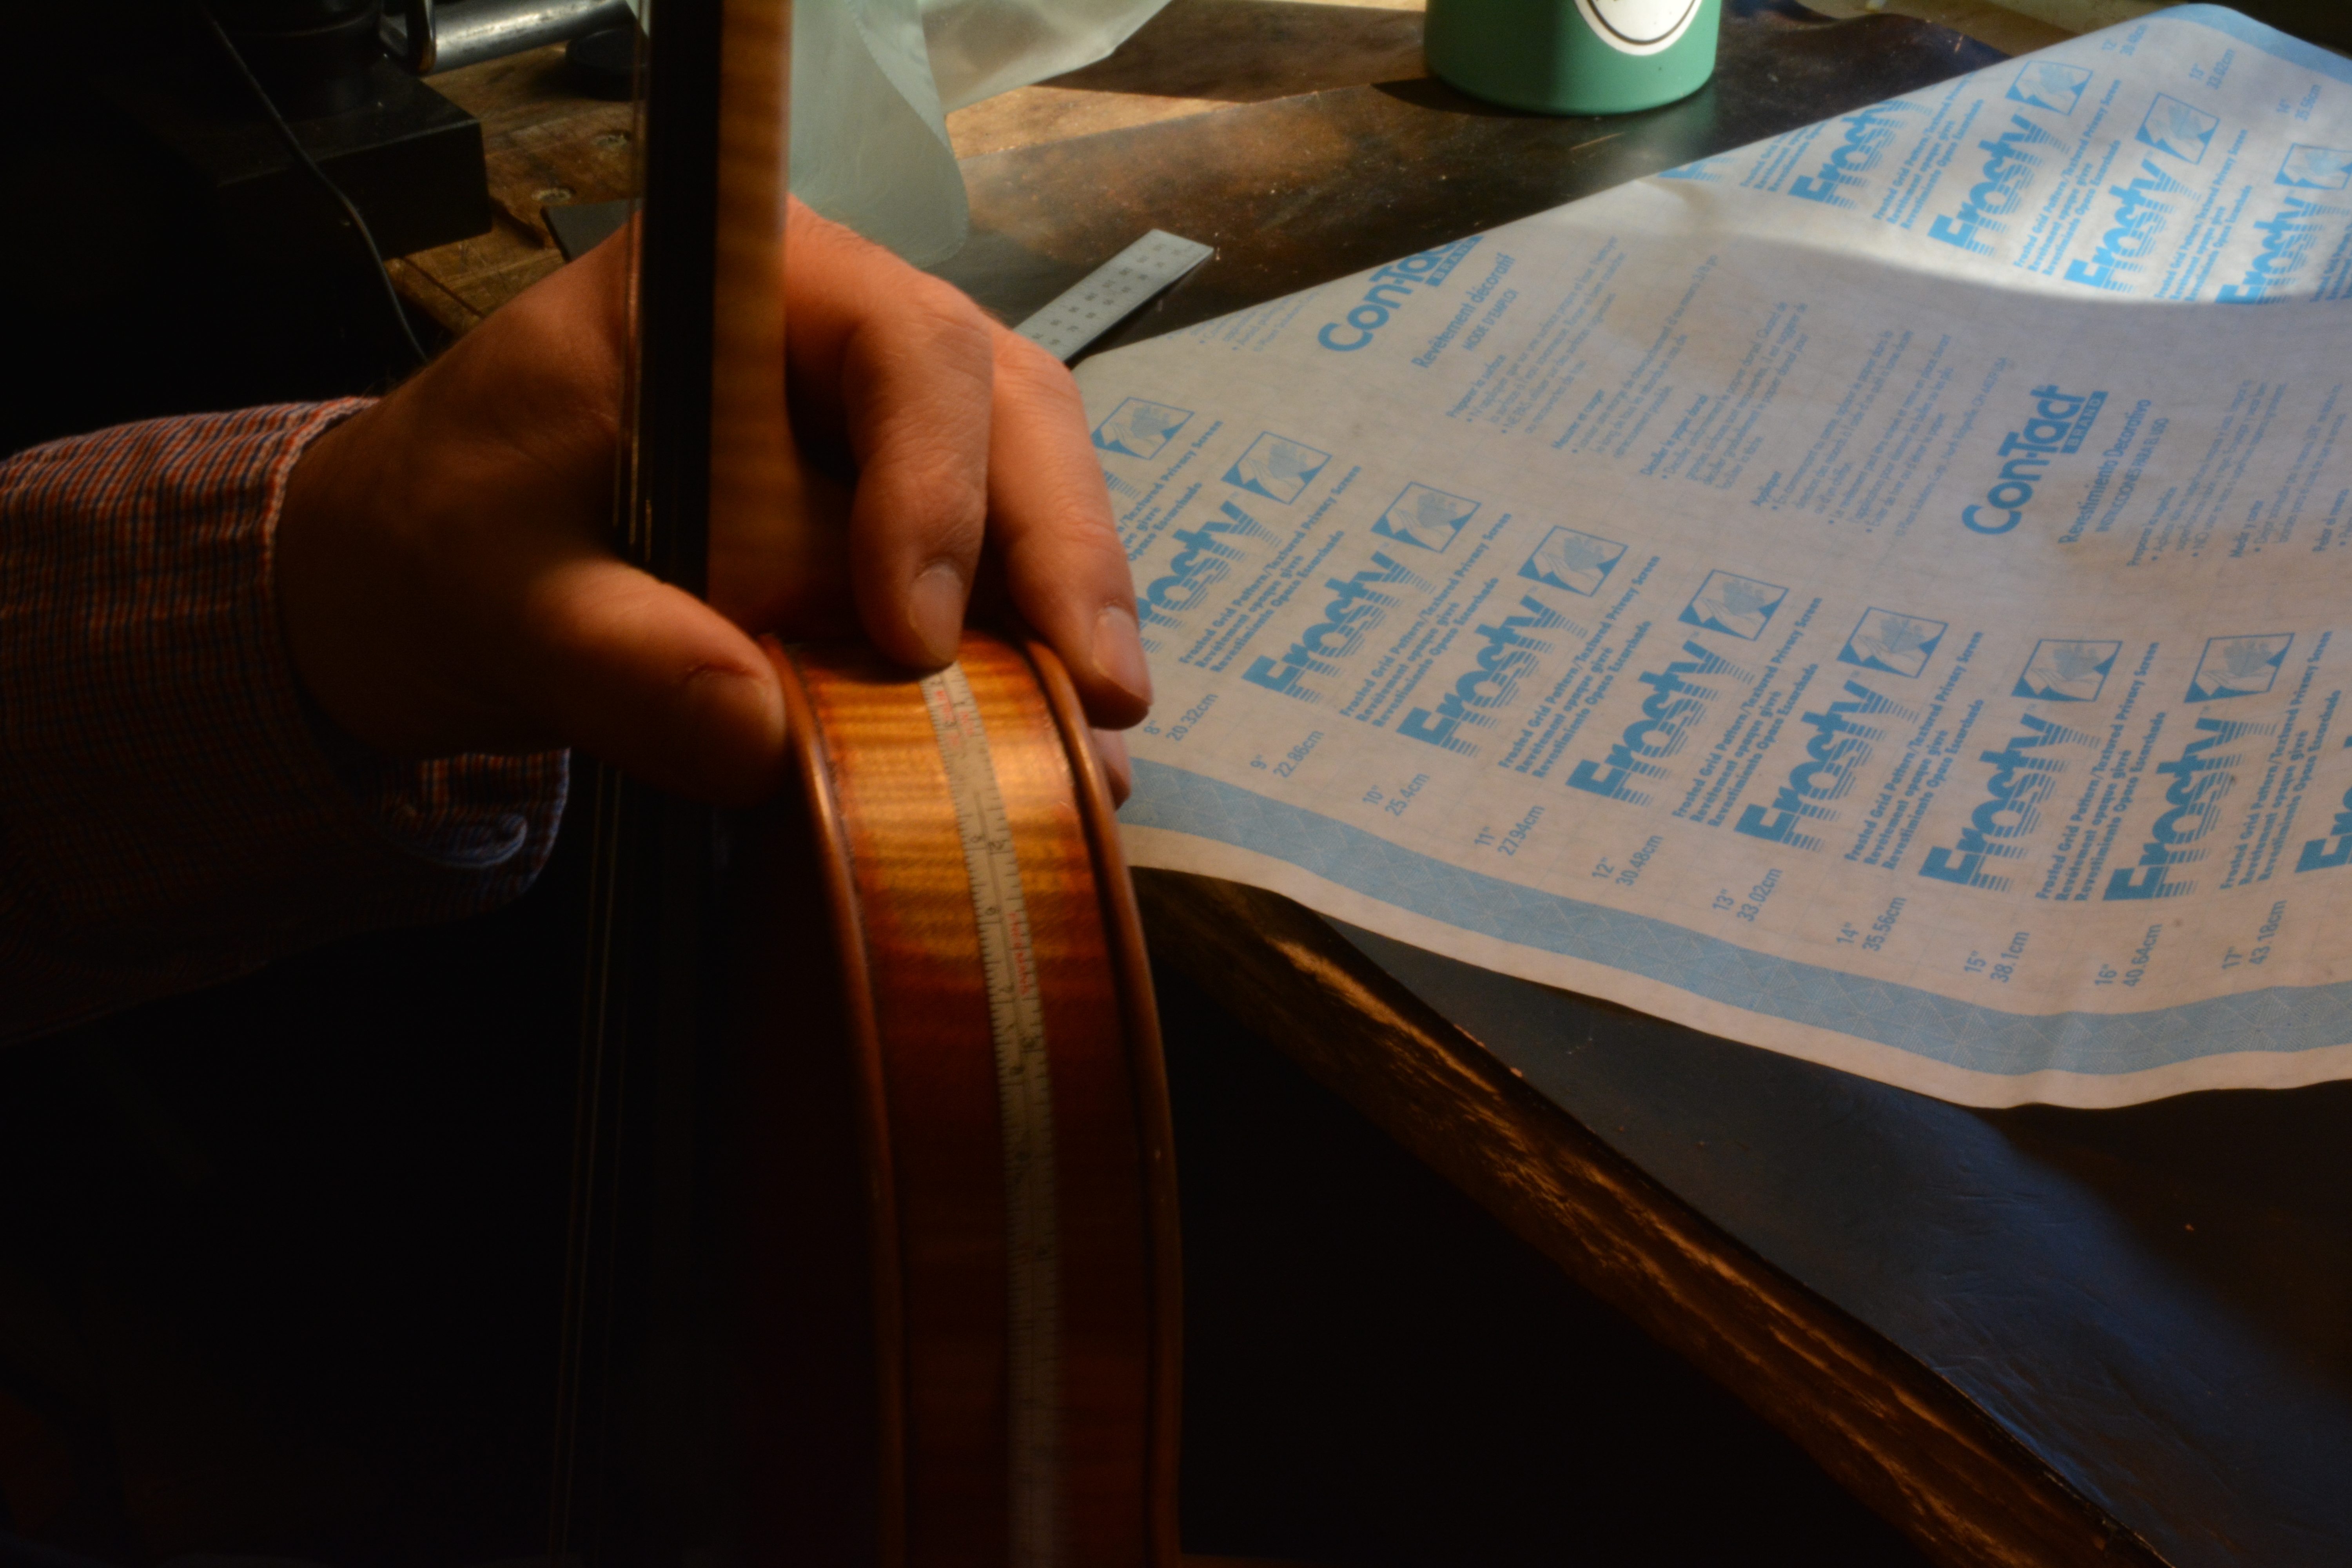
Then, I mark out the length I want on the contact paper leaving a little extra length and width to play with. Having extra material is important because we will be trimming this piece to match certain angles, and will end up being smaller.
Cut it out!
Not the dad jokes! The rib protector!
Remove the contact Paper
Throw it away! It’s useless!
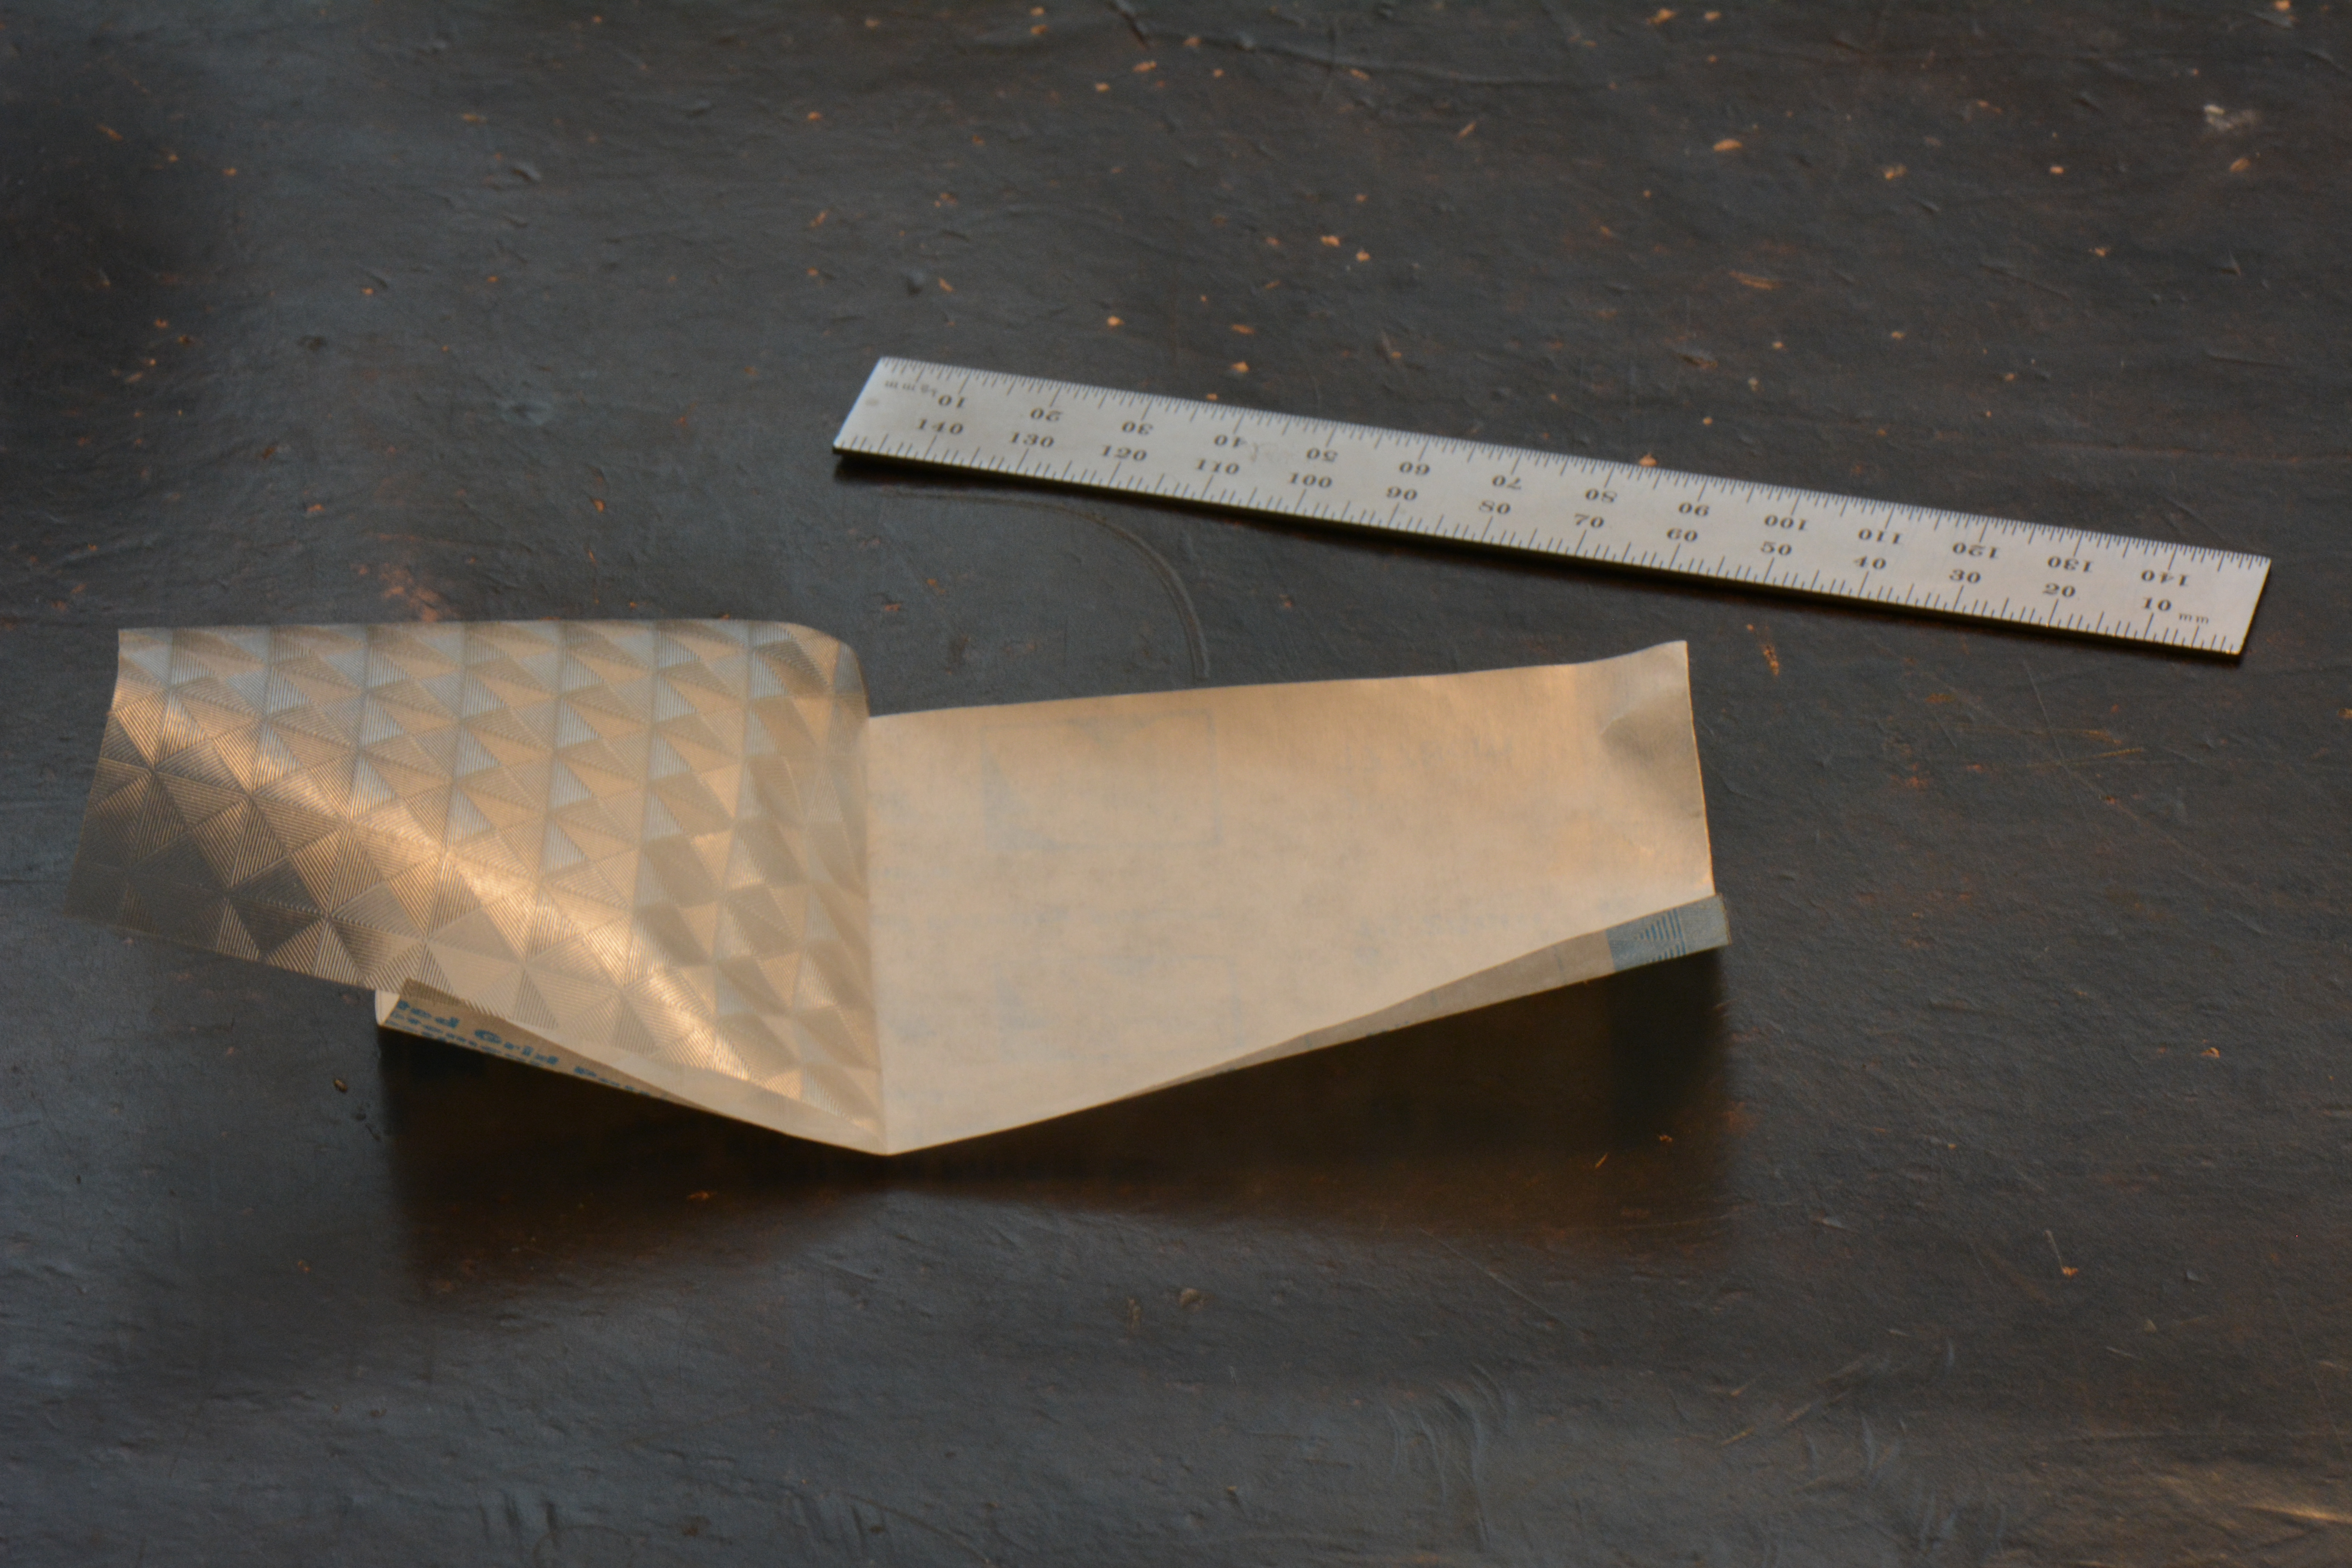
Apply the contact paper to the sticky side of the tape. This works best if you apply the tape to the side of the backing that the contact paper was on.

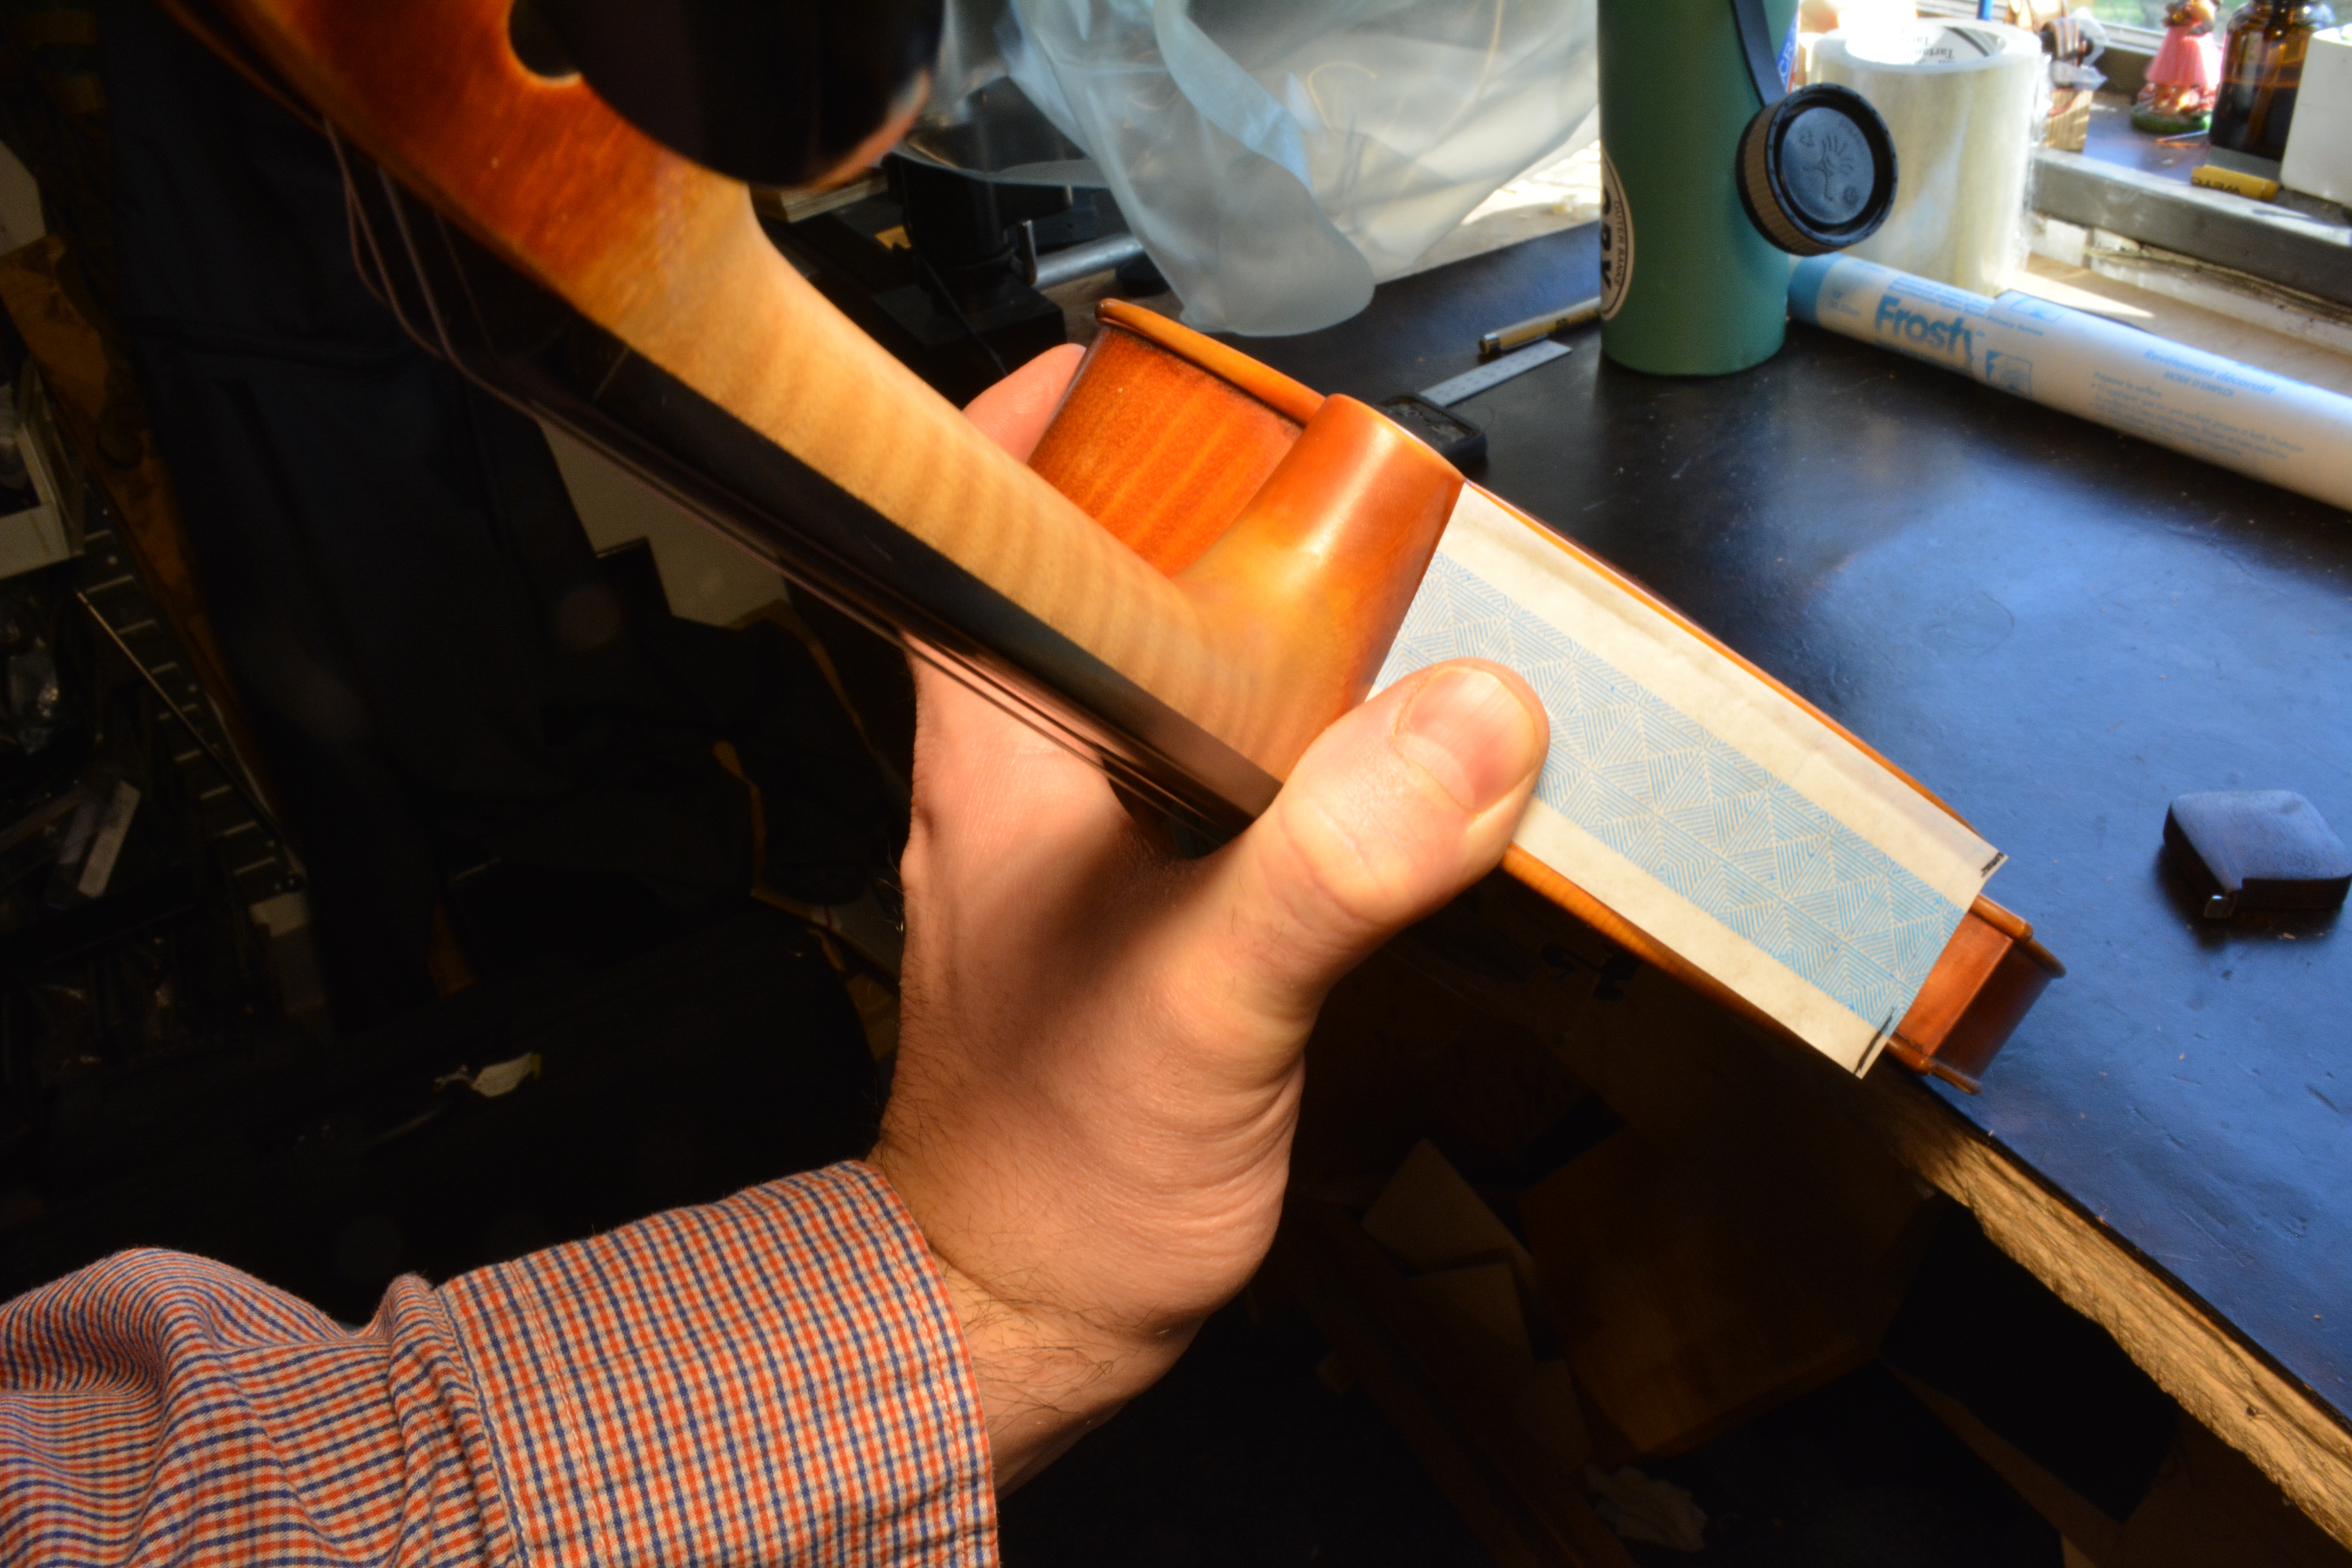
Matching the angles

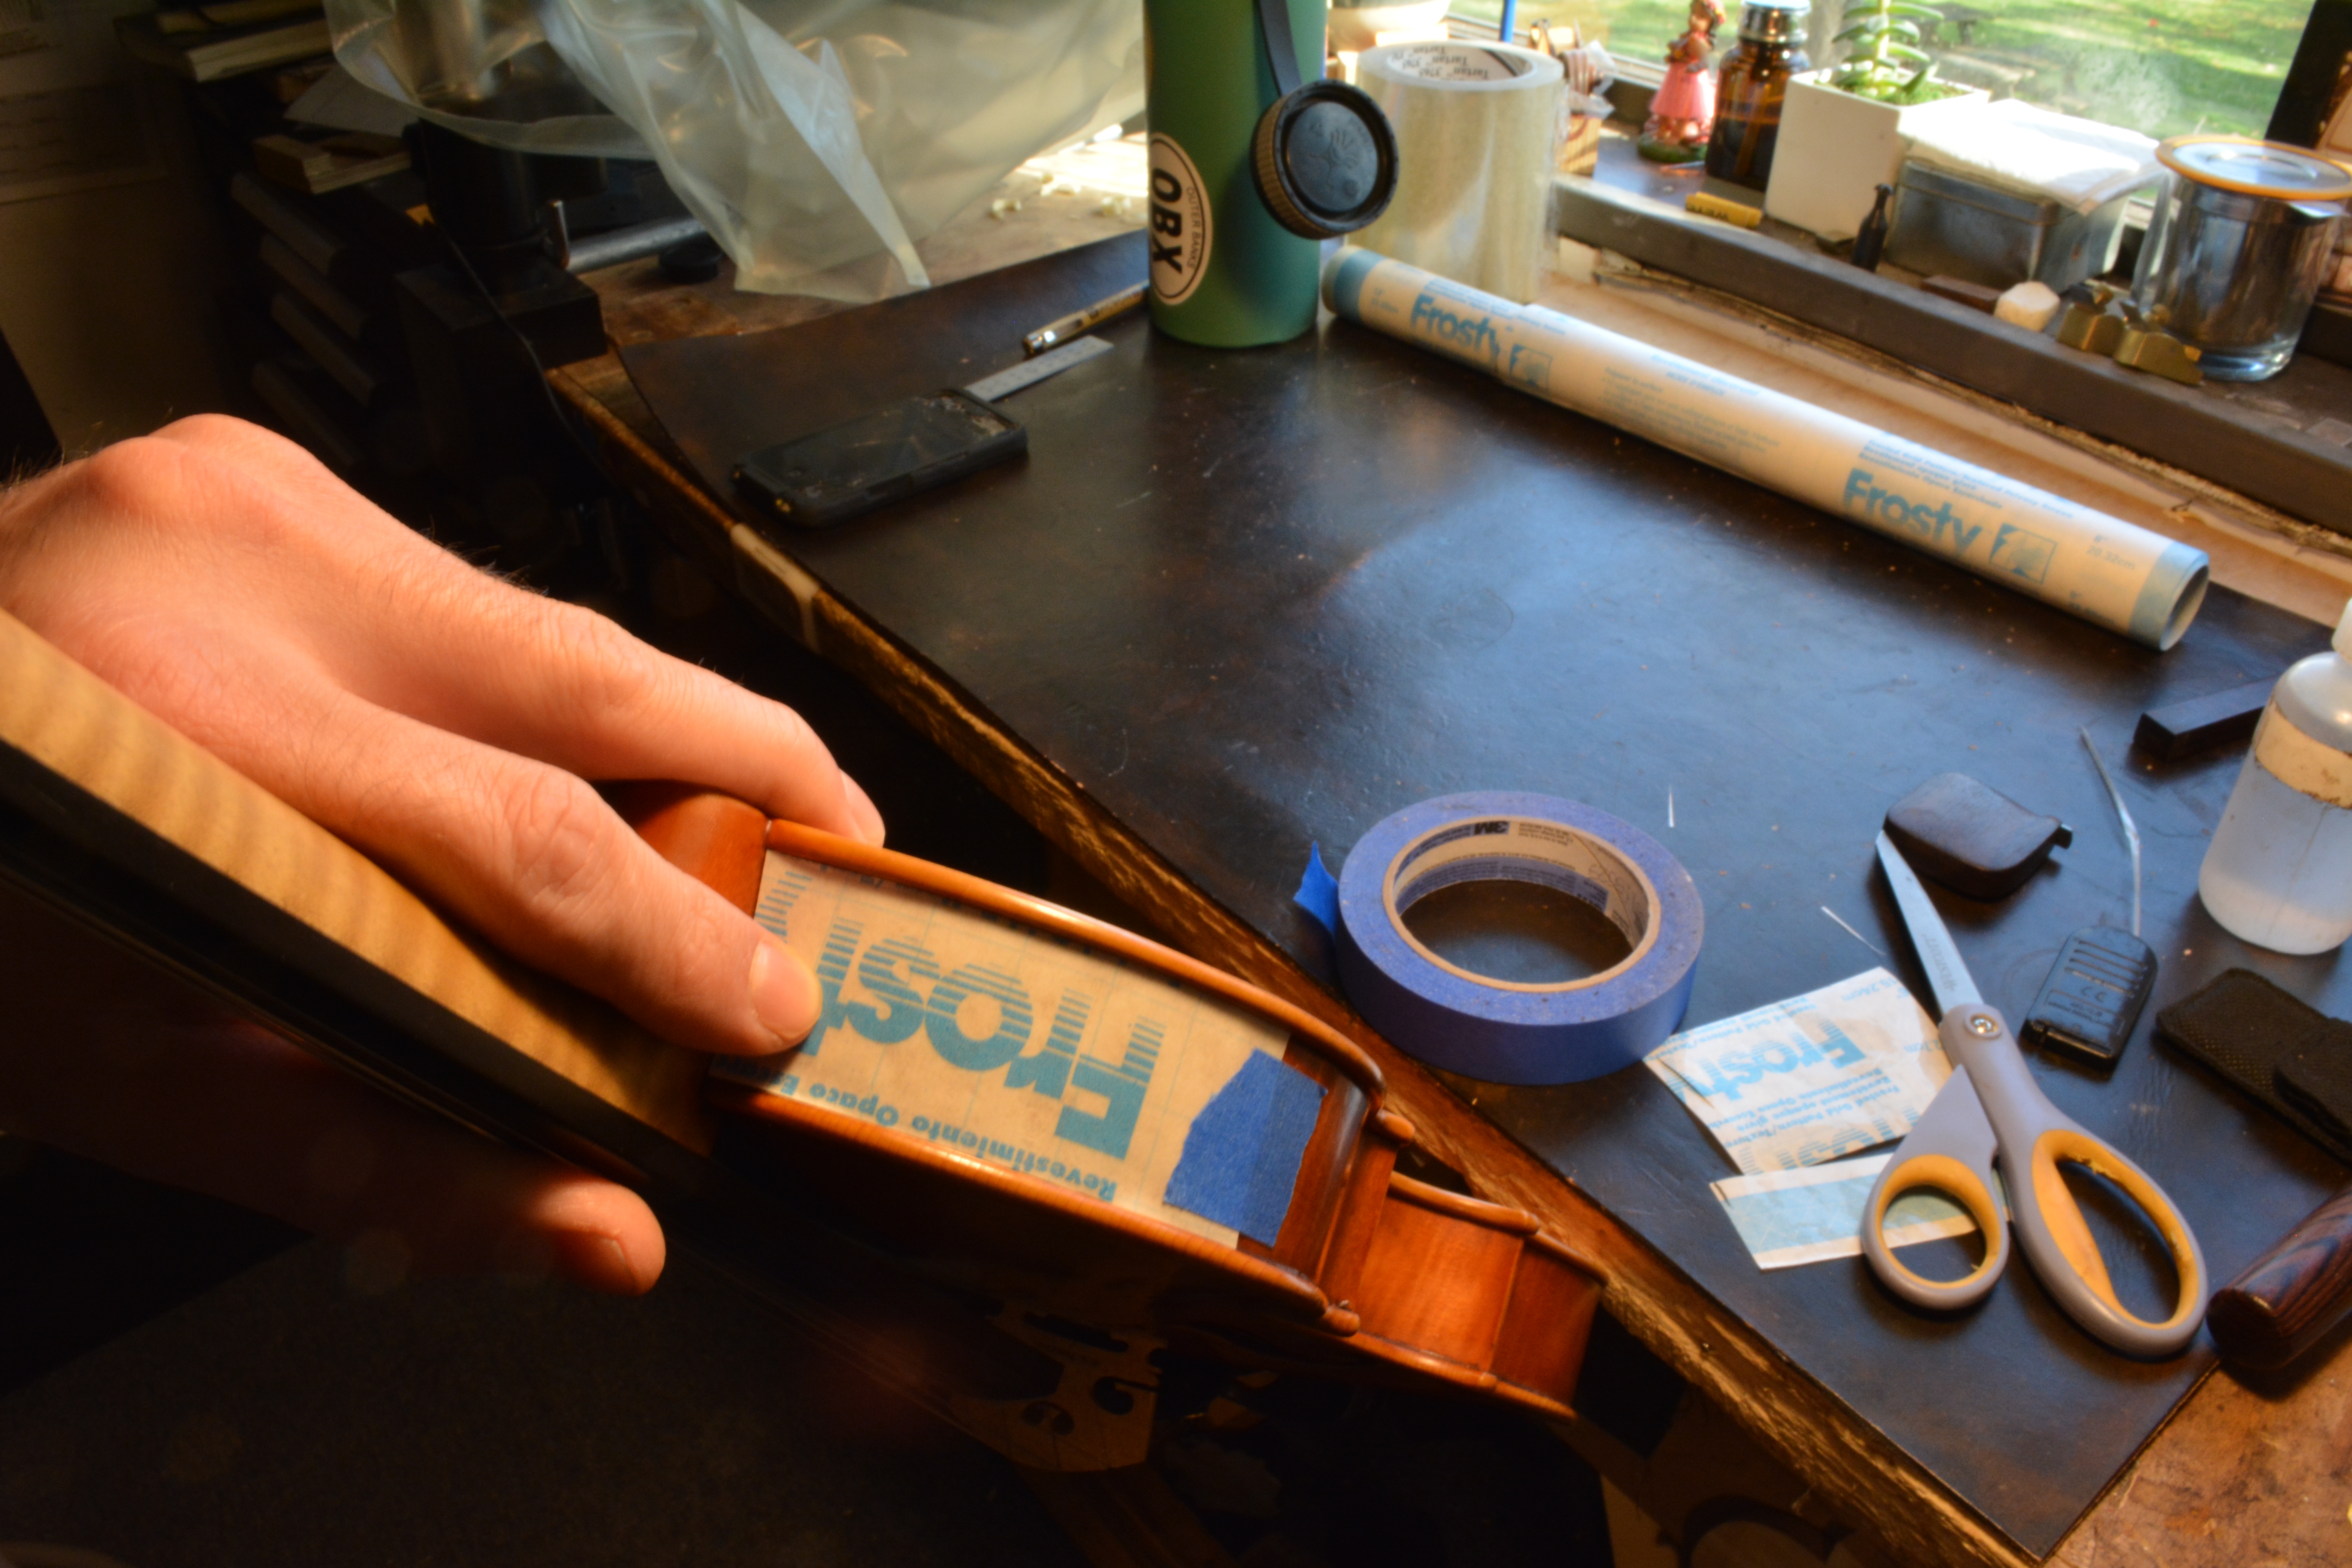
Here you can see the over sized piece of contact paper backing with the clear tape on top. I’m holding it up to the rib so I can eyeball the angle that i need to fit at the neck heel. When I do this I like to line the contact paper backing up on the inside top edge. That way the angle I cut will be accurate when I apply it to the instrument.
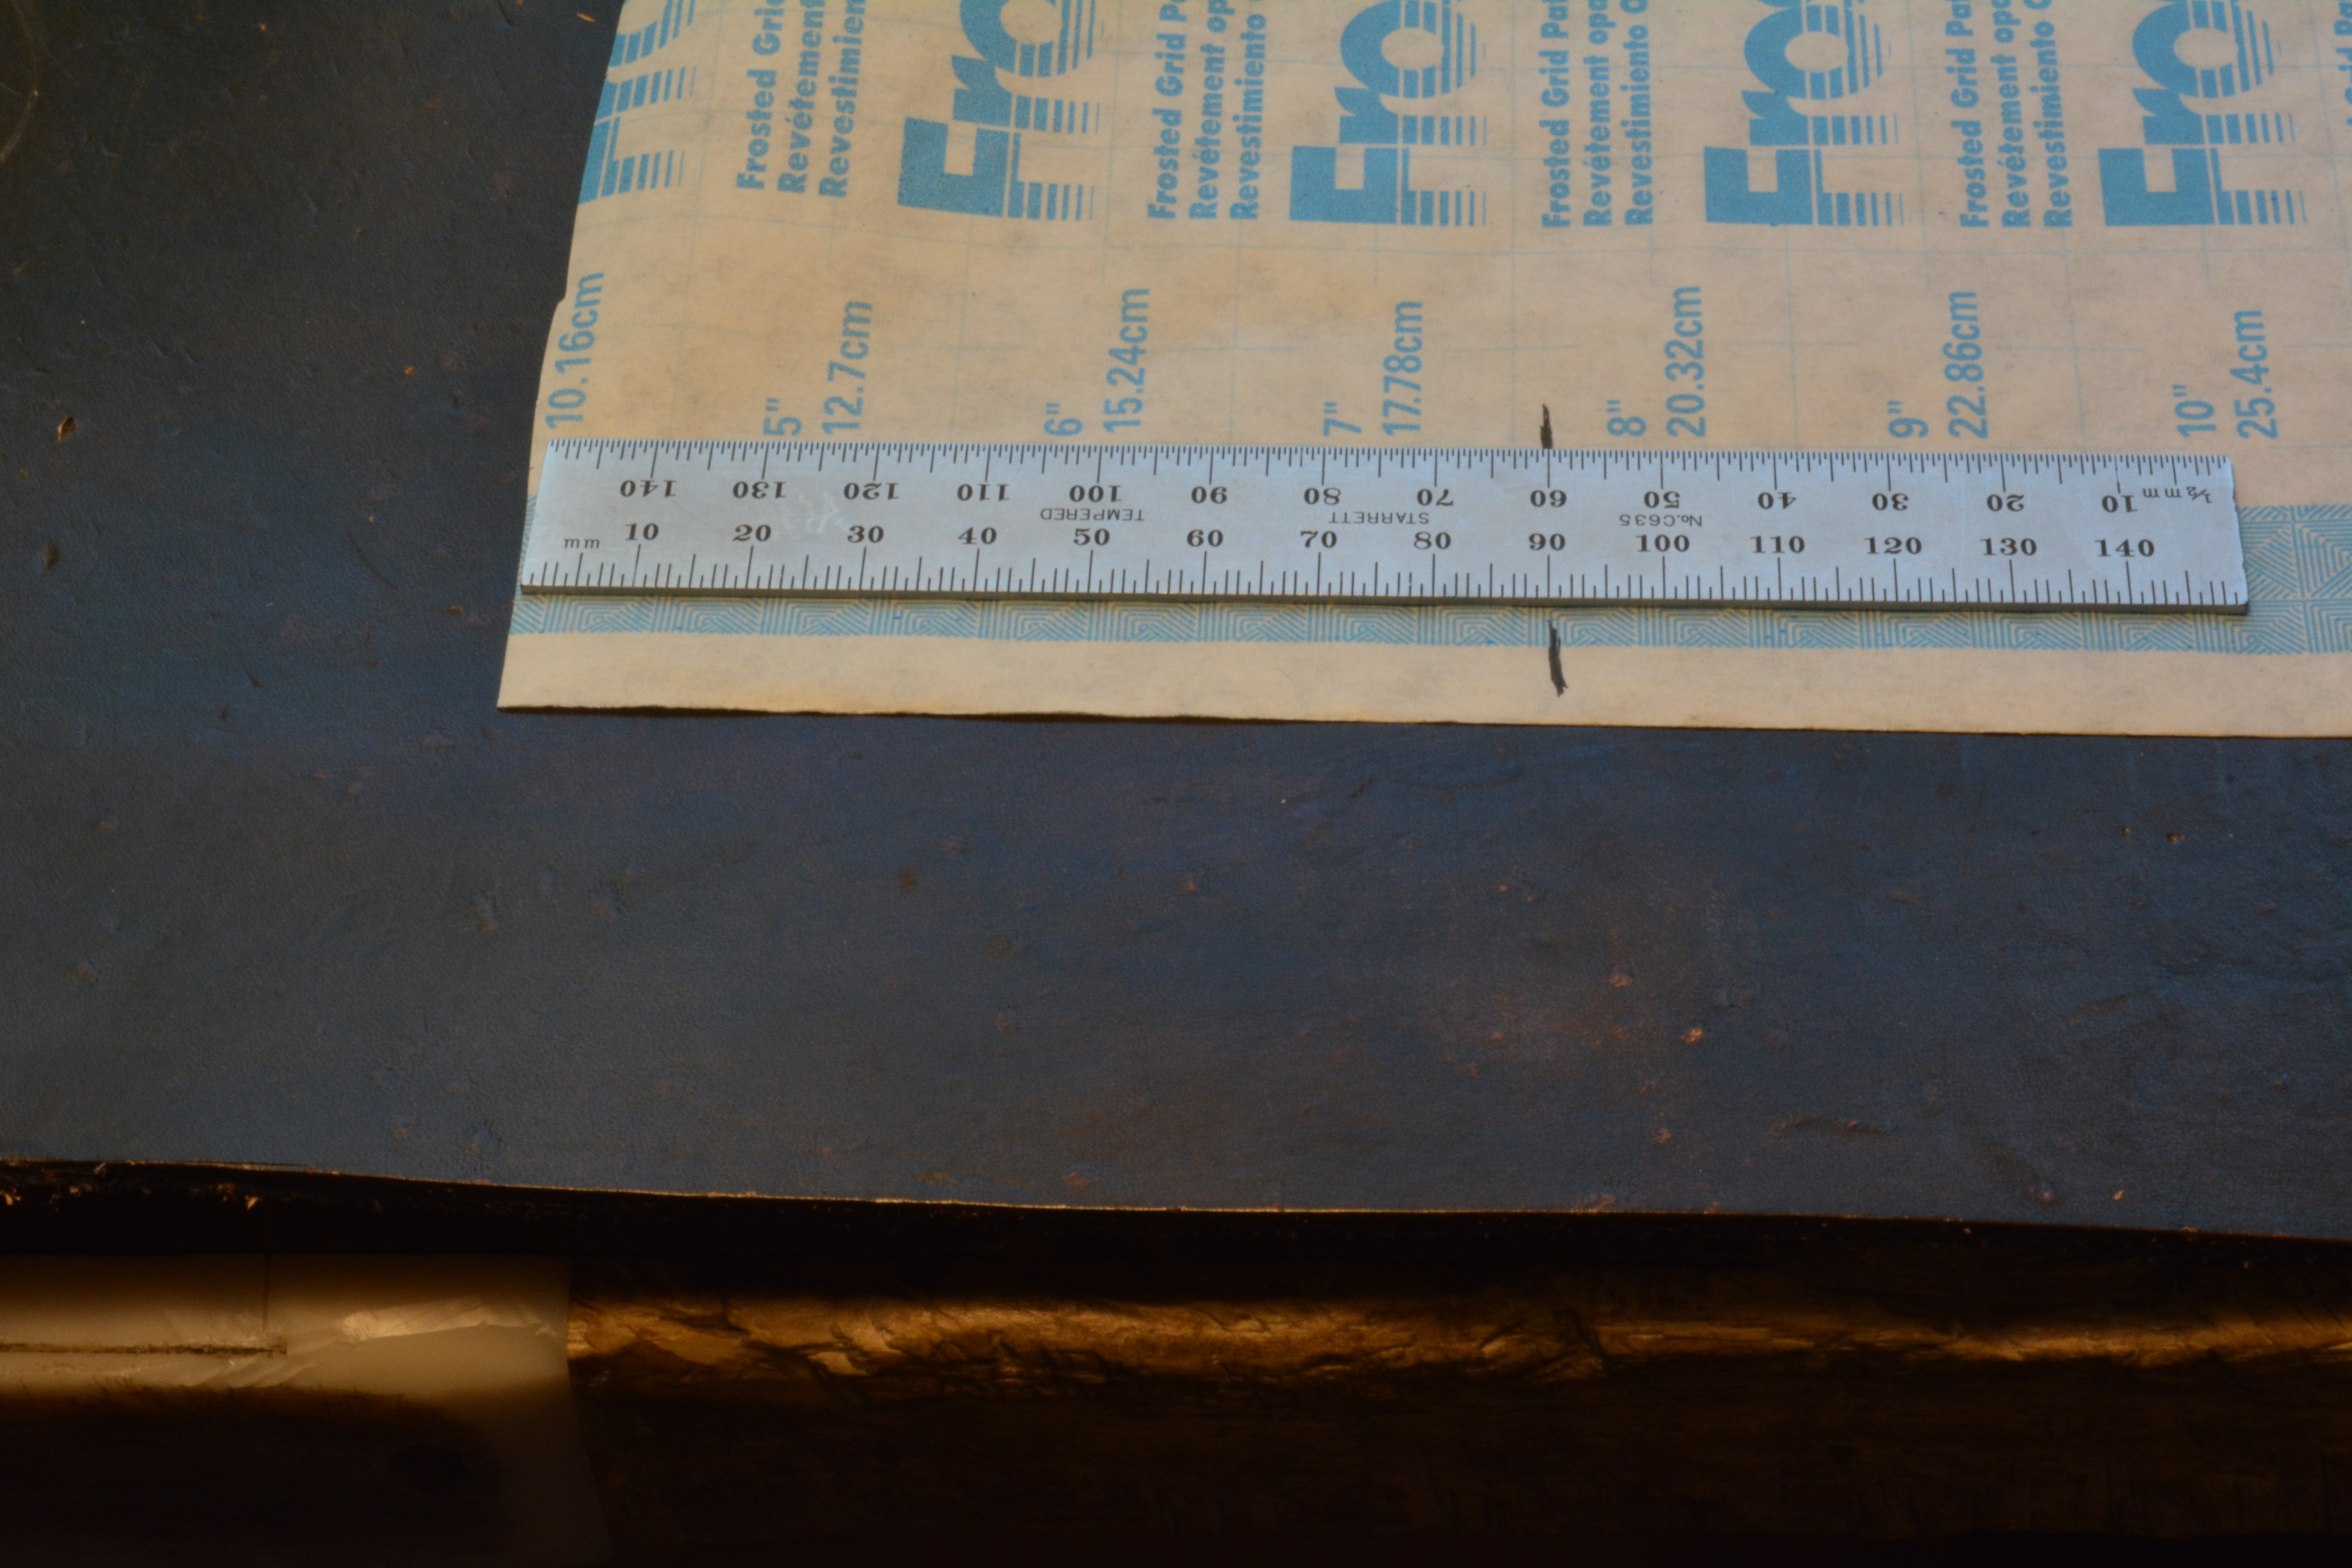
After the angle is cut, I once again hold the contact paper backing to the inside top edge, and make a “fold” where the inside back edge will be cut to with my index finger. I usually cut just outside of this this fold.
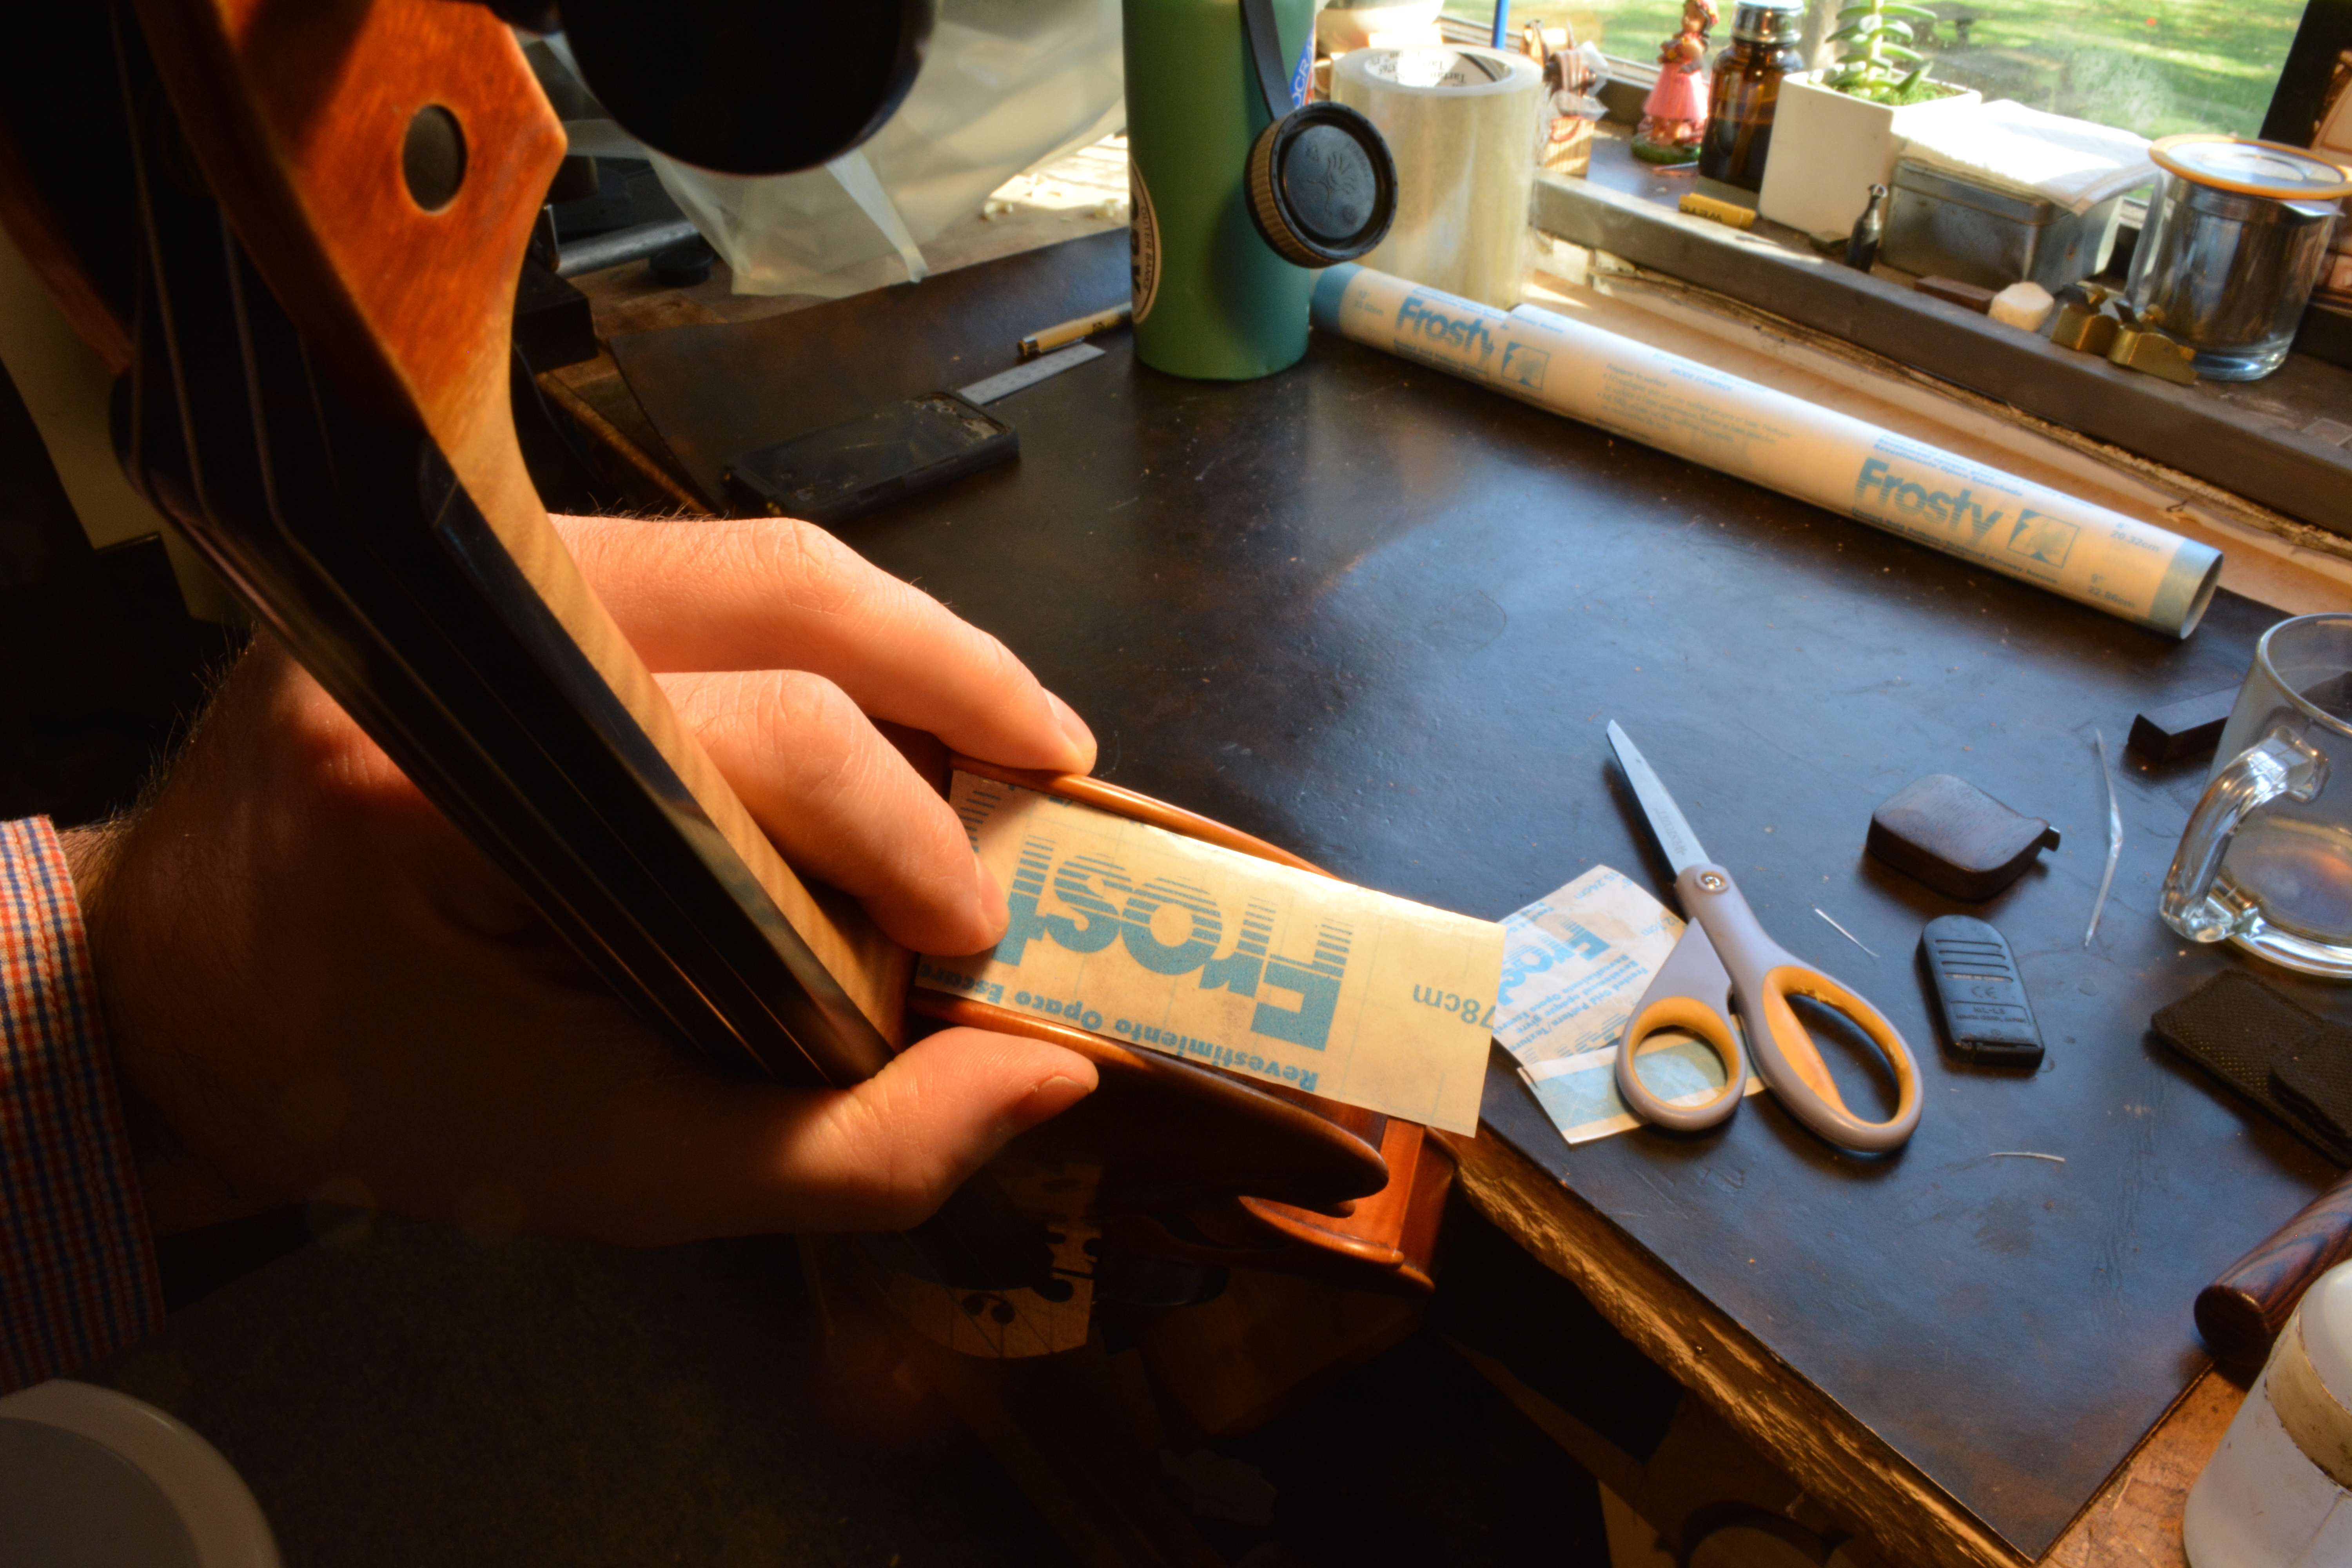
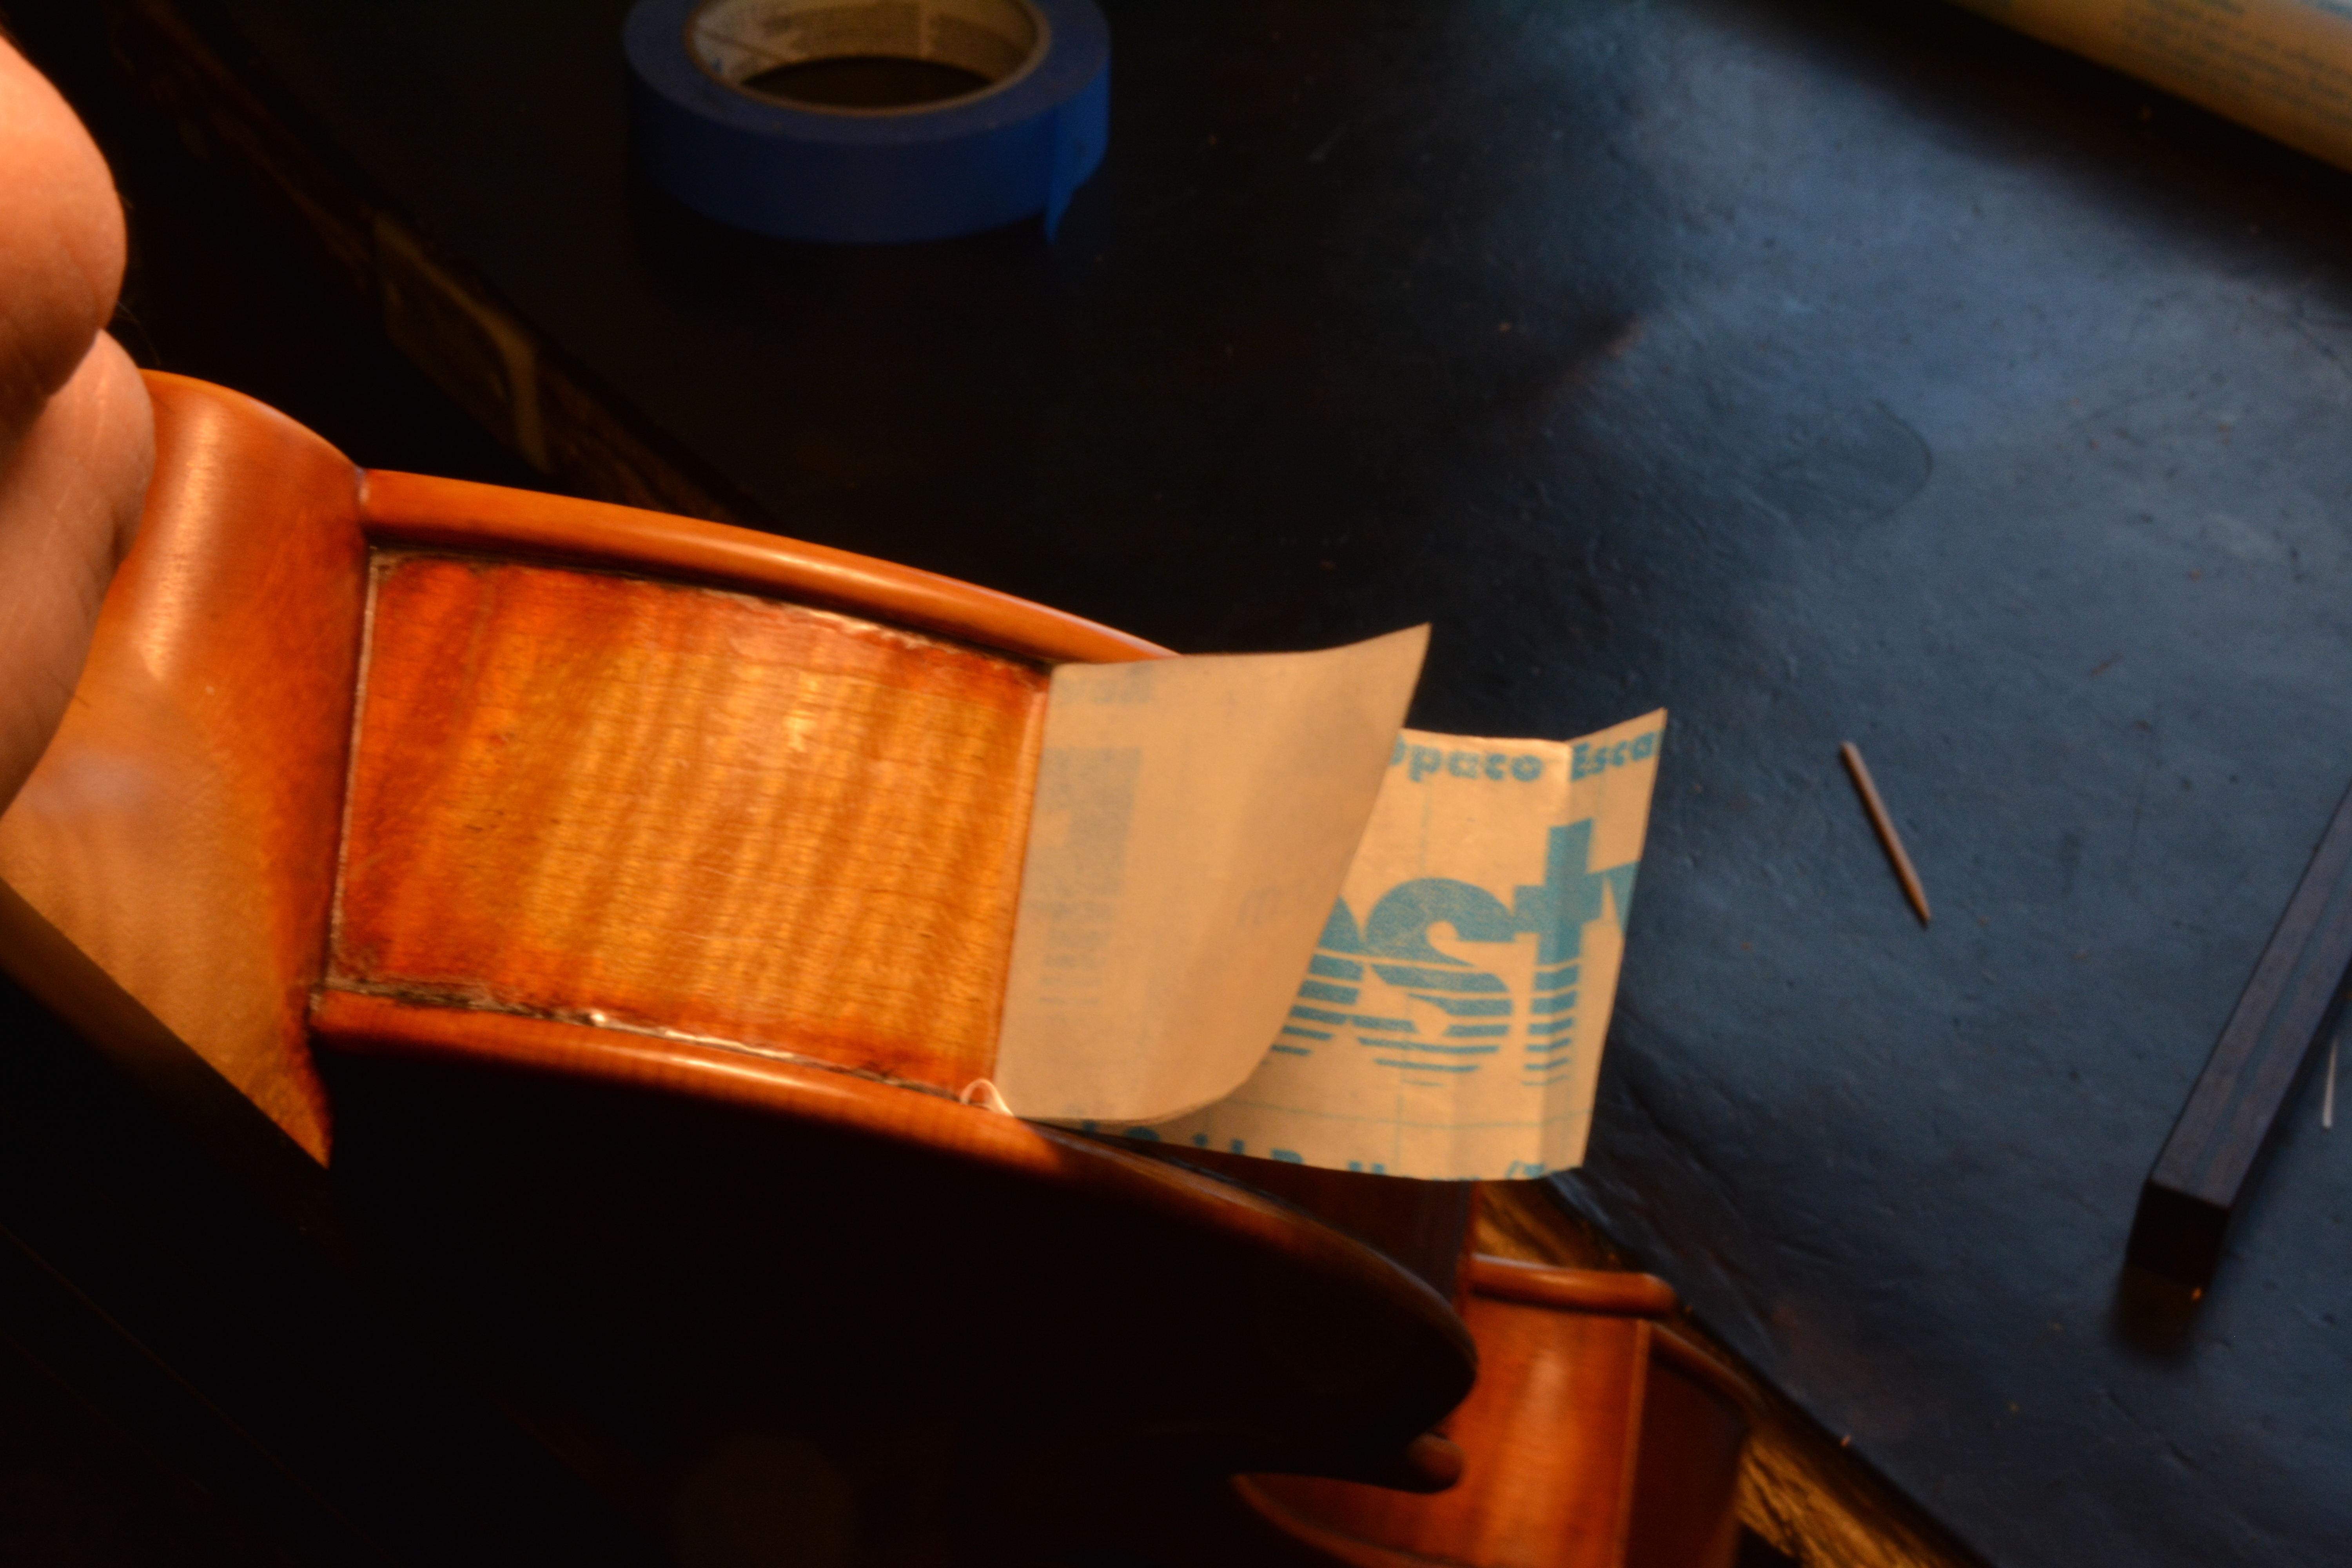
Then, I hold everything in place taking care to line up the angle at the neck heel. When cutting the tape to the width of the rib, keep in mind that this line may not be flat. Take care to actually fit the tape to the inside edge of the rib instead of cutting a straight flat line.
Applying the Tape to the Rib
With everything lined up, I use masking tape to hold down the furthest edge of the contact paper.
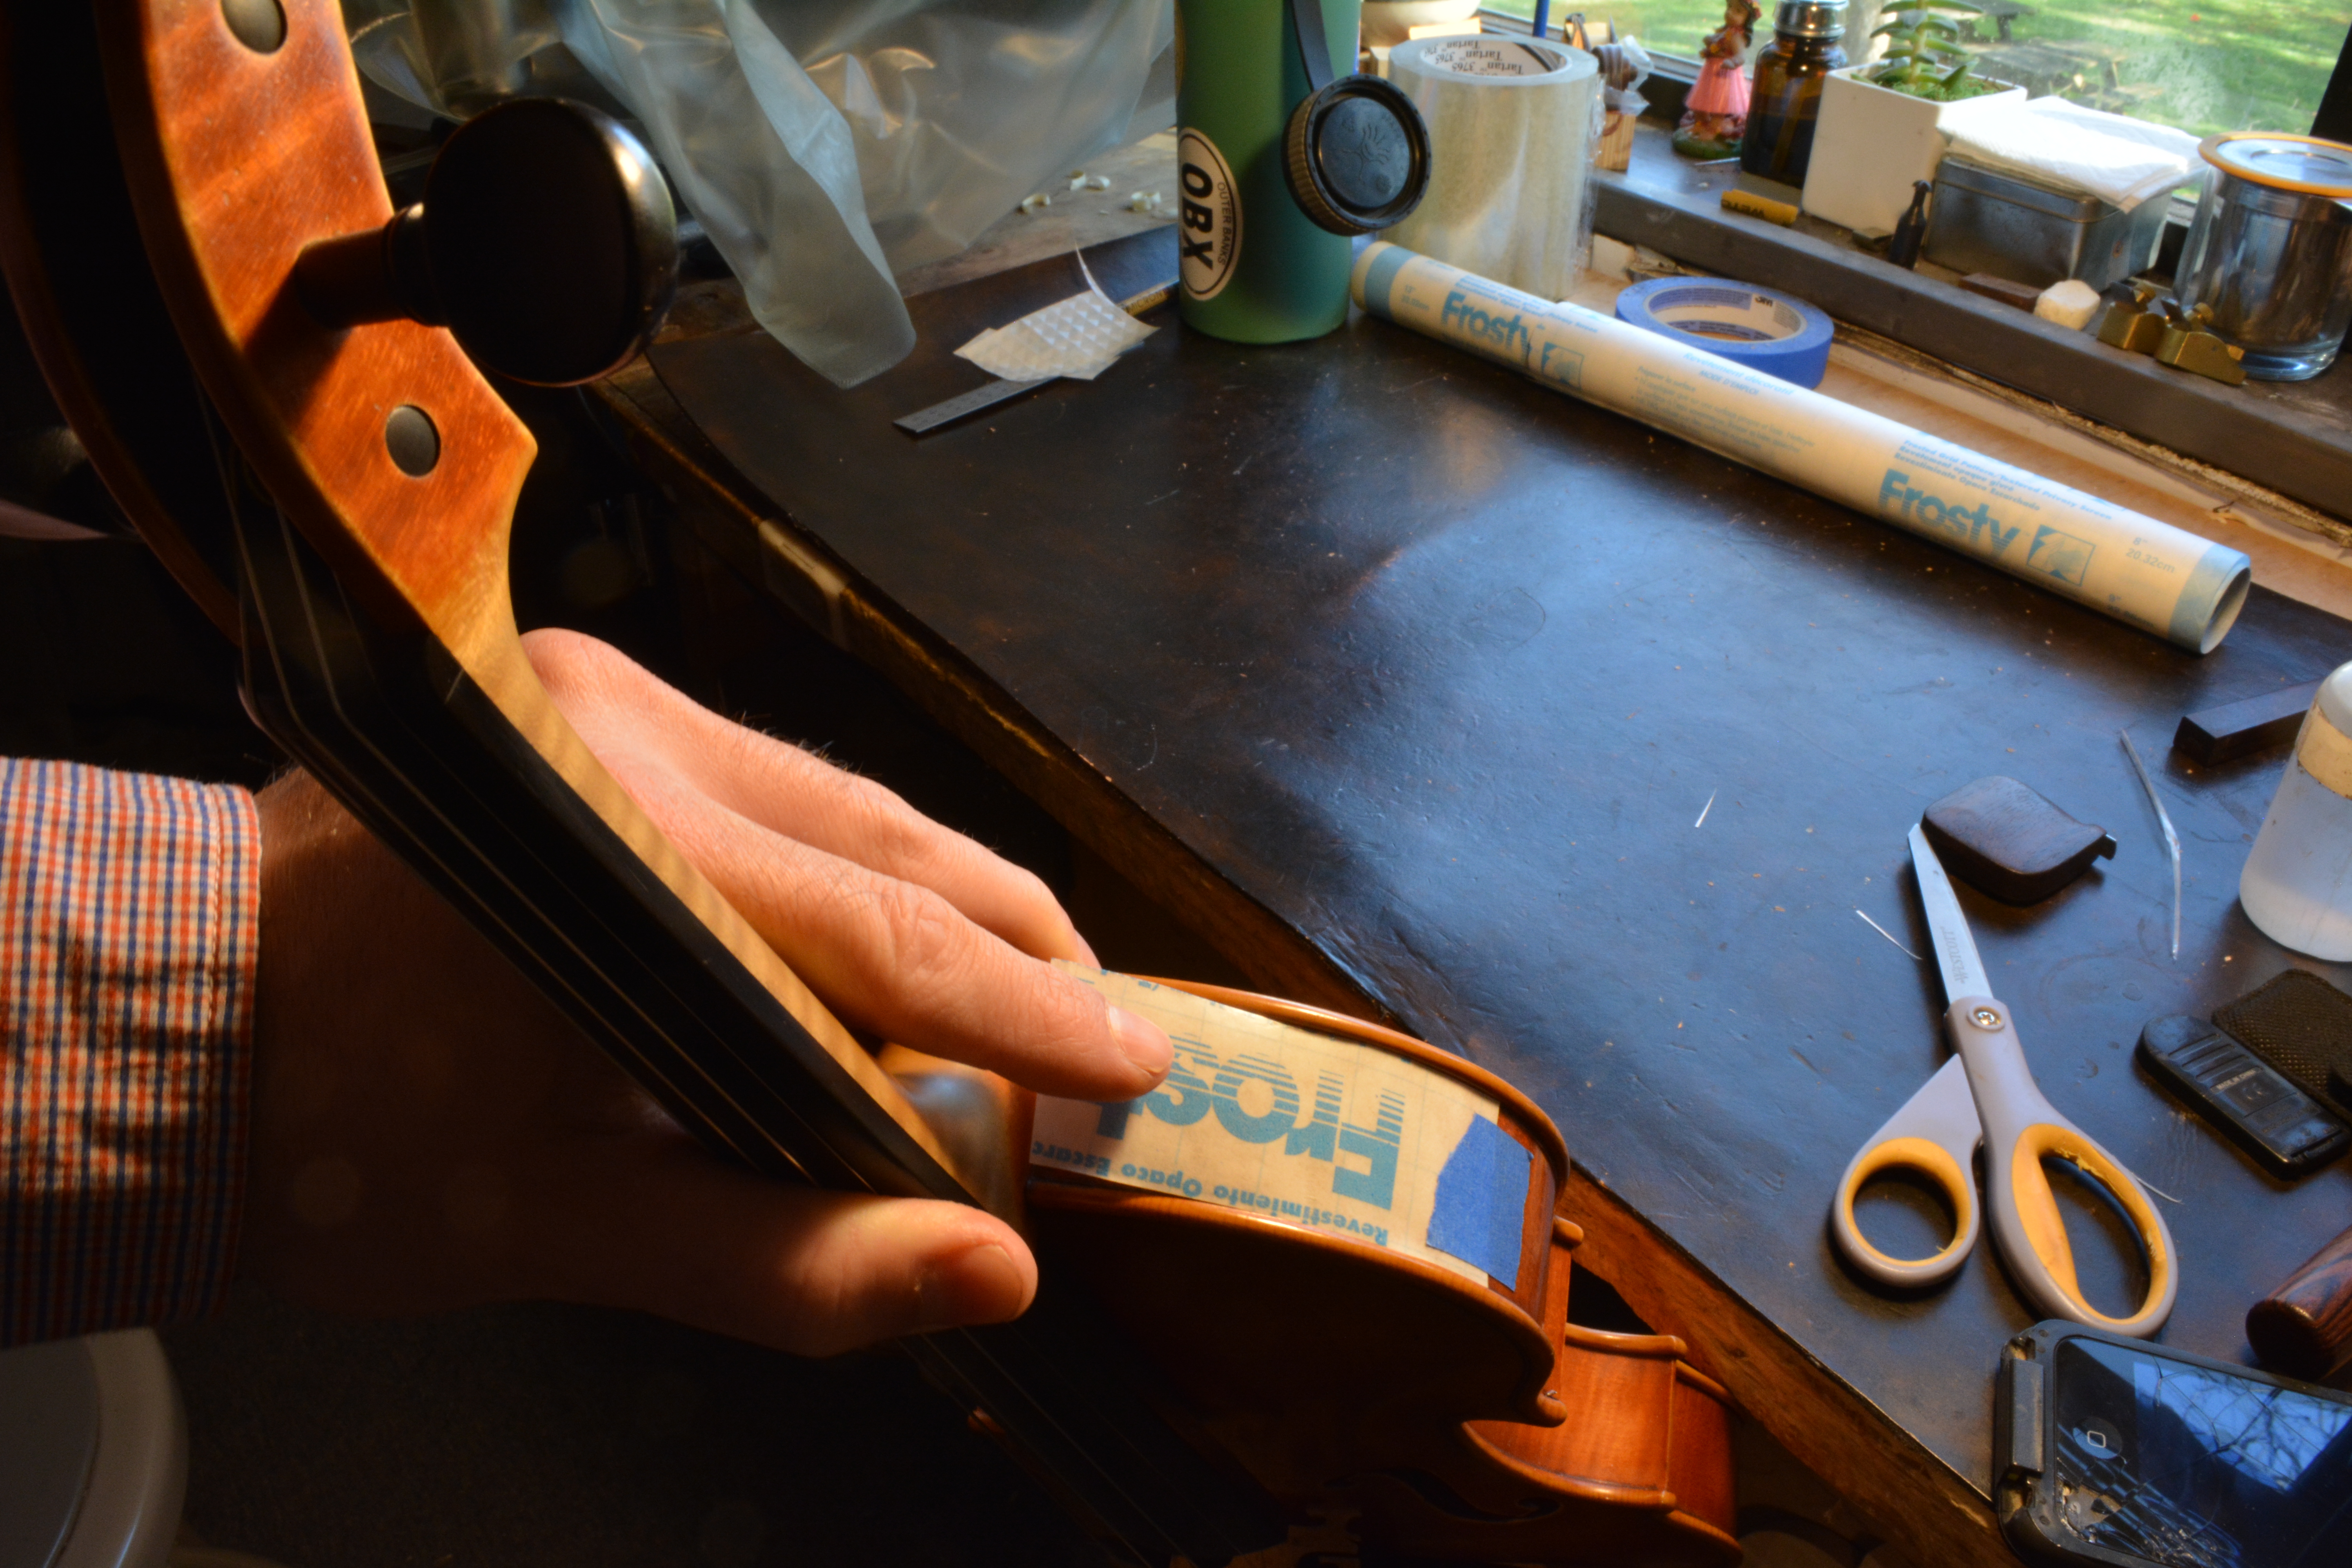
With the backing in place and taped down, I can begin to remove the packing tape from the backing and start applying it. The masking tape hinge will act act as a guide to track the packing tape on the rib right where you want it.
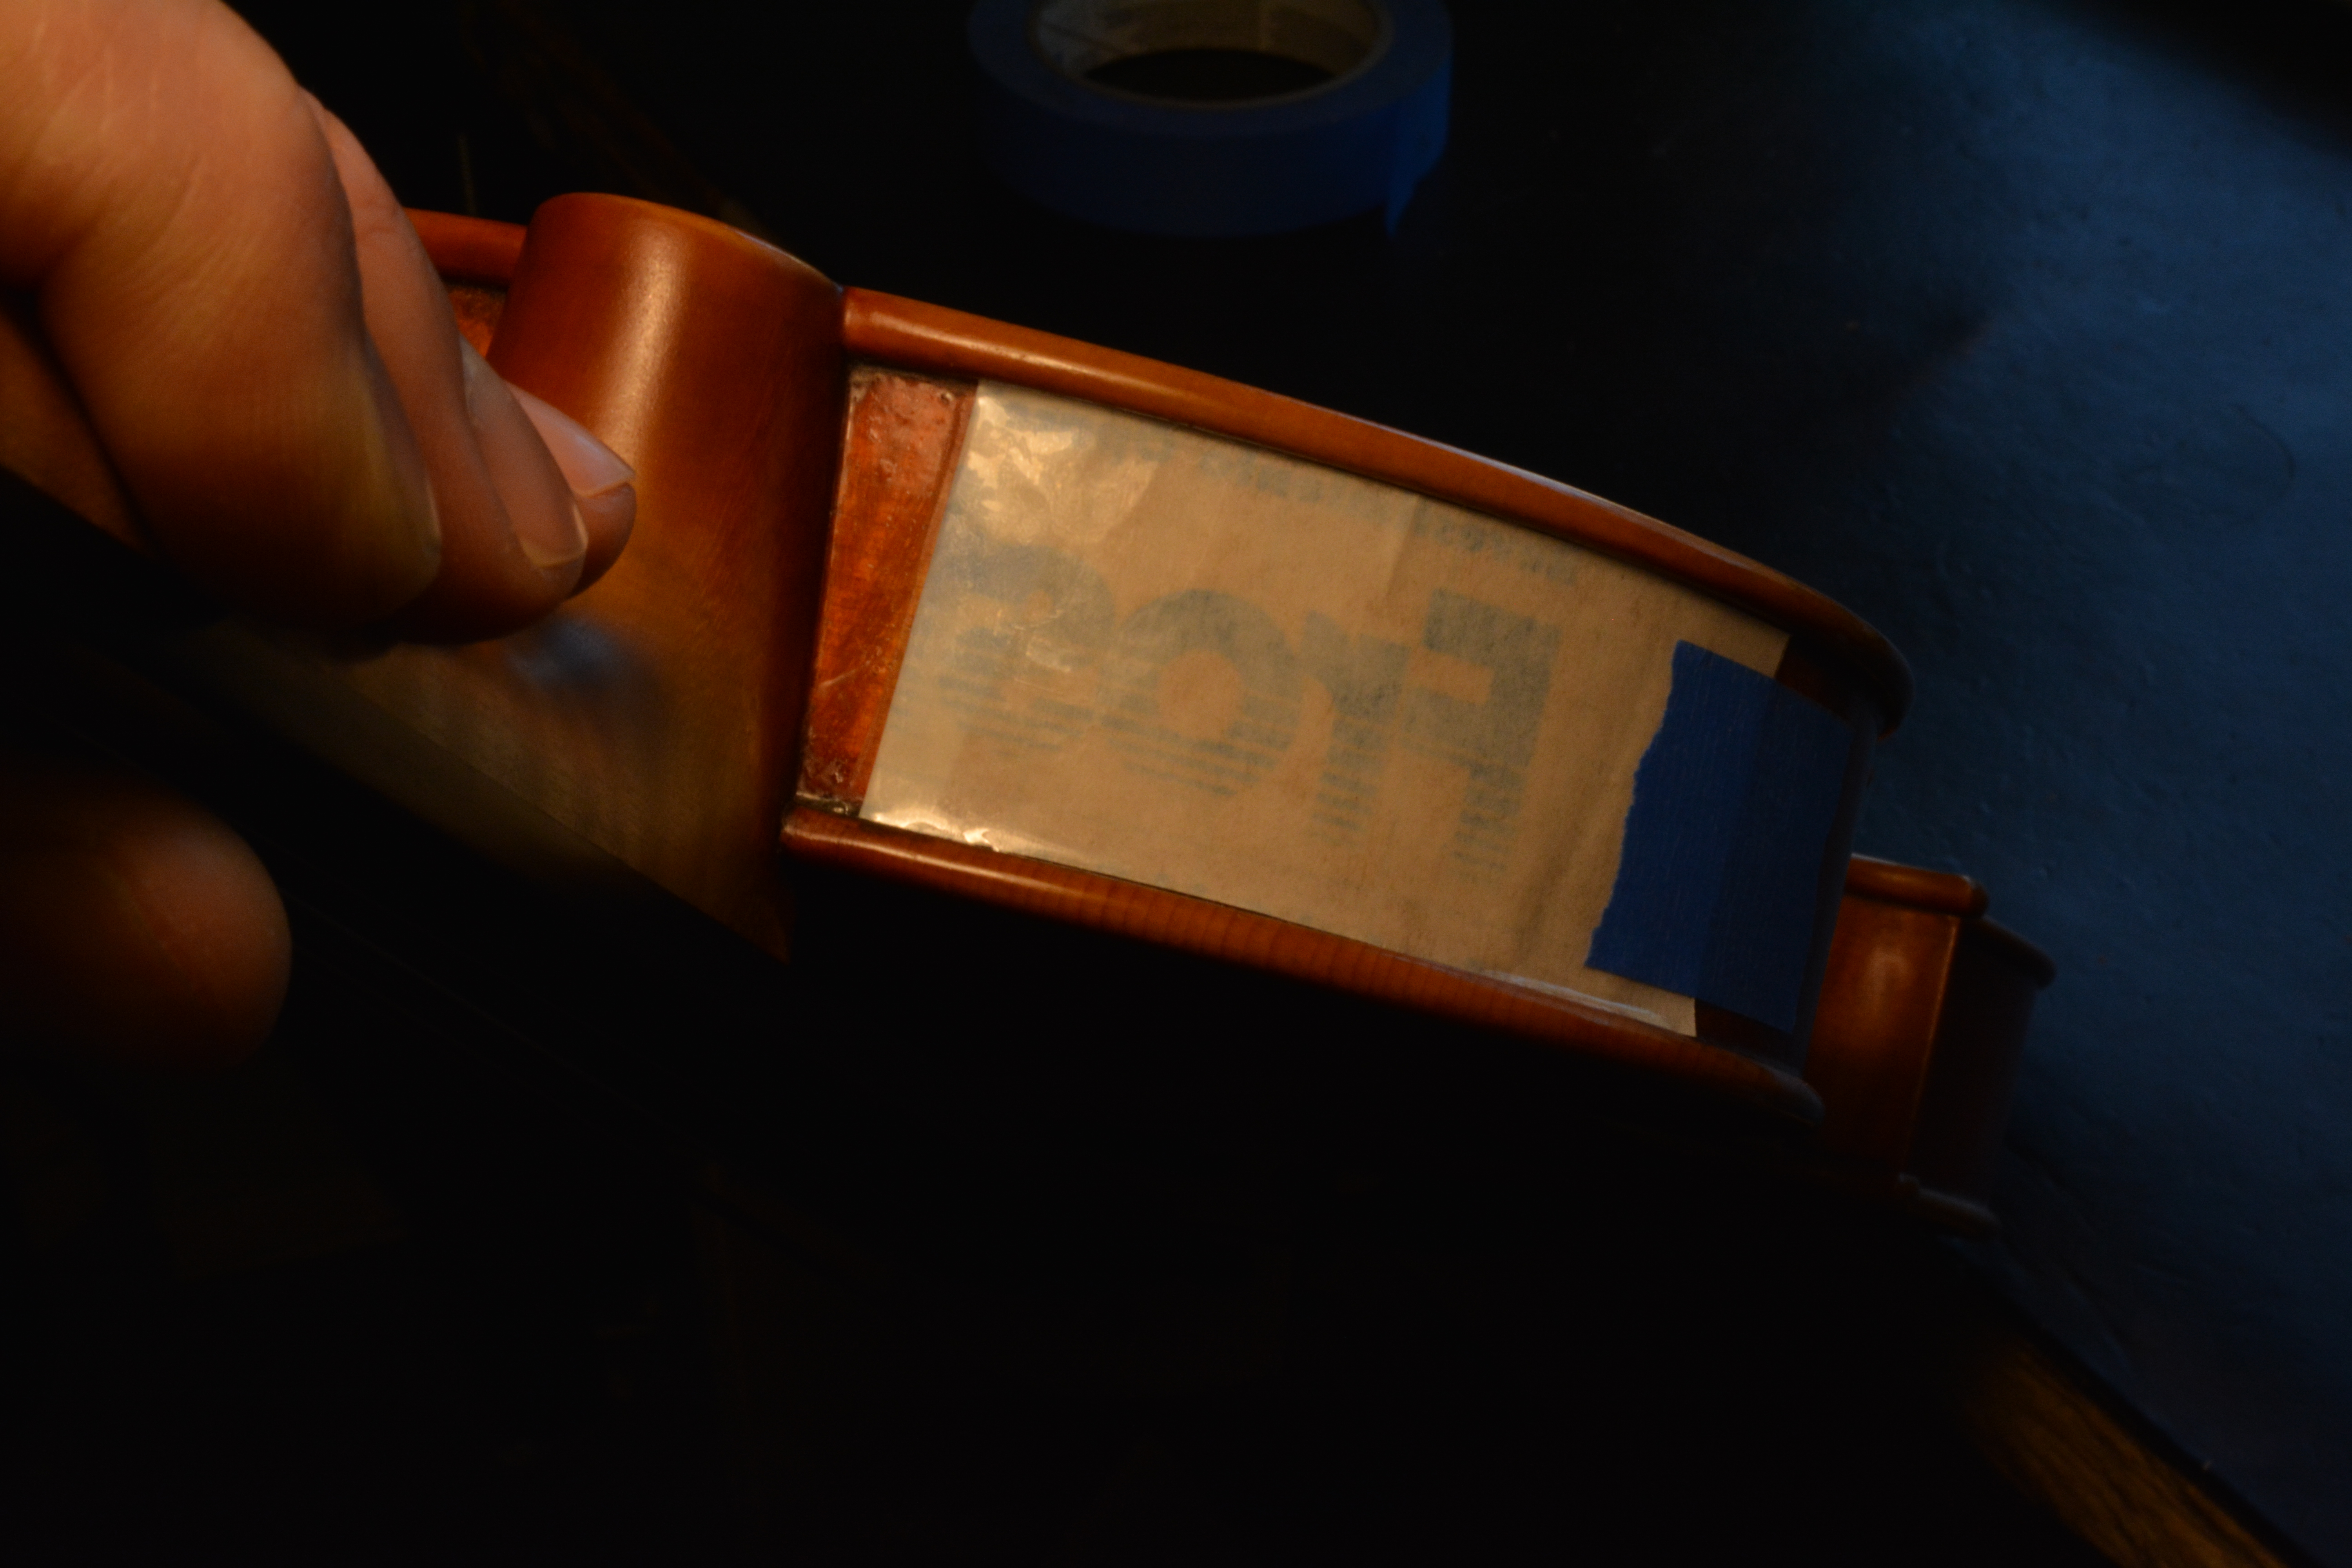
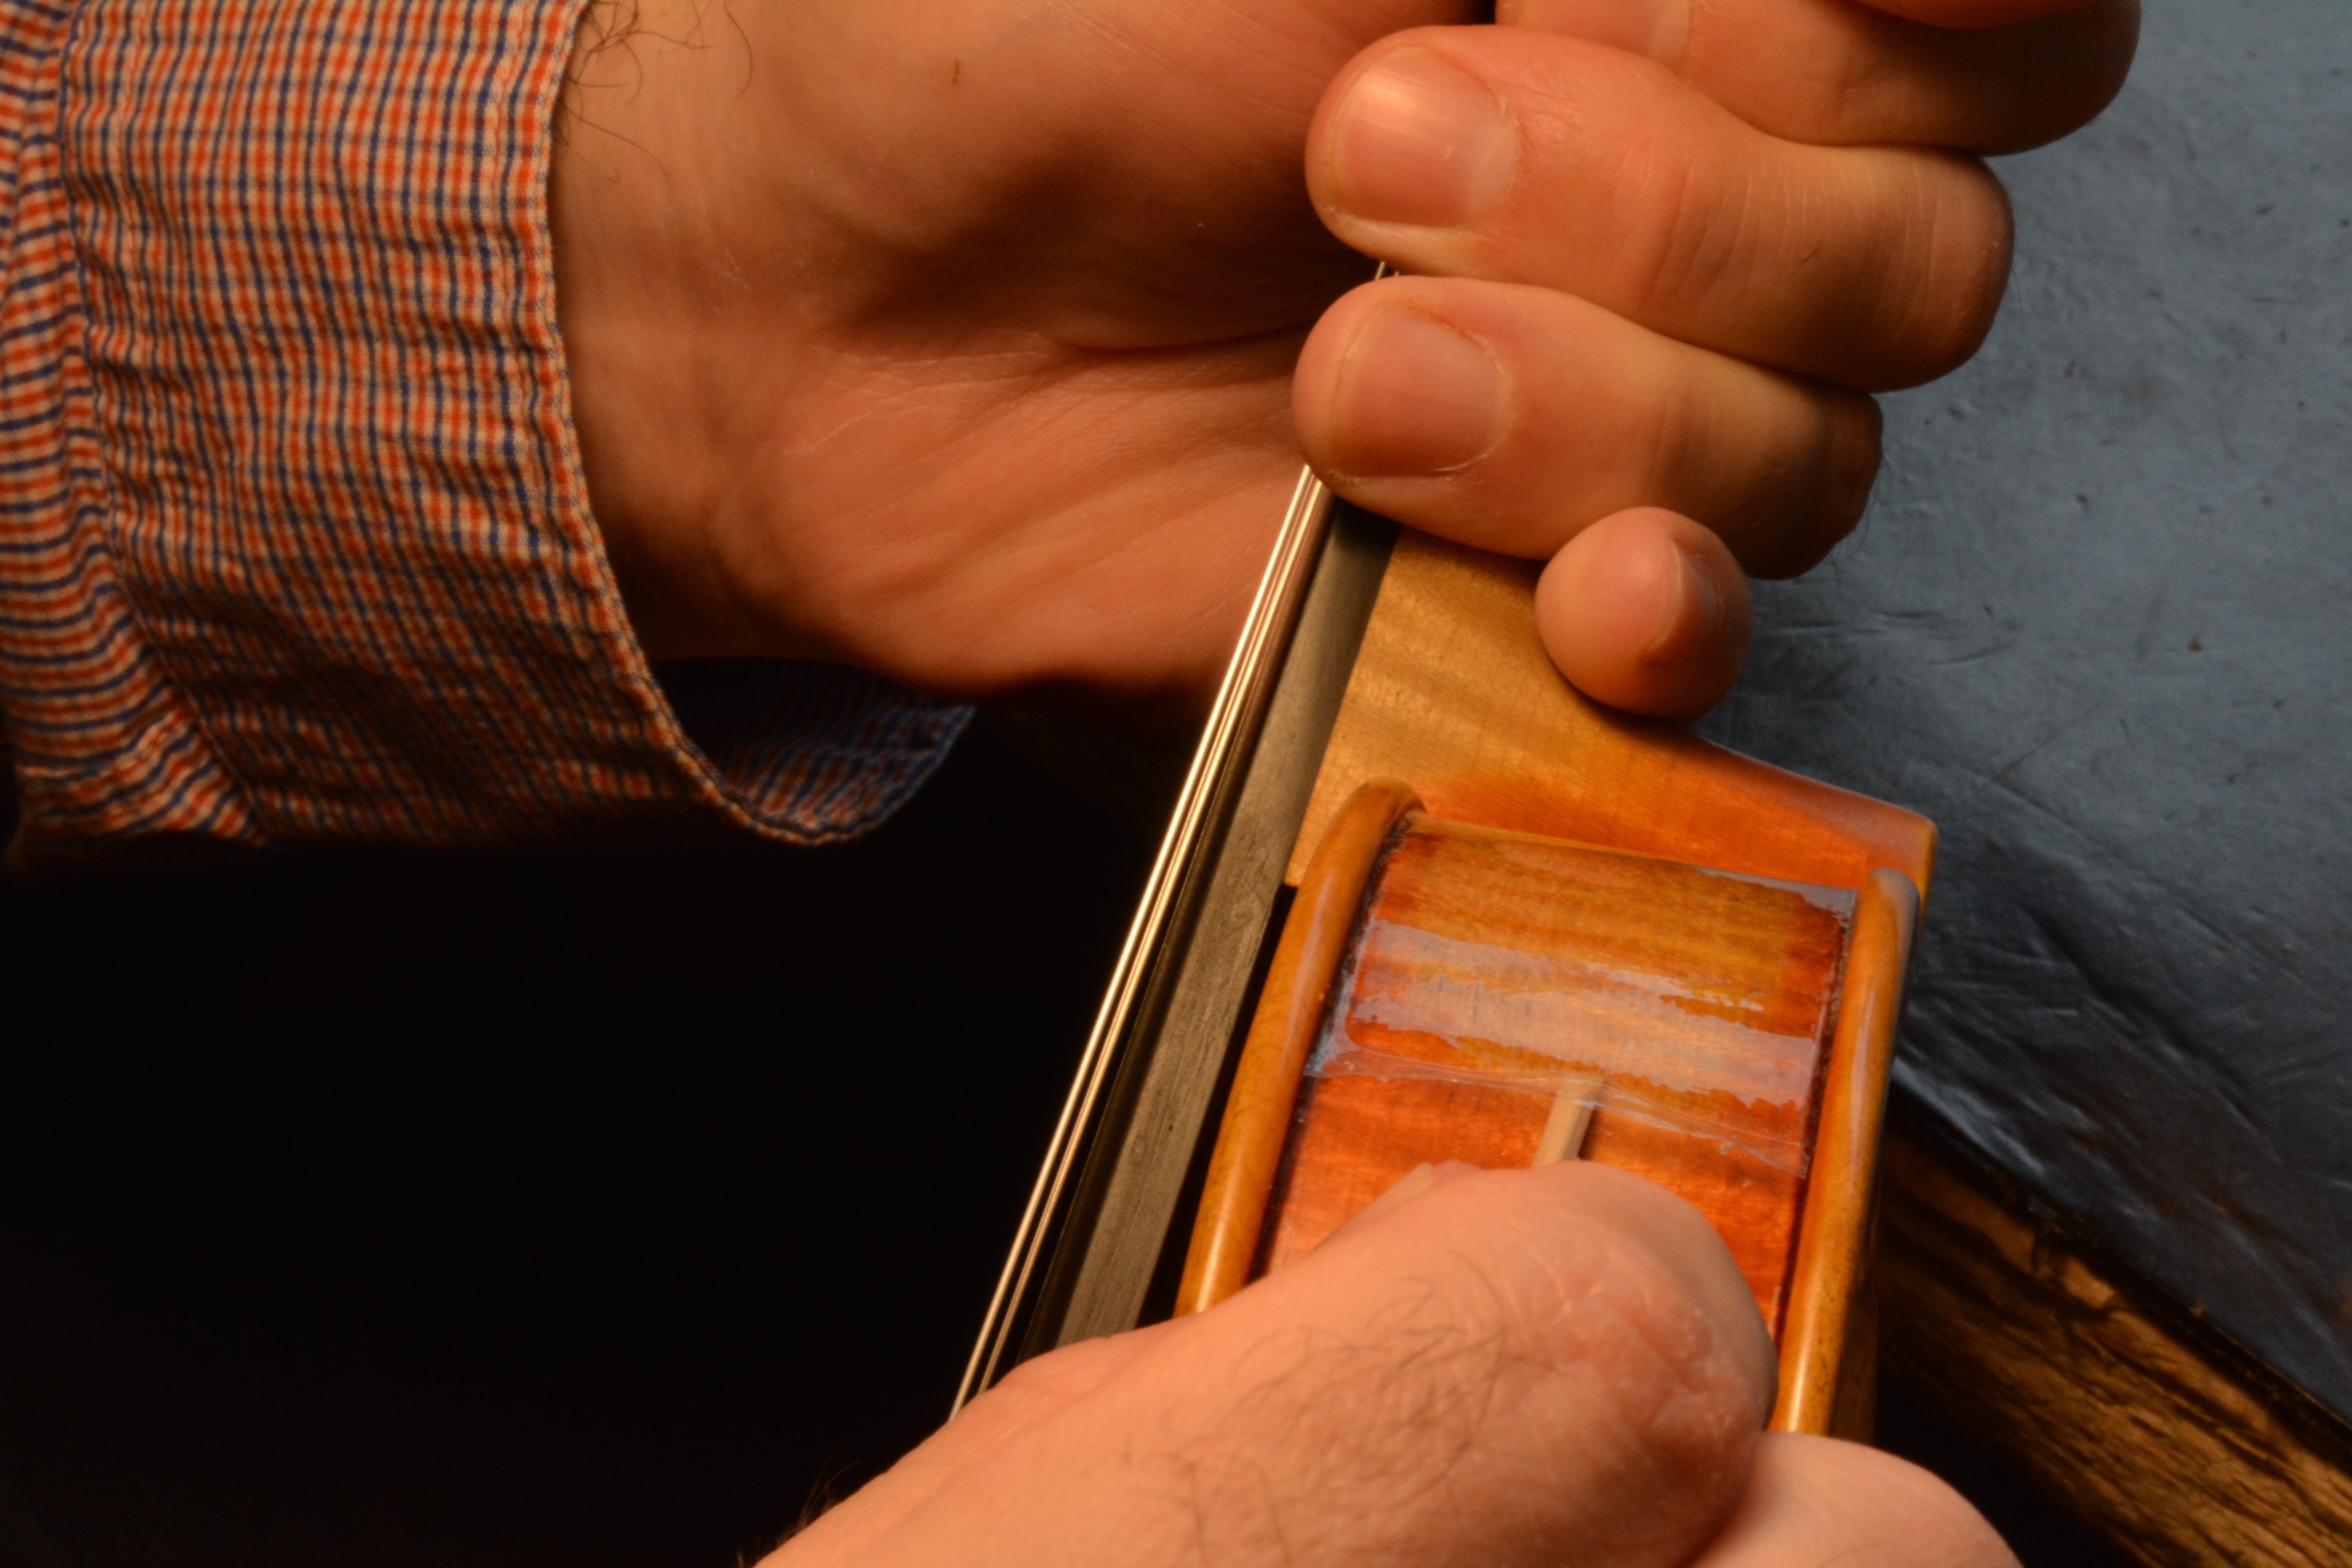
Start small, making sure to line everything up well. Push with your finger and sharpened toothpick to keep bubbles from forming while you apply the tape.
You can lift the masking tape, peel the backing off slightly, then re-apply the masking tape to line everything up, and push down the packing tape to apply it. Repeat this process until you finish applying the tape.
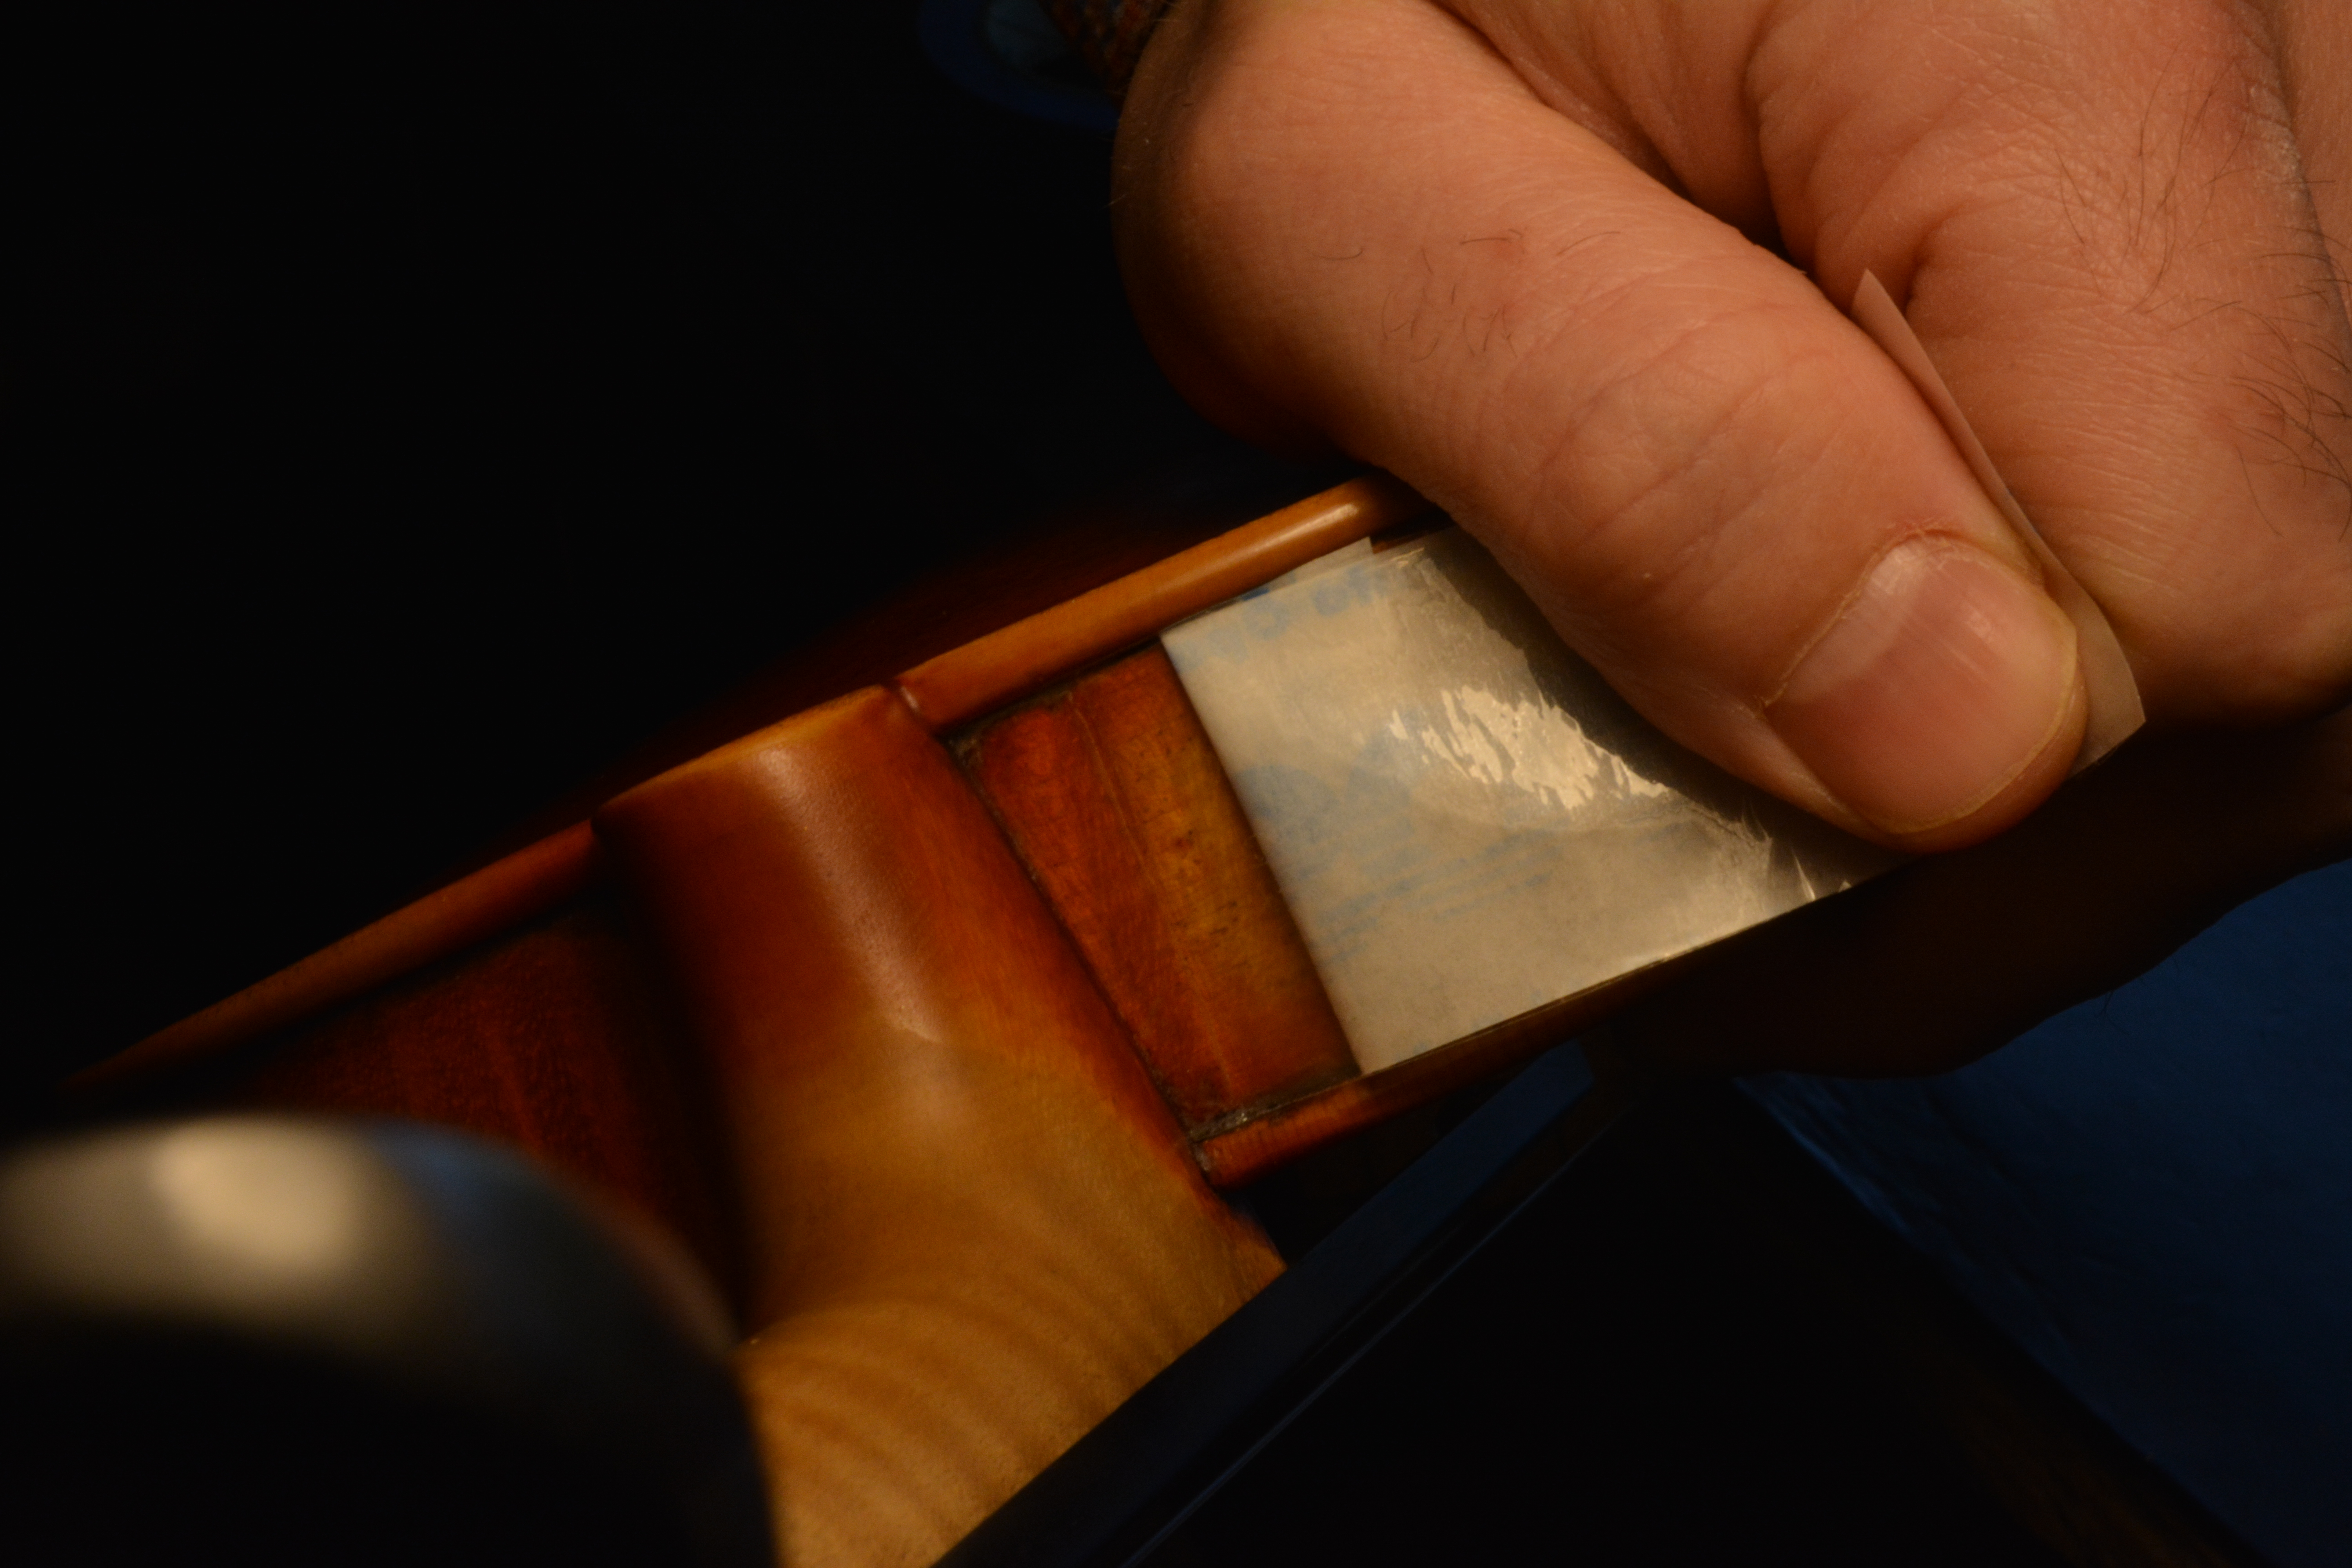
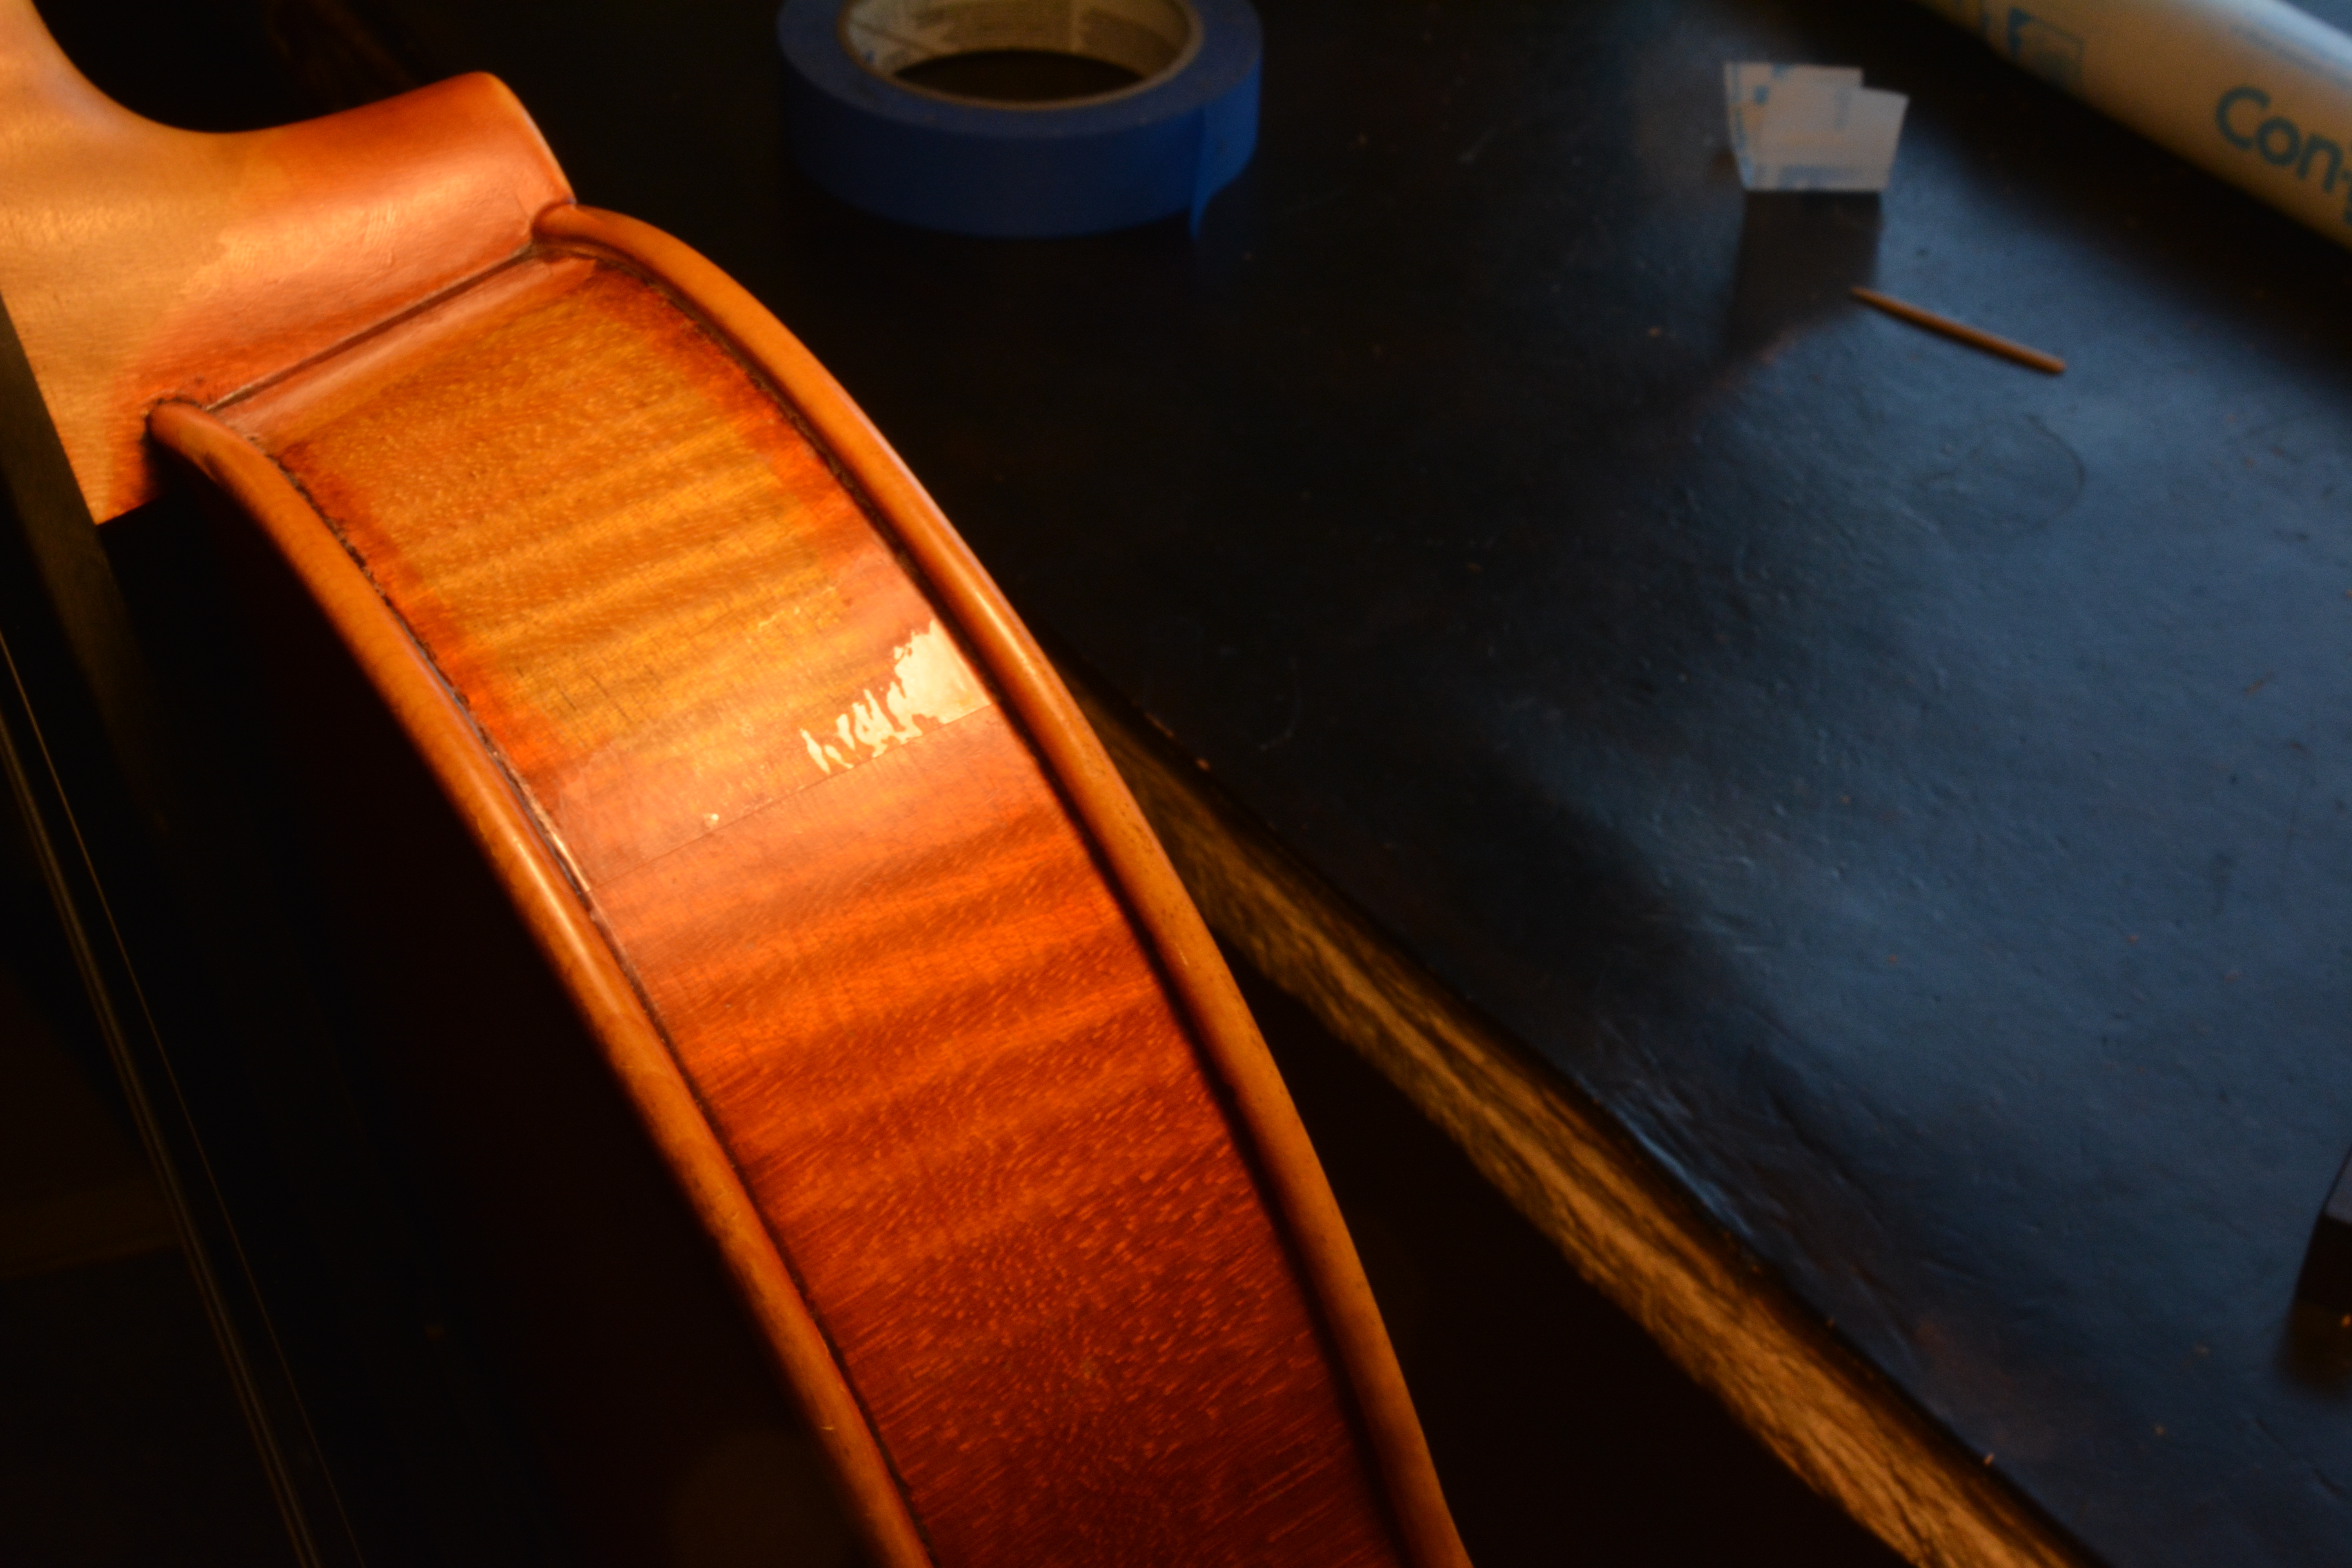
Here is the finished result.
Removing the Packing Tape
In my opinion, it’s more important to understand how to remove the rib protector than to learn how to apply it. I would not recommend just lifting a corner of the tape with your fingernail and ripping off the players tape. Most likely you will remove a healthy amount of original varnish…which is not cool.

I start by applying mineral spirits to the end of the tape joint. Mineral spirits persuade the adhesive on the packing tape to break down and release itself.
Then I come in with a sharpened toothpick to gently lift the tape. While doing this I continually add more mineral spirits, only trying to lift a small section at a time.
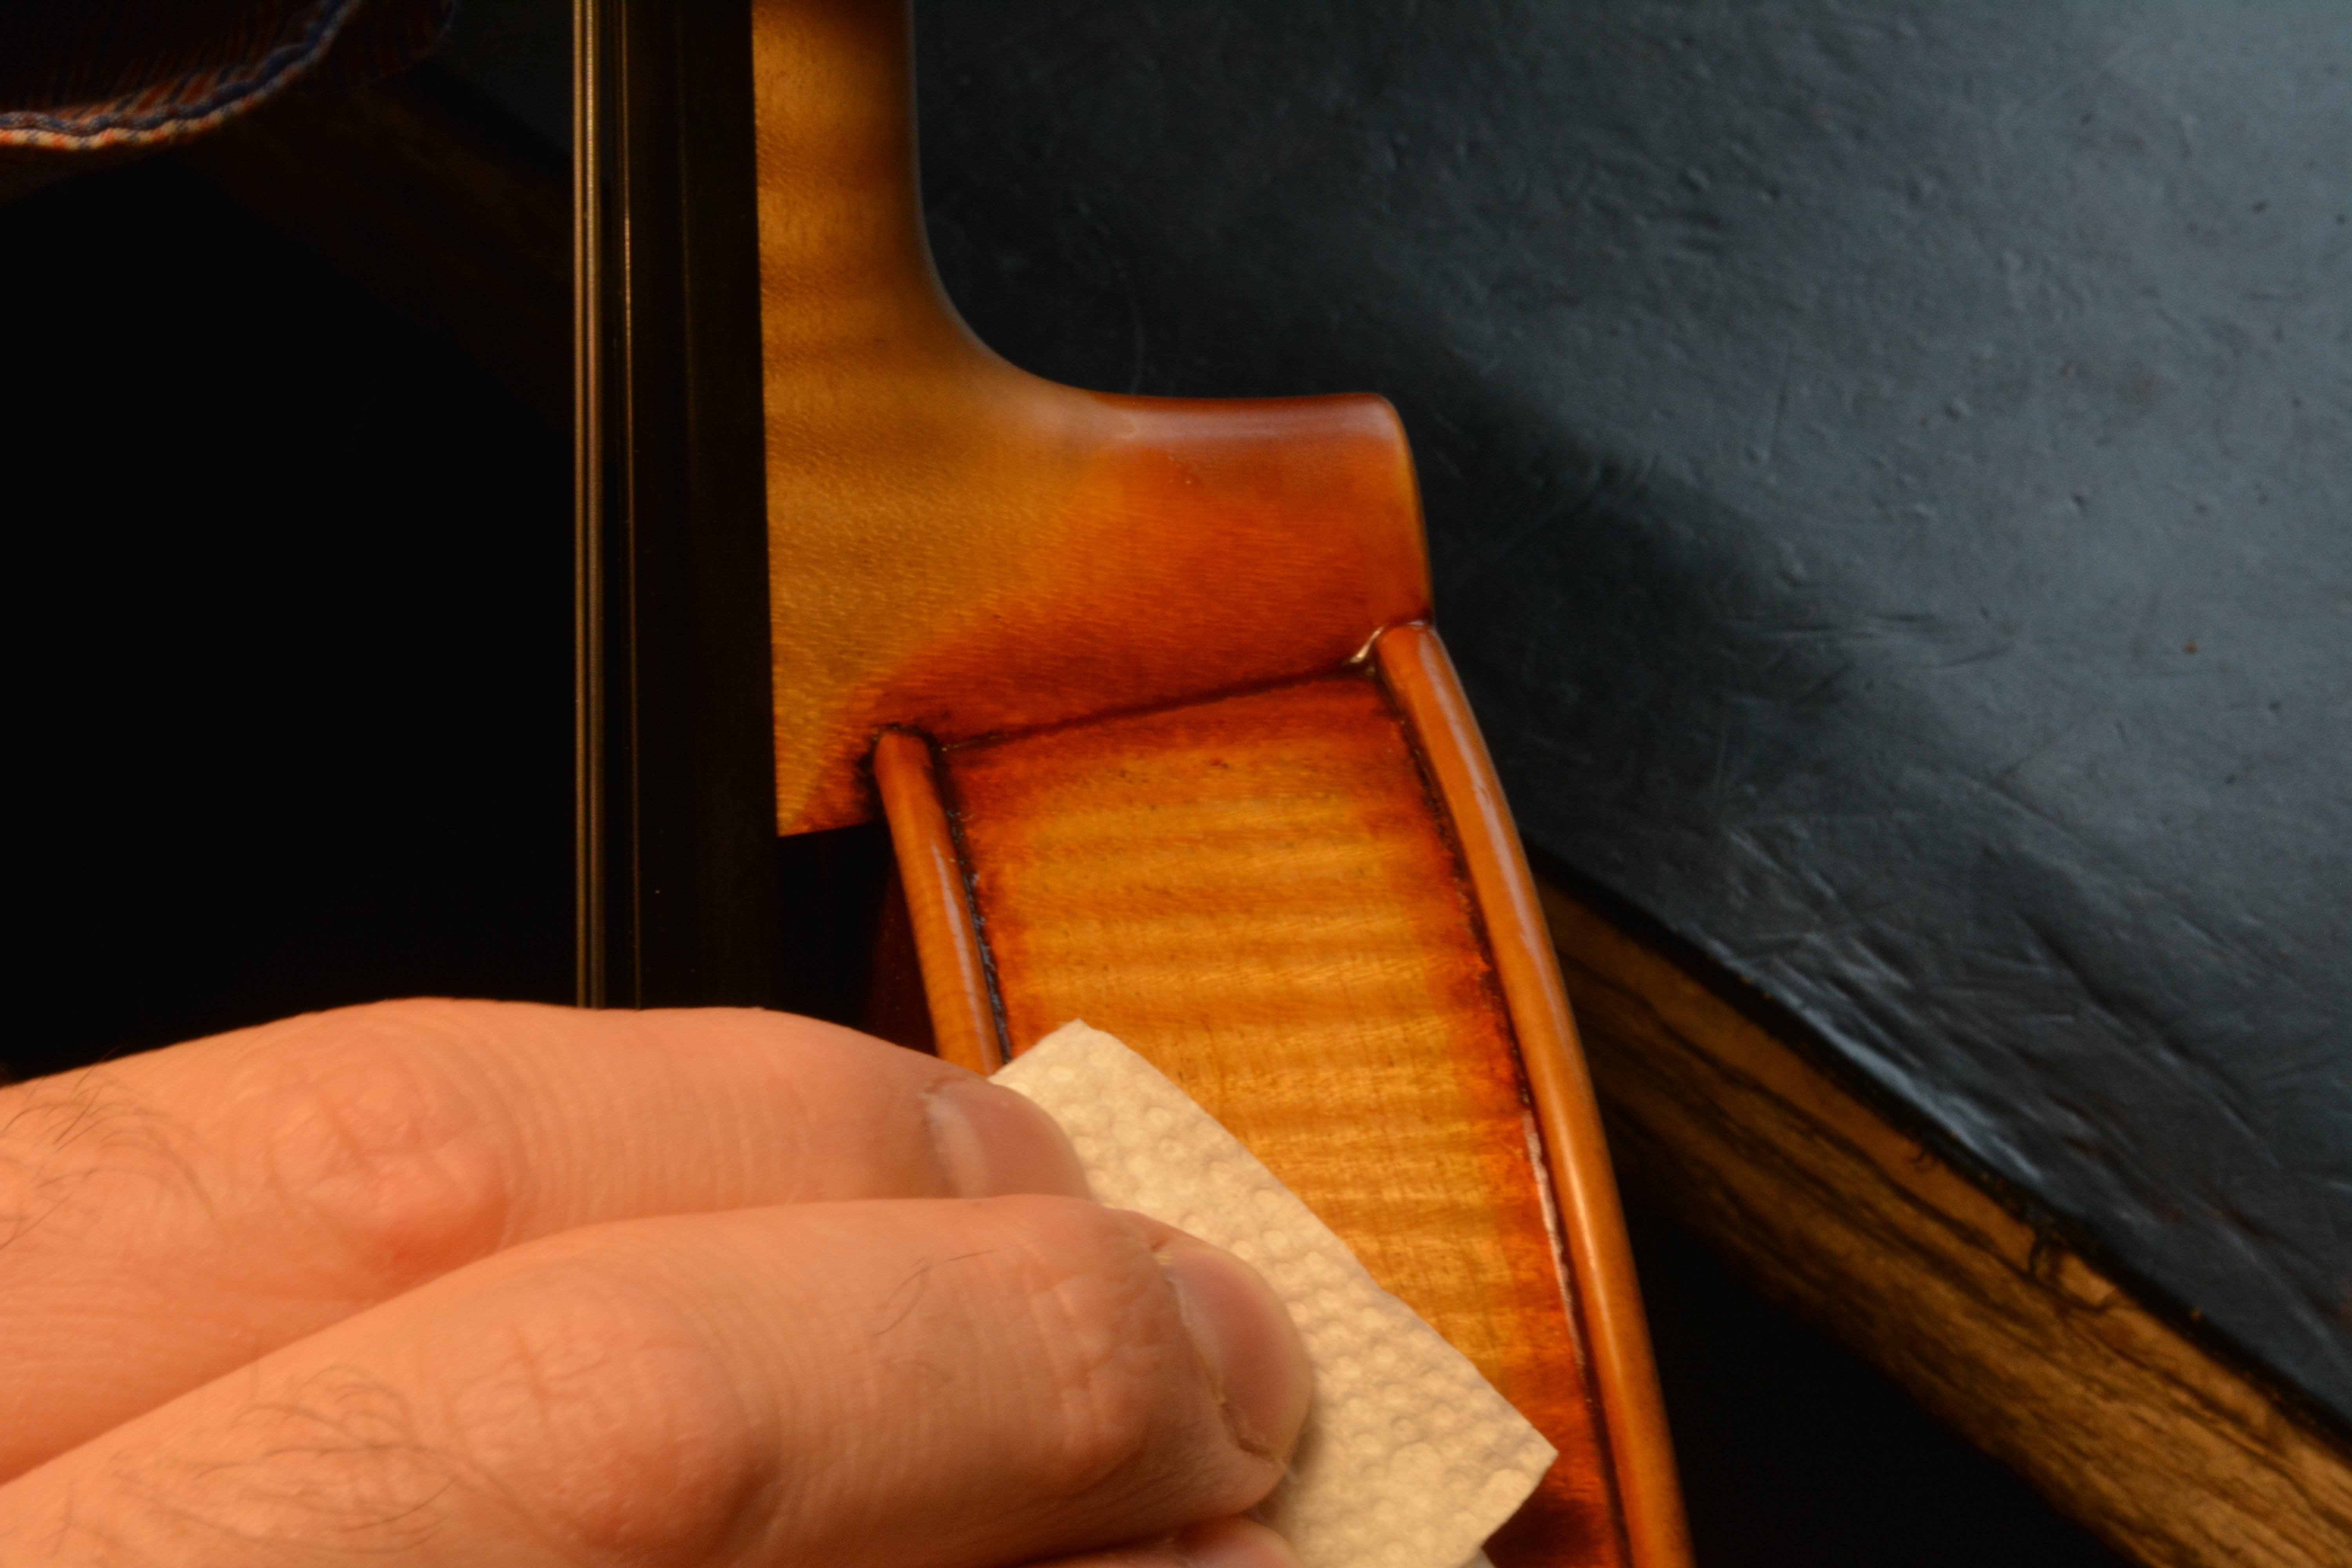
When the packing tape is completely removed, I use mineral spirits with a paper towel to remove any left over adhesive.
When done correctly it’s very simple to apply and remove the rib protector. With the use of a rib protector, the varnish and wood of the instrument will be kept safe from our human intervention.