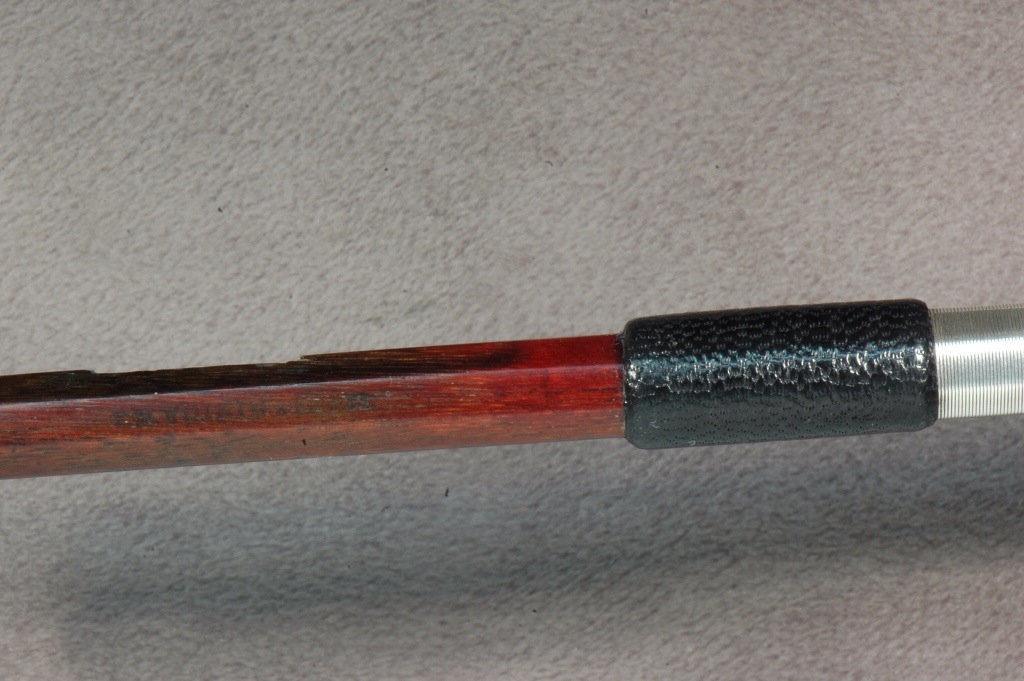

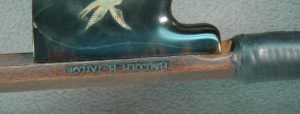
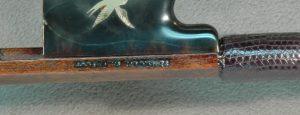
Often, a musician will wear a divot in the bow where the thumb contacts the stick. The use of the optical epoxy to fill the worn area is a noninvasive and reversible restoration and looks good as well.
MATERIALS AND TOOLS
-good-quality, non-stretching transparent packing tape
– modelling clay or candle wax
– 1 dental dappen dish
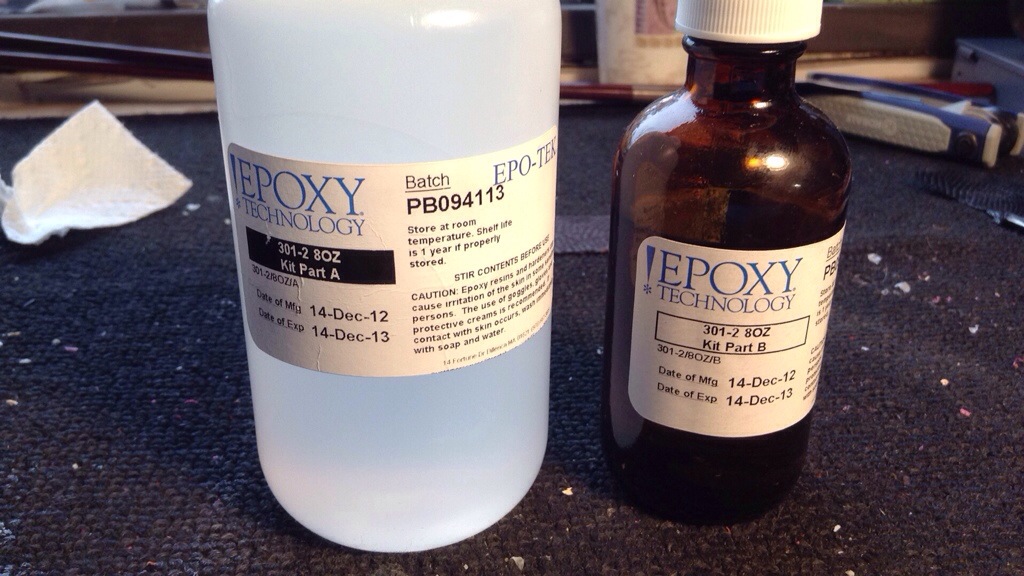
– very low-viscosity, high-transparency optical epoxy (such as Epoxy Technology 301-2)
– a spatula
– toothpicks
– a cloth
– a matting agent (such as Aerosil)
– carving tools, including a knife with a sharp tip, a chisel, and files
-220, 320 and 600 grit sandpaper
– mineral spirits
– alcohol
-acetone
-2 clothespins to prop up stick
PREPARING THE STICK
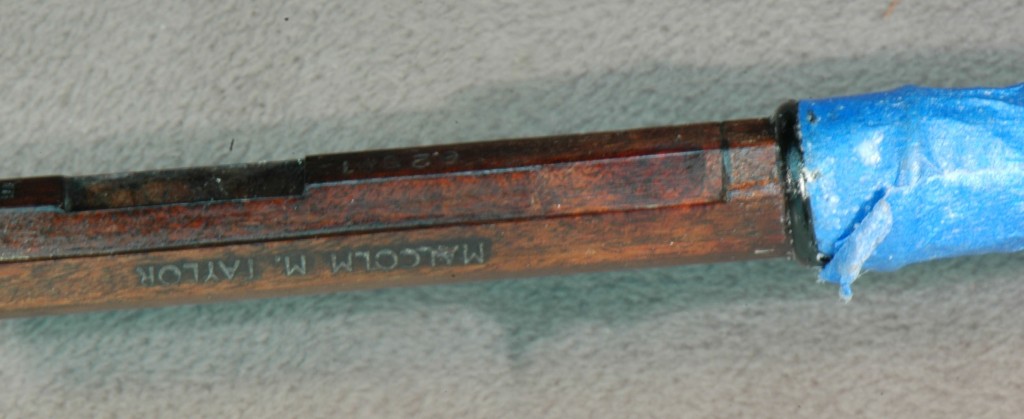
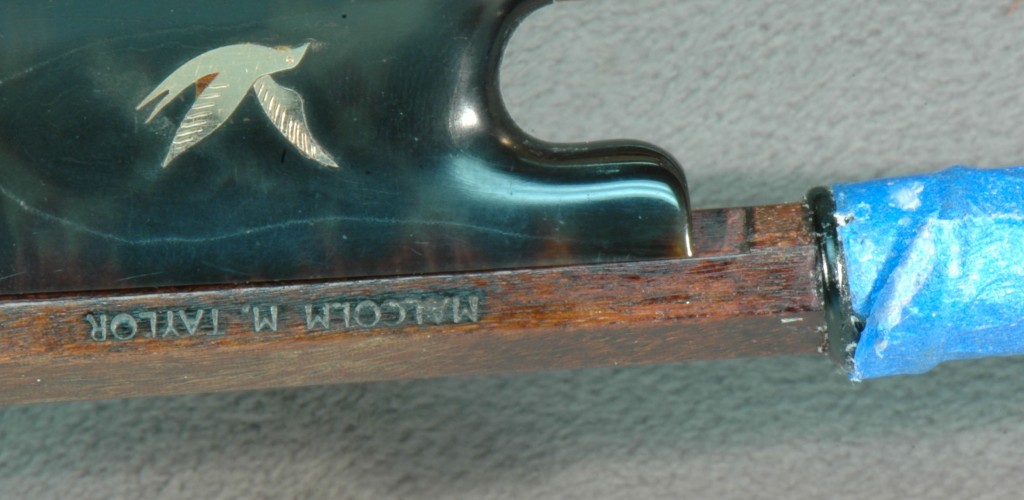
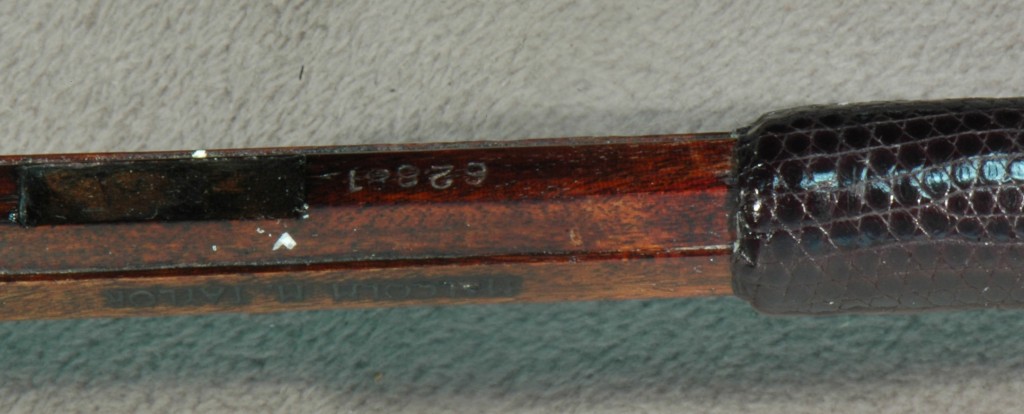
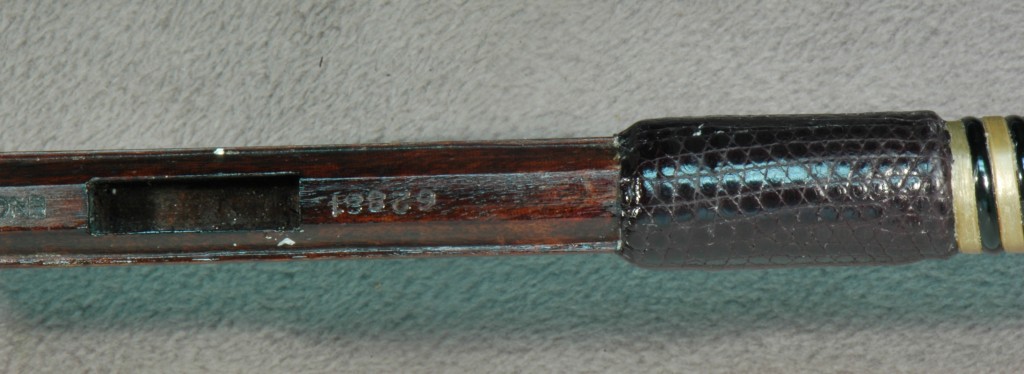
Remove the thumb leather and peel back the wrap a few millimeters to provide a buffer area for the packing tape to wrap around the area needing fill. Tape the wrap up with some masking tape if the wrap needs to be removed temporarily. Clean the stick thoroughly with alcohol and then acetone to remove any dirt that might show through optical epoxy.

Wrap packing tape fully around the stick at the handle end of the bow. Should the wax dam leak, at least the epoxy will not stick to the areas covered by the tape.
Avoid air pockets under the tape, as the epoxy might flow in and adhere to the stick in unnecessary areas.
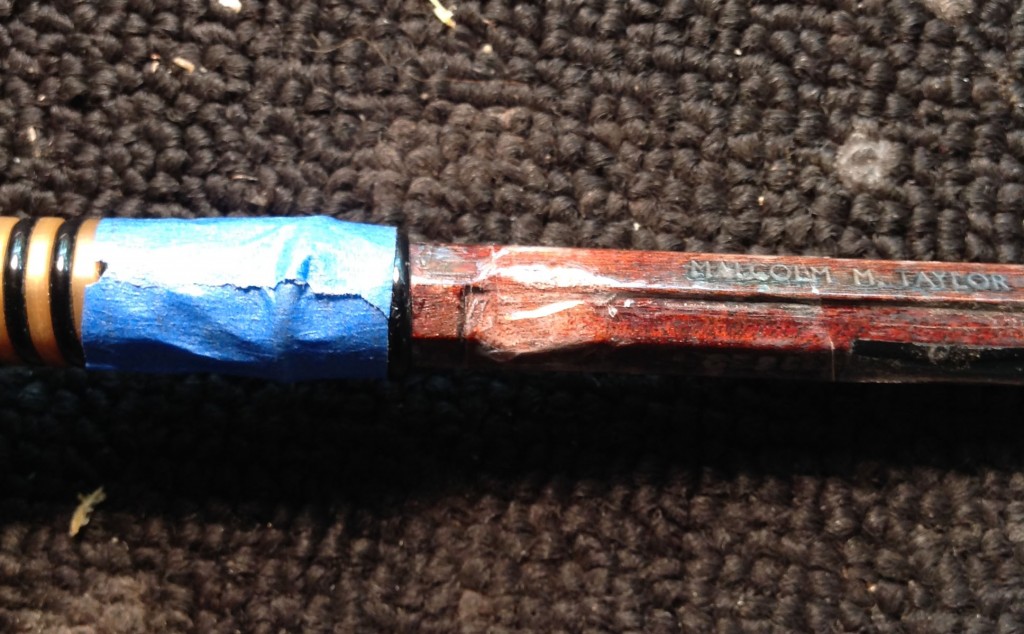
Carefully trim the tape away from the area worn by the thumb with a knife with a sharp tip. Be careful not to dig into stick. The wear usually encompasses two to three facets. Clean the fill area with alcohol one more time to remove any tape residue.
Wax Dam
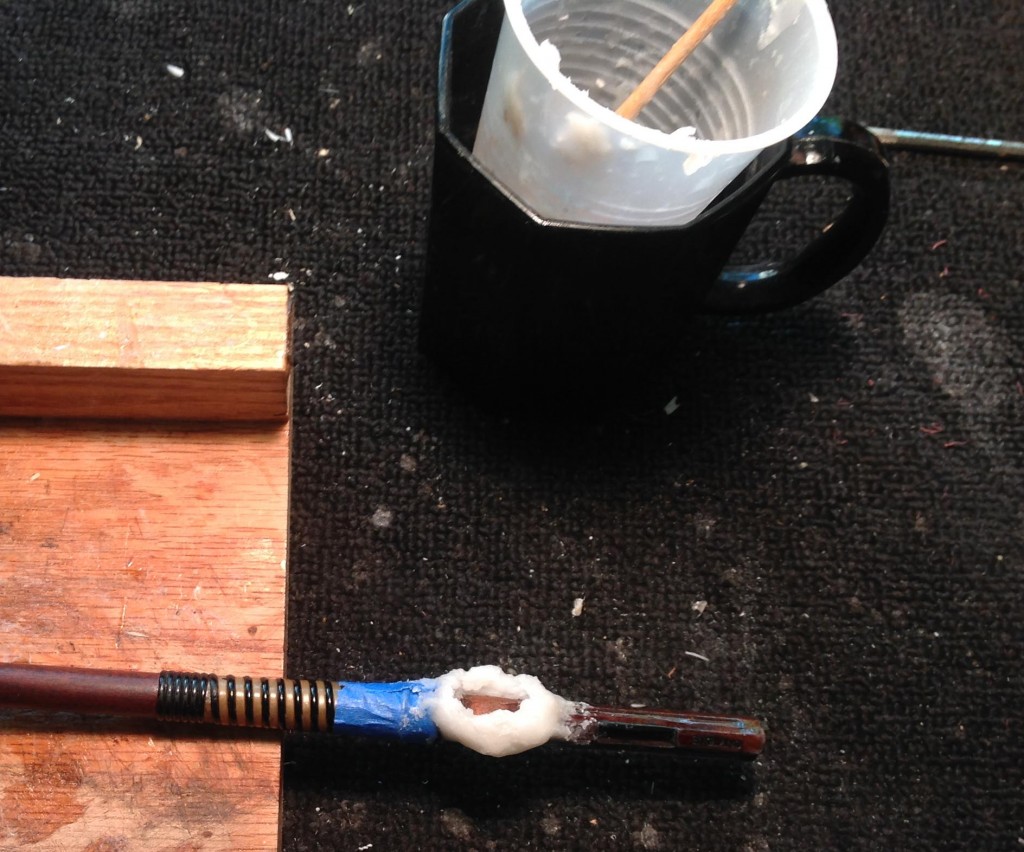
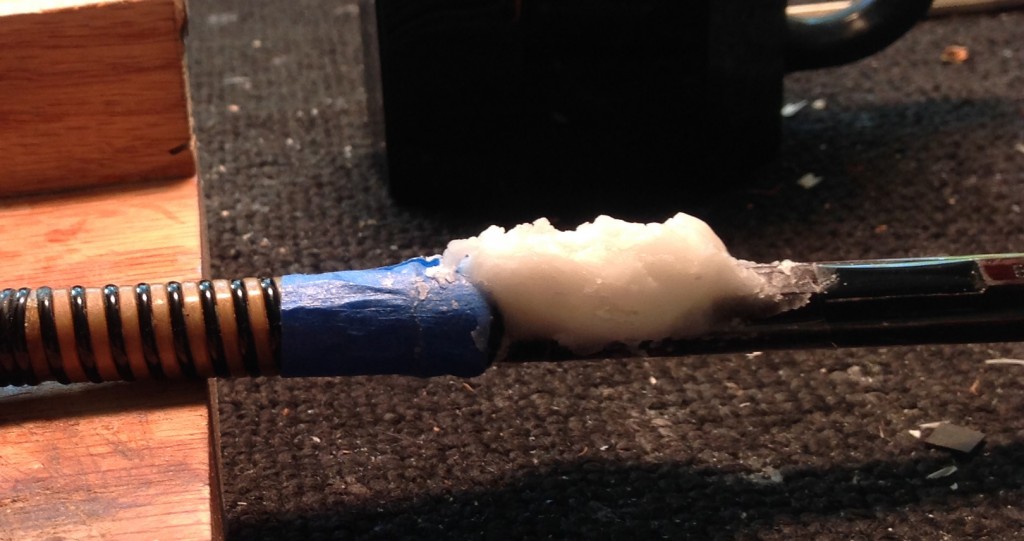
Heat up the wax in a disposable cup. Drip the wax on the taped area with a stick, be careful not to get wax on the freshly cleaned surface. Watch for holes and gaps in the wax dam. Epoxy will leak out if it is not water tight.
If it is particularly humid out, try hanging the stick in light/drying cabinet to dry stick out. The epoxy will adhere to the wood better. If the wax dam is built up, just make sure it’s not too warm of an environment to melt the wax.
Mix up epoxy
The ratio for the 301-2 Epoxy from EpoTech is 100:35 or for small amounts 1.5g (A) : 0.525g (B)
Thoroughly mix up optical epoxy with a toothpick spatula for what seems like forever until it is completely clear.
Drip epoxy into reservoir with toothpick.
Don’t pour it in, wood has pockets where air can hide and it needs time to get out. Otherwise air bubbles will appear in epoxy and that will not look good once finished

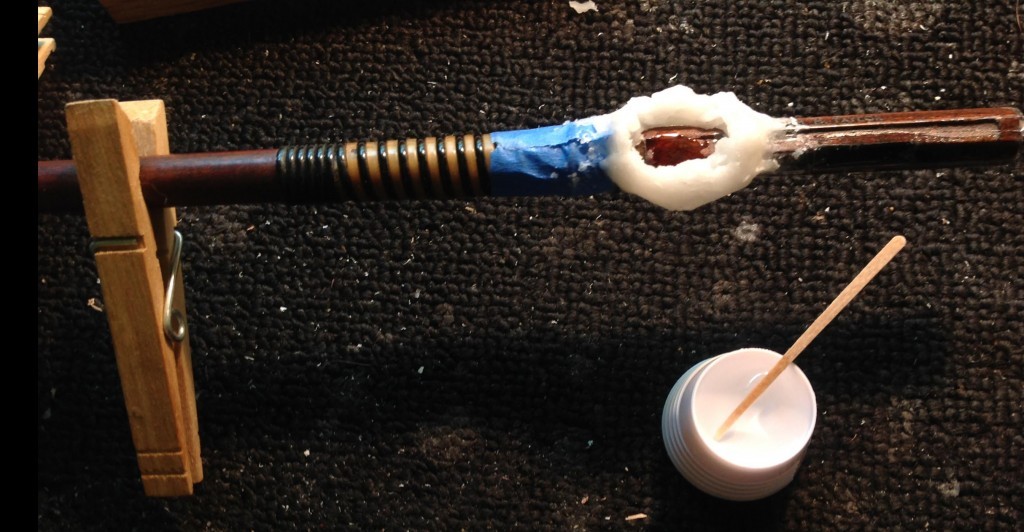
Carefully set the stick aside on a stable surface (beware if the epoxy leaks, it will dry to this surface – put down some plastic under the bow if you don’t want the epoxy stuck to the surface). Place a 100 watt light about 6 inches above the fill. If the wax gets too warm, it will melt and the epoxy will flow out. Leave the bow alone for about 12 hrs or until epoxy is fully cured and cannot be dented with a fingernail. The harder the better.
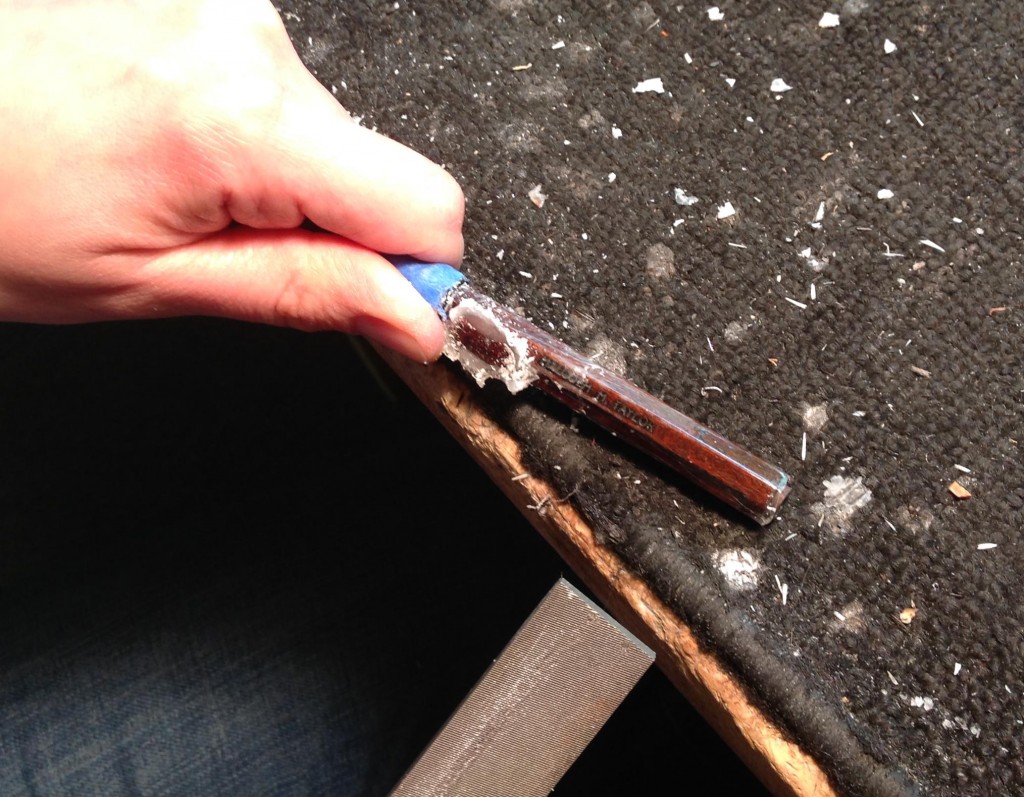
Trimming the Fill
When the fill has cured, Using a sharp knife, trim off the wax dam. Since we encounter many of these projects that require wax dams, we salvage wax from the dam by trimming wax back into the cup of wax.
Use a file, sharp chisels, a fingerplane blade with a burr to trim fill down to each facet. Keep an eye on the size of the cuts, as putting too much pressure on the fill might pull it away from the stick and the filling might have to be done again. As you get close to finished shape, use a small straight edge to make sure the filled area doesn’t dip down. On certain sticks, the frog is mortised into the stick, so the rails have to be replicated very carefully using small chisels and knives. Maintain the line.
Remove the tape from the stick with mineral spirits.
Wipe off any residue with a cloth and alcohol.
Sand with mineral spirits using 320 and 600 grit sand paper. Go back over the fill lightly with 220 to imitate wood pores.
Polish the stick up, like usual.