Efficiently making and installing cleats to reinforce cracks is a necessary skill for luthiers. This article will discuss the concept of cleating cracks, provide a simple method for making cleat stock, and fitting cleats.
This is the first article in a series I will be writing on the subject of cleats and crack reinforcement methods.
MATERIALS AND TOOLS
Block plane
Square
Knife edge straight edge
Lamp
Pencil
Calipers
15 cm ruler
Band saw with adjustable table
Belt sander with adjustable table
Chalk
C- clamp
Hide glue
Small glue brush
6 sweep 10 mm gouge
220-320-600 grit sandpapers
various dry pigments on a cloth rag
Making Cleat Stock:
Select a piece of straight, fine grained spruce. Flatten the slab cut side of the spruce. Check for flatness under low light with the knife edge straight edge. Use the flattened slab cut side as a reference and square the quarter cut side of spruce. Mark the square sides.

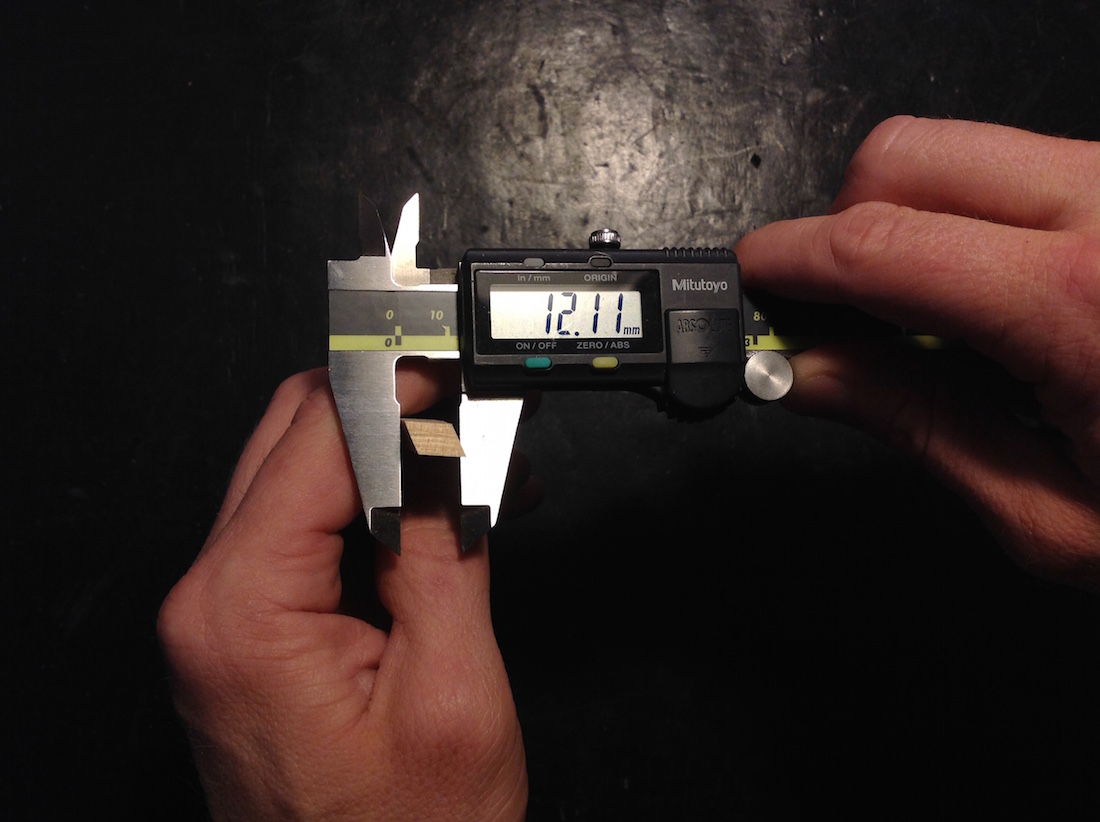
Set up the the fence on the band saw to cut out the spruce at 6.5mm (11mm for cello). With a block plane, thickness the piece to 6.1mm (10.6mm for cello). Use veneer calipers to check the thickness.
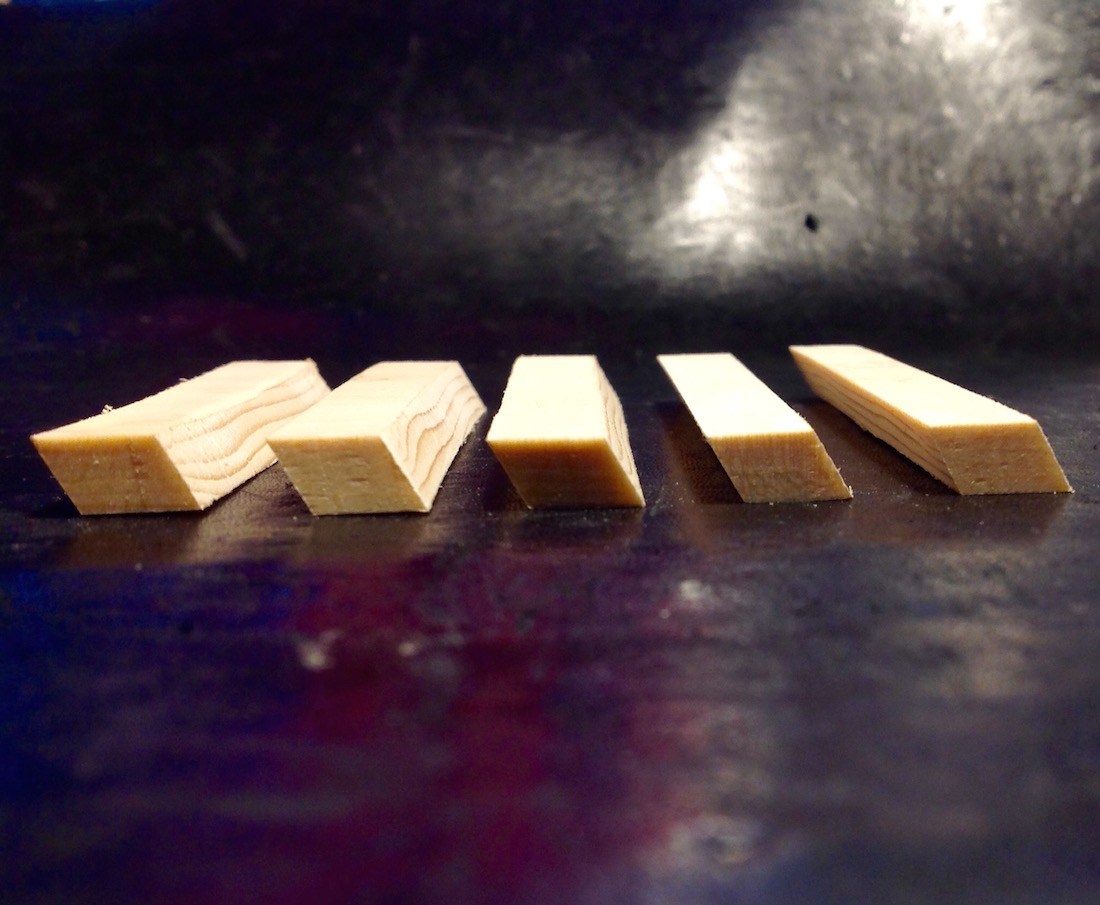
Set the table of the band saw and belt sander to 30 degrees. Make an initial cut from the cleat stock at the set angle and lightly sand off the saw marks. The cuts and sanding should all be done on the end grain.
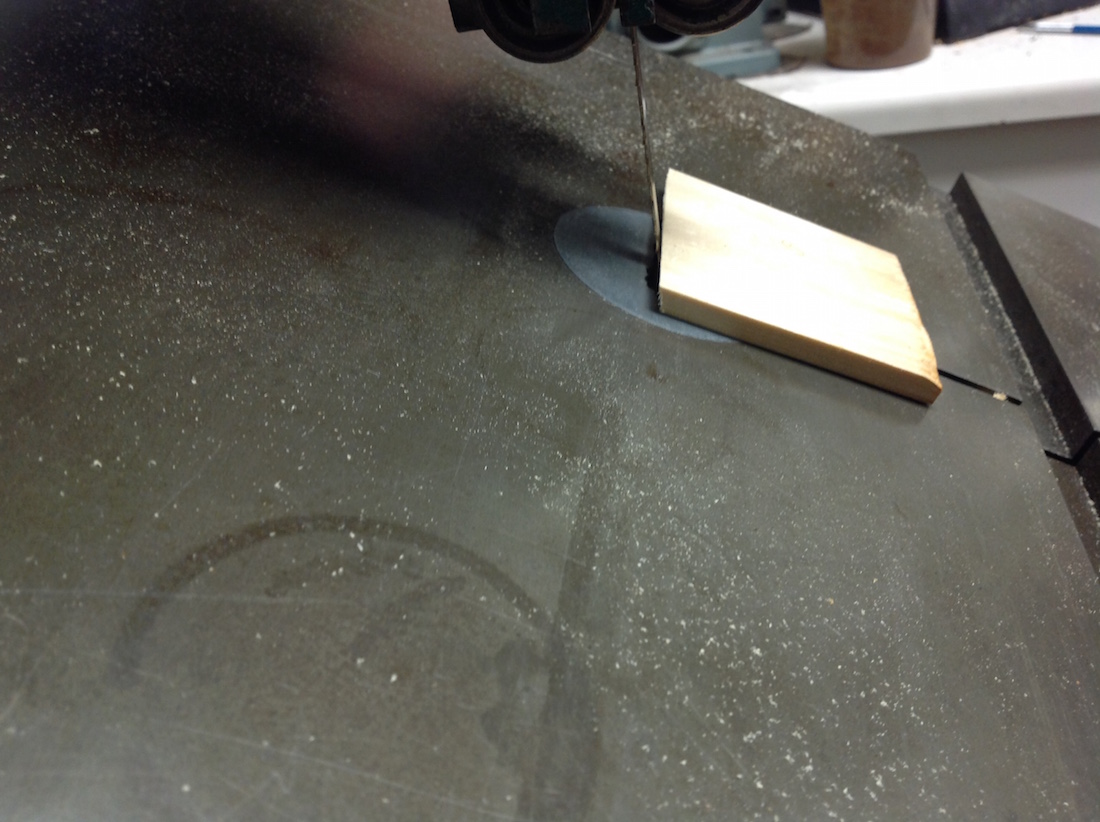
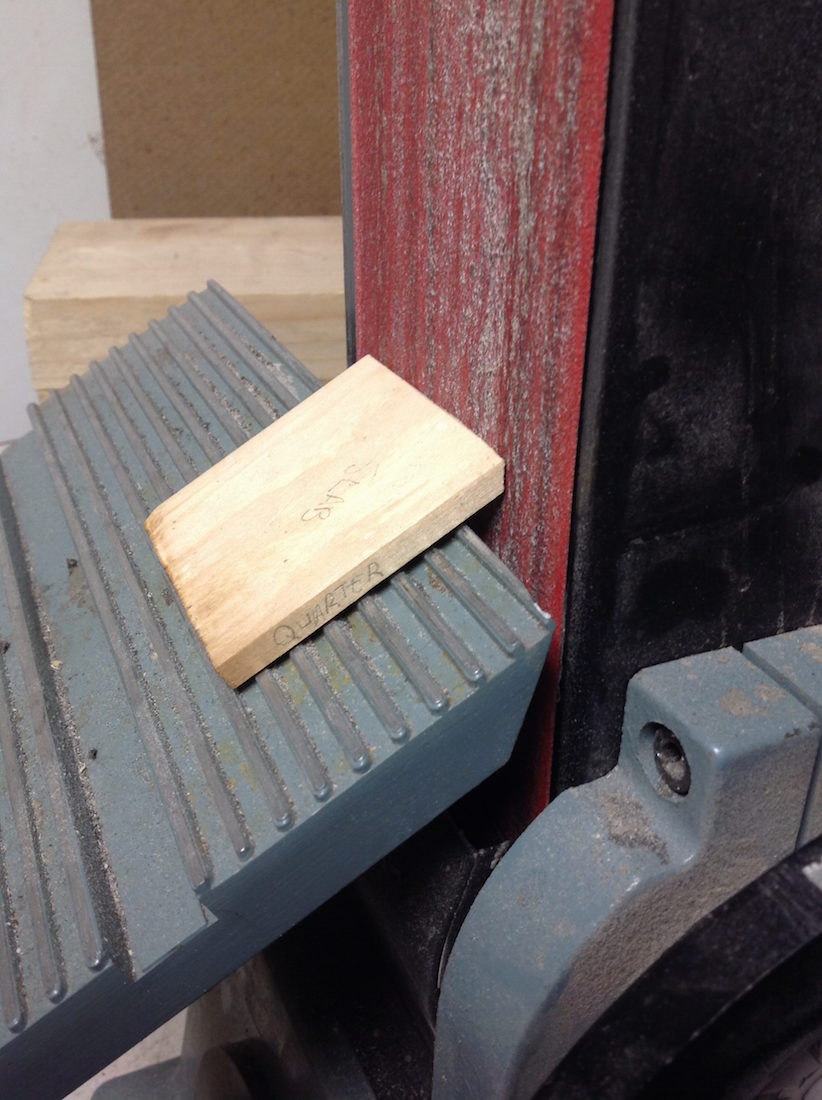
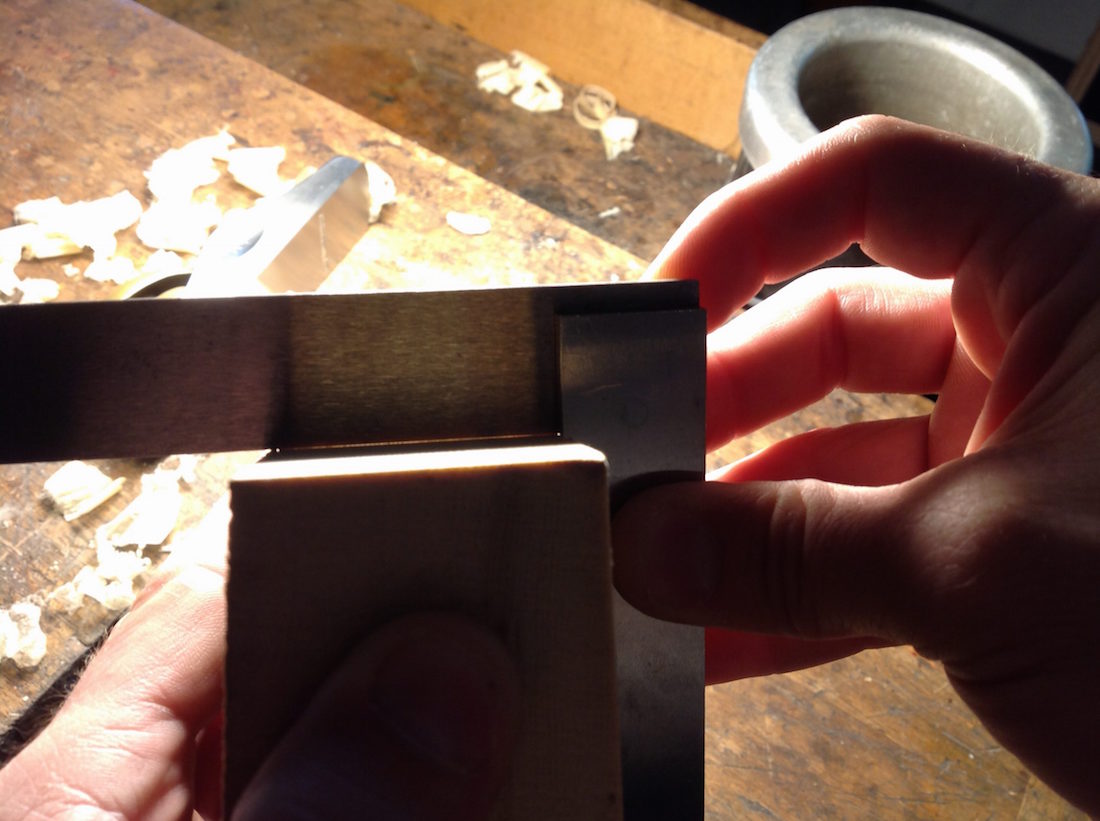
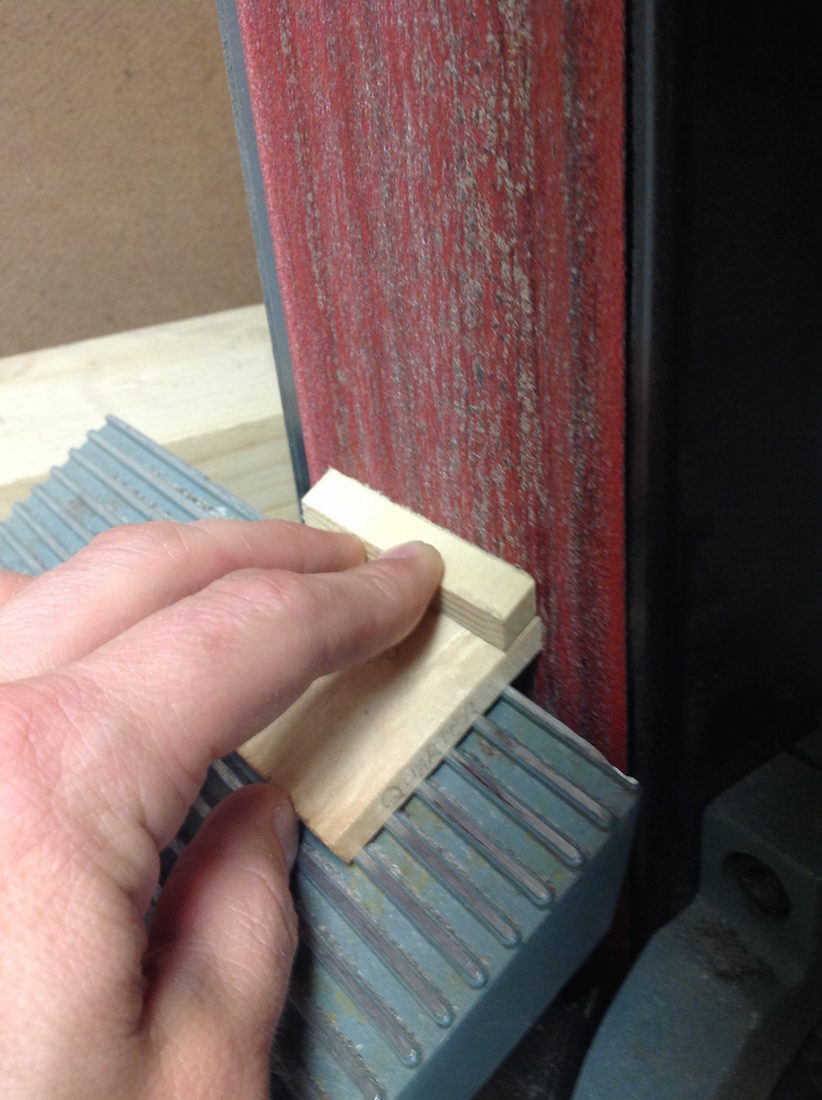
Mark out the cleat length at 10mm (27mm for cello) with veneer calipers. Saw out along the line and clean up the end grain with the belt sander. Employing the dual sanding method (shown below) will expedite sanding and keep angles uniform. Repeat this process until the cleat stock has been exhausted.
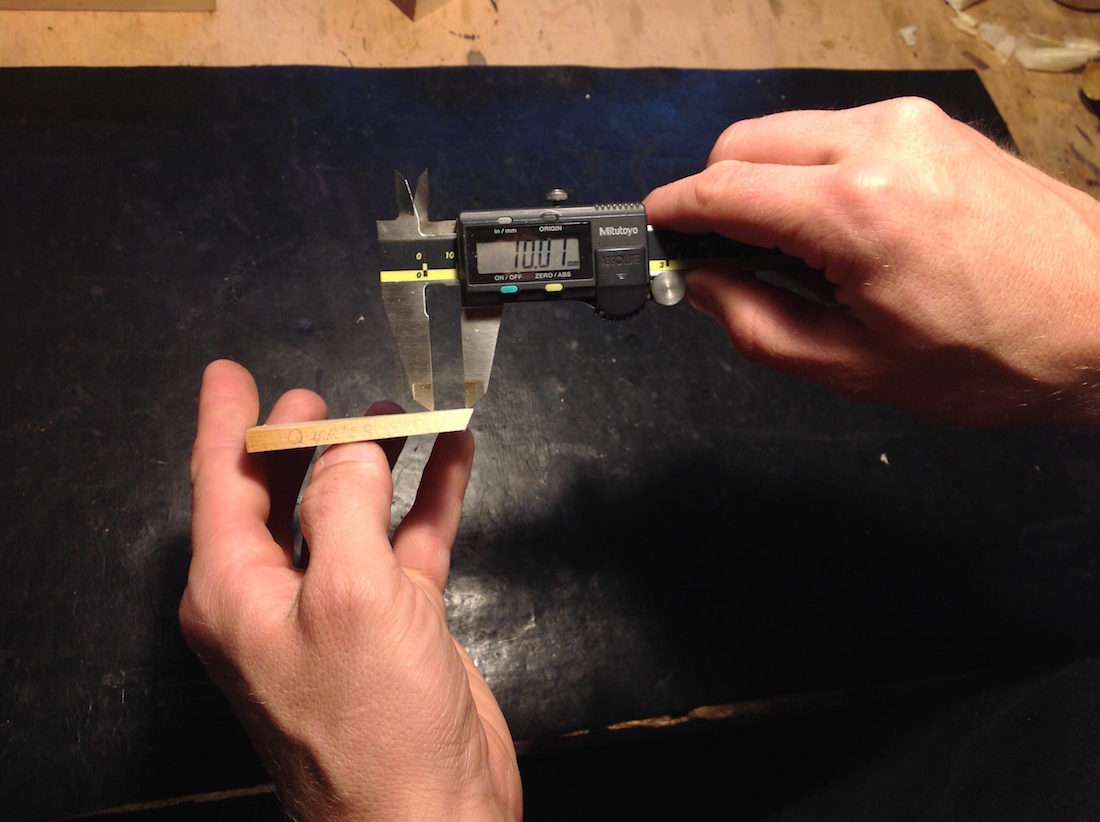
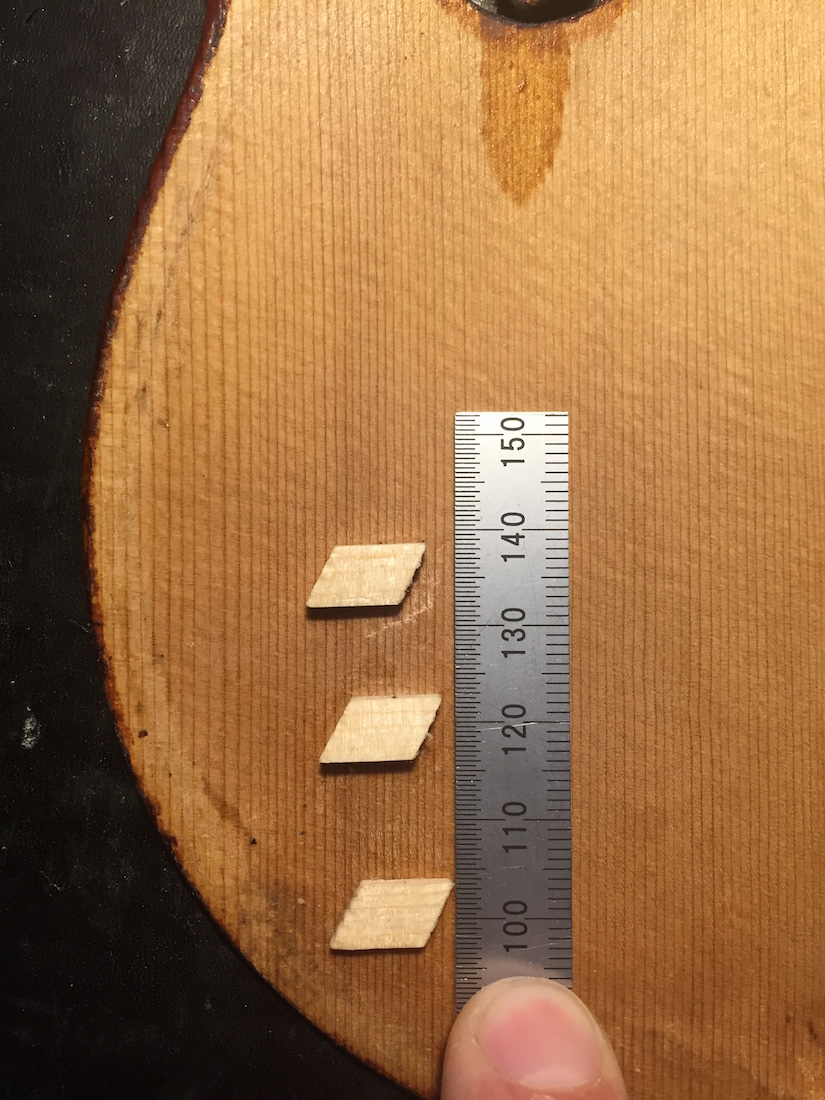
The resulting cleats should have a corner to corner length of 11.75-12.5 mm (30-31mm for cello).
Fitting and Gluing Cleats
Before any cleat should be installed, the crack it will reinforce should be cleaned, leveled, and glued. The space around the crack must also be free of dirt.
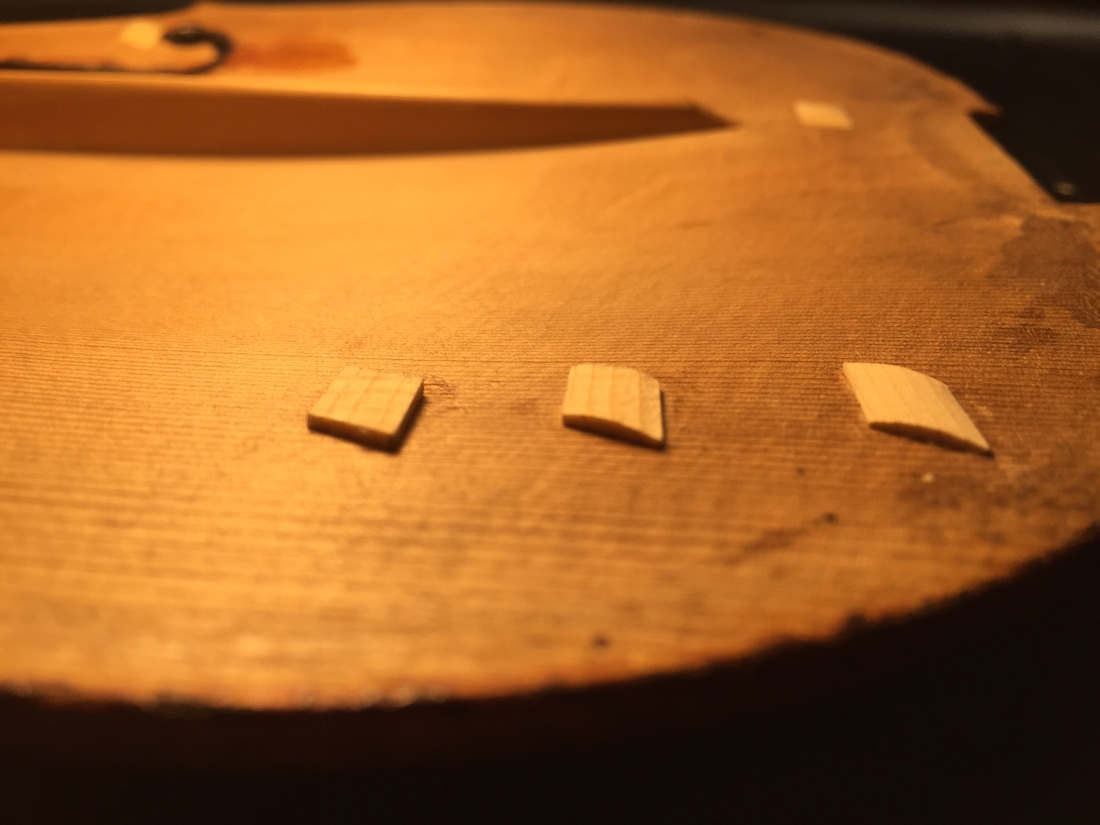
Deciding the appropriate number of cleats is up to the restorer. Too many cleats and the crack can look cluttered, too few and the crack will not be properly stabilized. A good process is to book-end the crack then evenly space the cleats, leaving approximately 15-20mm (25-35 for cello) between each edge of consecutive cleats.
Draw a center line down the length of the cleat stock on the slab side. This will aid in keeping track of how to position the cleat when fitting. After deciding where the cleats will be fit, mark the plate with a pencil where the right corner and center line meet the top.
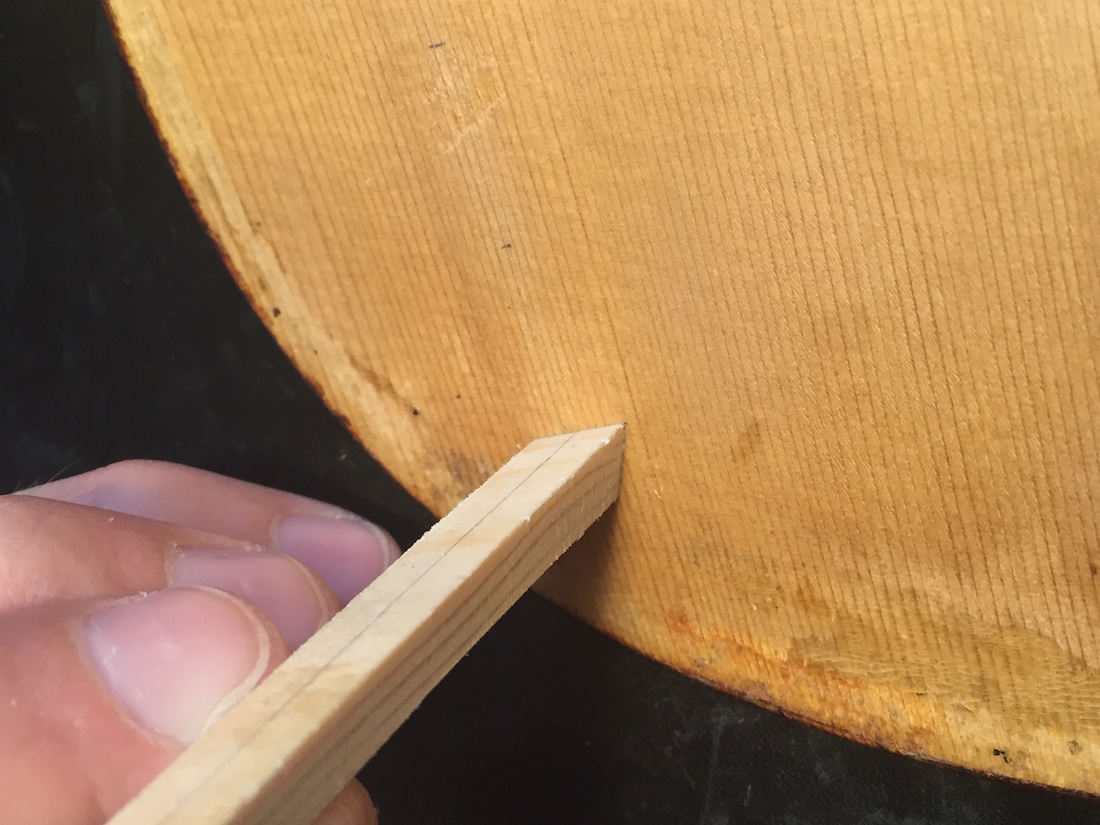
Begin fitting the cleat with a knife and using the lamp to check for gaps. When the cleat has good contact with the top, finish the fit with chalk. A file or scraper is good for finalizing the fit.
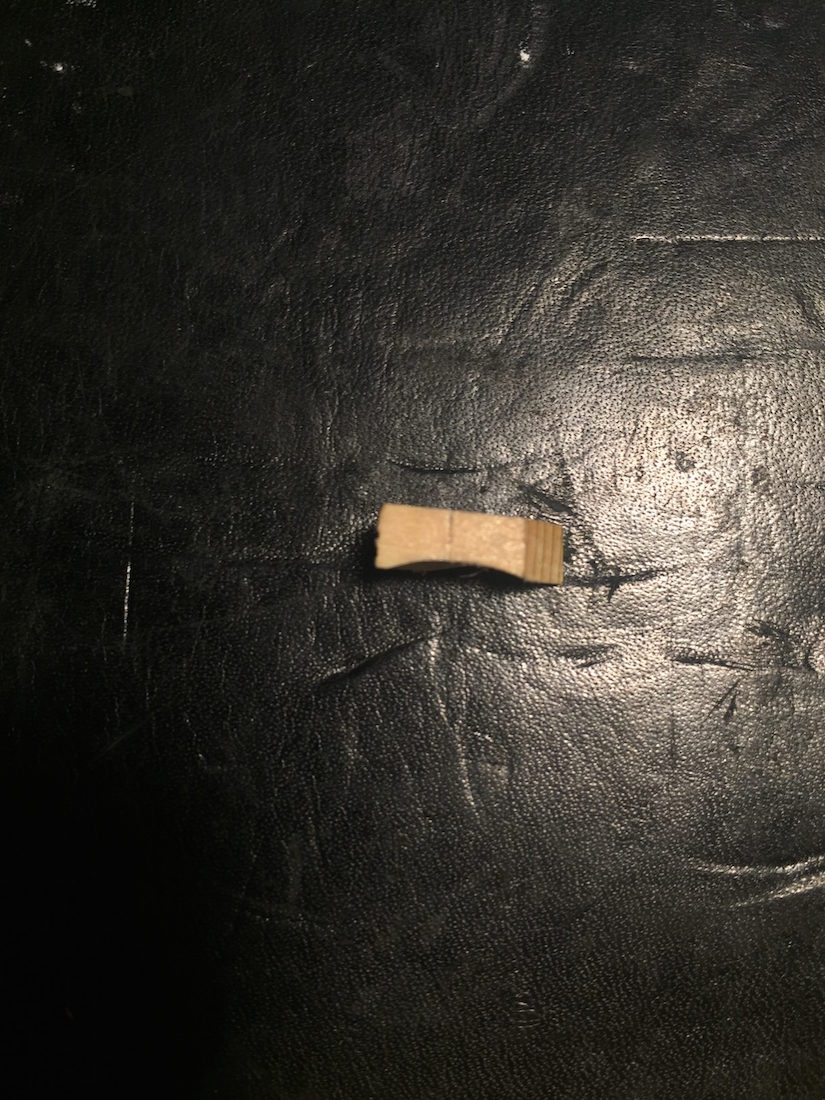
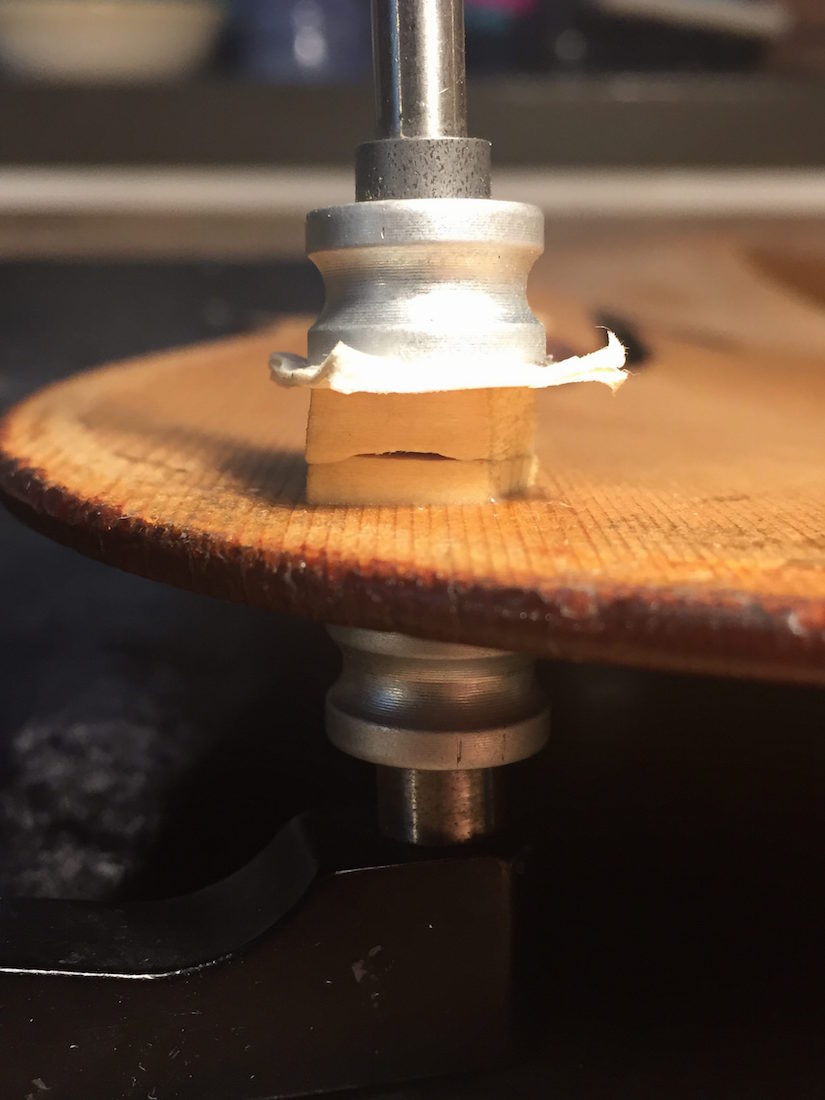
To glue the cleat, make a cleat counter form. This is made from the cleat stock and is hollowed to the edges (shown below). The counter form keeps the cleat edges from raising during gluing. The clamp being used needs to have a rubber, cork, or thick card stock backing on the swivel shoe to protect the varnish. Erase the chalk from the plate, moisten the top surface of the cleat with water, apply hide glue to the cleat, place the cleat at the pencil dots, double check the cleat grain runs perpendicular to the top, and lightly clamp. The moisture on the top of the cleat counteracts the expansion from the glue moisture ensuring the cleat will maintain contact with the top. After 10 minutes, remove the clamp and clean the excess glue with a damp paper towel and a toothpick shaped into paddle. Wait a few hours for the glue to dry before shaping the cleat.
Cleats can be glued in secession or one at a time; time constraints and personal preference are the deciding factors.
Offset cleats in order to prevent future cracks from developing along the cleat edges. Usually 1-2 grain lines is sufficient, although for a long crack I prefer a 3 cleat zig- zag pattern.
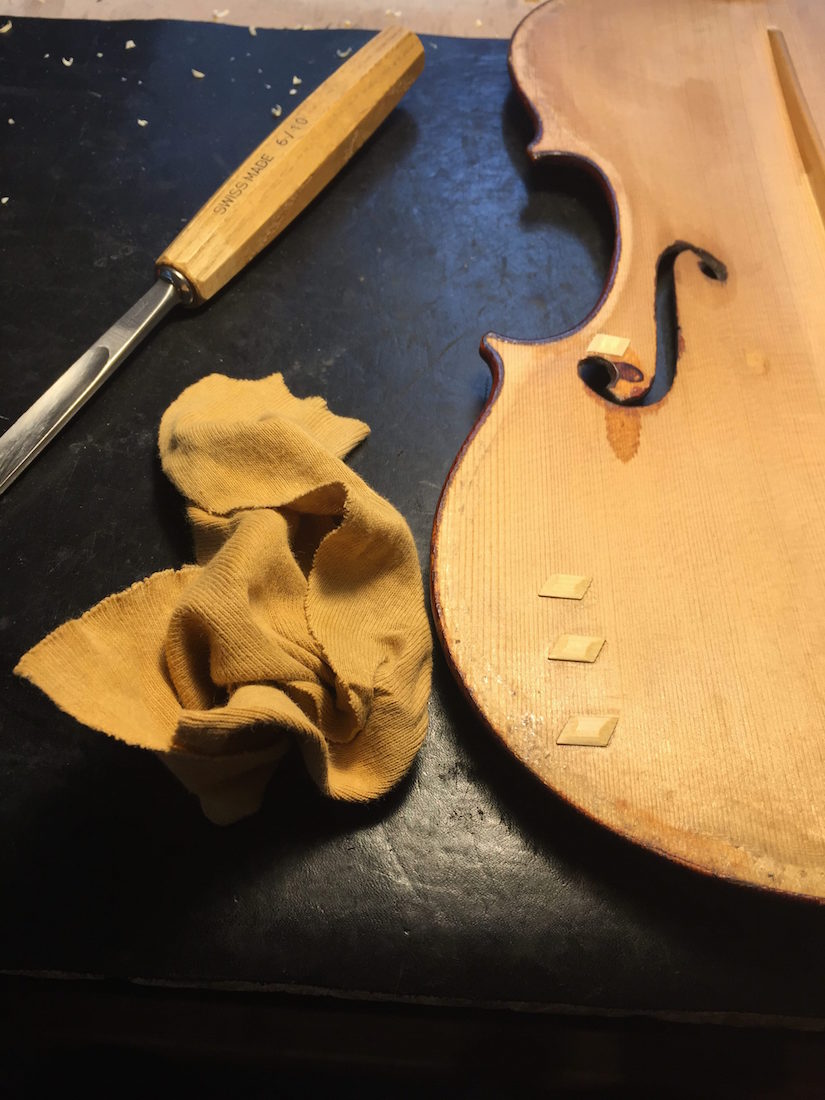
Shaping Cleats
The shape of the cleat is important. Parallelogram shaped cleats are used because the offset corners help to distribute and mitigate the pressure points along the cleat edge. Sculpting the cleat also adds to this smooth transition. Unshaped or square cleats where the edges align on one grain do not have this mitigation, and can result in cracks running right along the cleat edge.
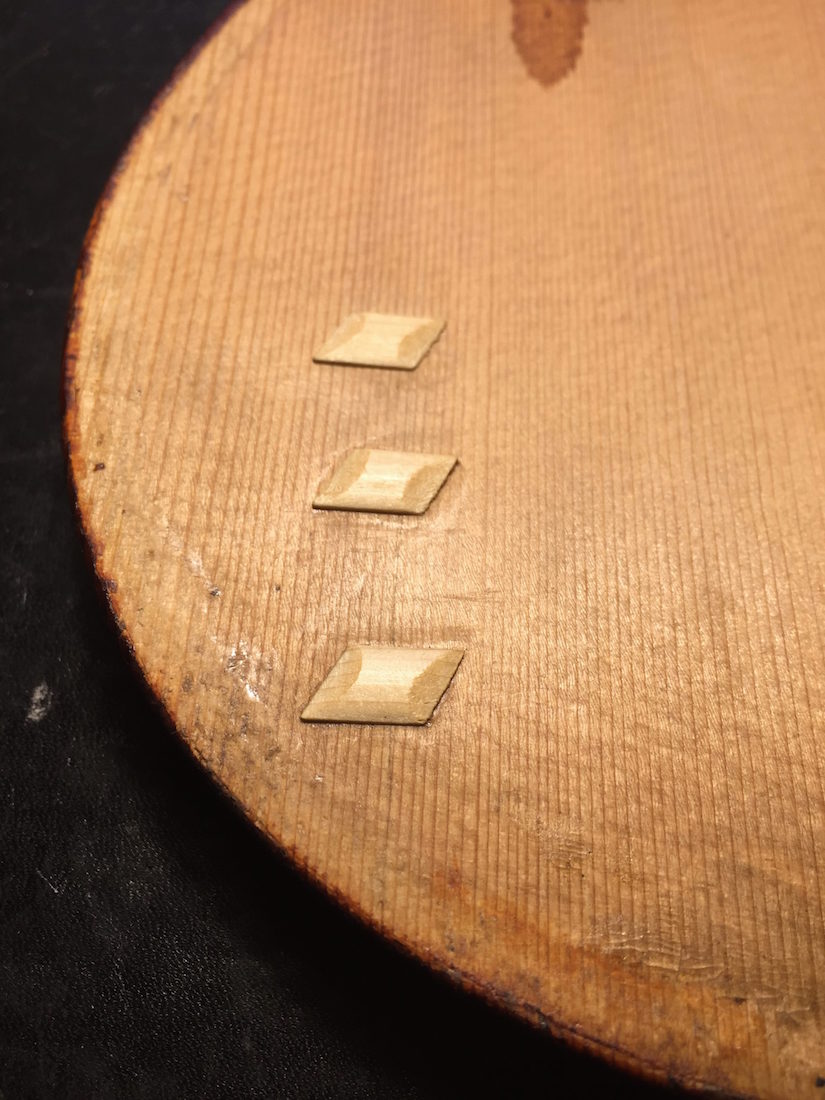
To finish the cleats, a 6 sweep 10 mm gouge is used along with 220, 320, 600 grit sandpapers. Begin by evenly bringing the cleat to close to the finished height (1.5 mm). Using the gouge make even chamfers with the grain that form an elegant mound. Lightly and carefully sand through the grits, while not hitting the top. Between each grit, a damp paper towel can be used to raise the grain. Do not use too much water and be sure the cleat is dry (hair dryer is a good method) before resuming sanding.
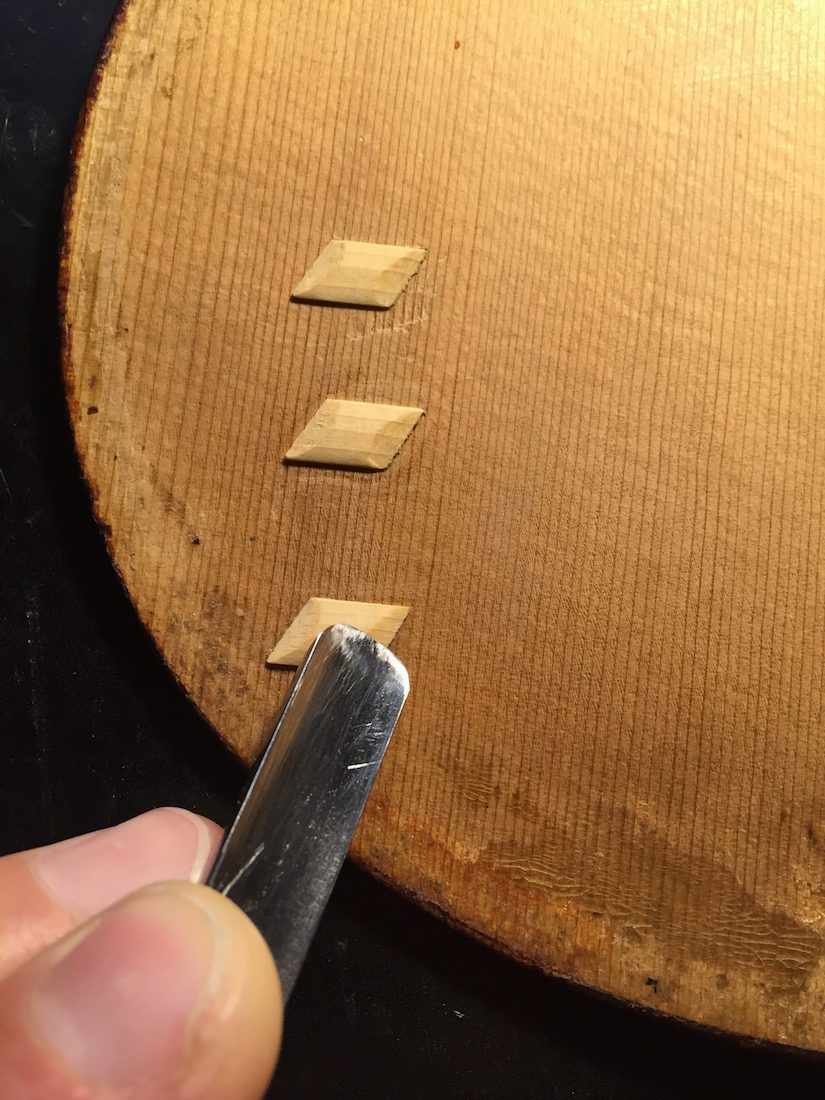
After sanding, cut the chamfers along the side. Cut in the direction the corner is pointing to avoid tear- out. The more confident the gouge strokes the better resulting chamfer. Do not sand after cutting the side chamfers because the crisp lines of the chamfers will be lost. To finish the cleat, burnish with a rag that is impregnated with raw sienna and raw umber earth pigments. This helps the cleats visually blend to the top.