


Even though you can buy a fingerboard blank from your supplier, it is not ready to be put on the instrument. A little prep work is involved to get the blank ready. In this article I will cover the method I use for preparing a new fingerboard.
MATERIALS AND TOOLS
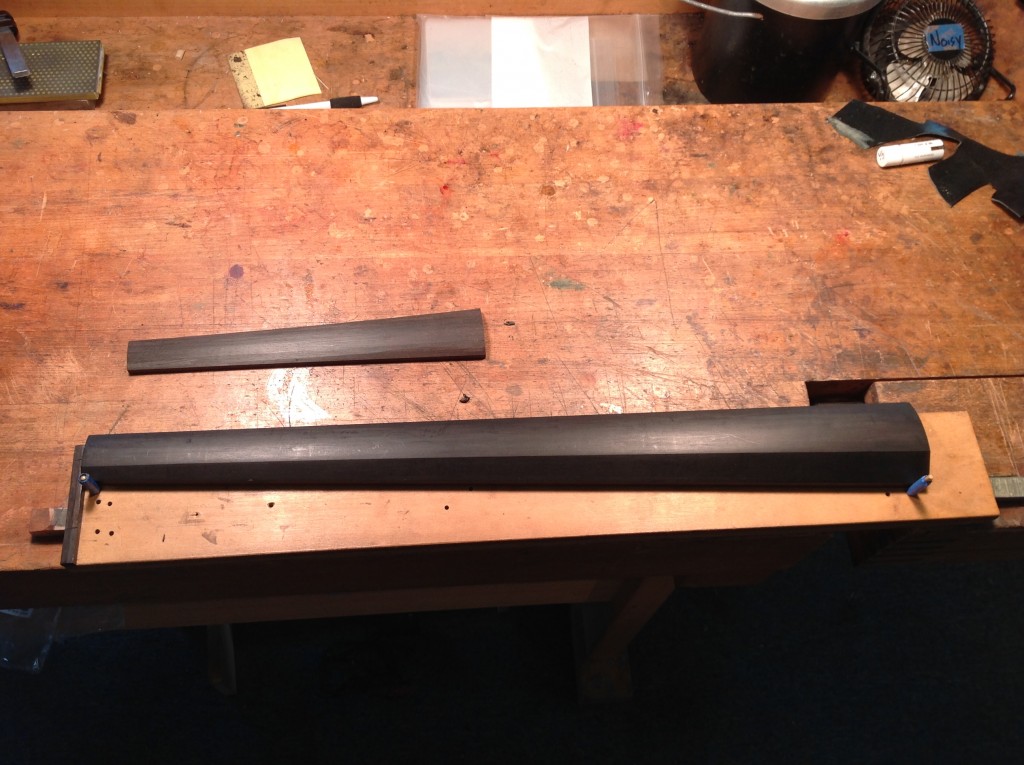
-Fingerboard blank
-Block plane with a curved bottom [1]
-Large jointer plane
–Straight-edge
-Chisel: I use a 1-inch paring chisel
-Digital calipers
-Sliding T-bevel
-Marking gauge
-Fingerboard template
-Pencil
-Fingerboard holder
-Fingerboard side planing jig
–Alberti Disc Sander
–8 inch flat file: 00 cut as an alternative to the sander
-Small dividers
-Wet or dry sandpaper: 220 grit, 320 grit, 600 grit
-Mineral Spirits
-Steel wool: extra fine

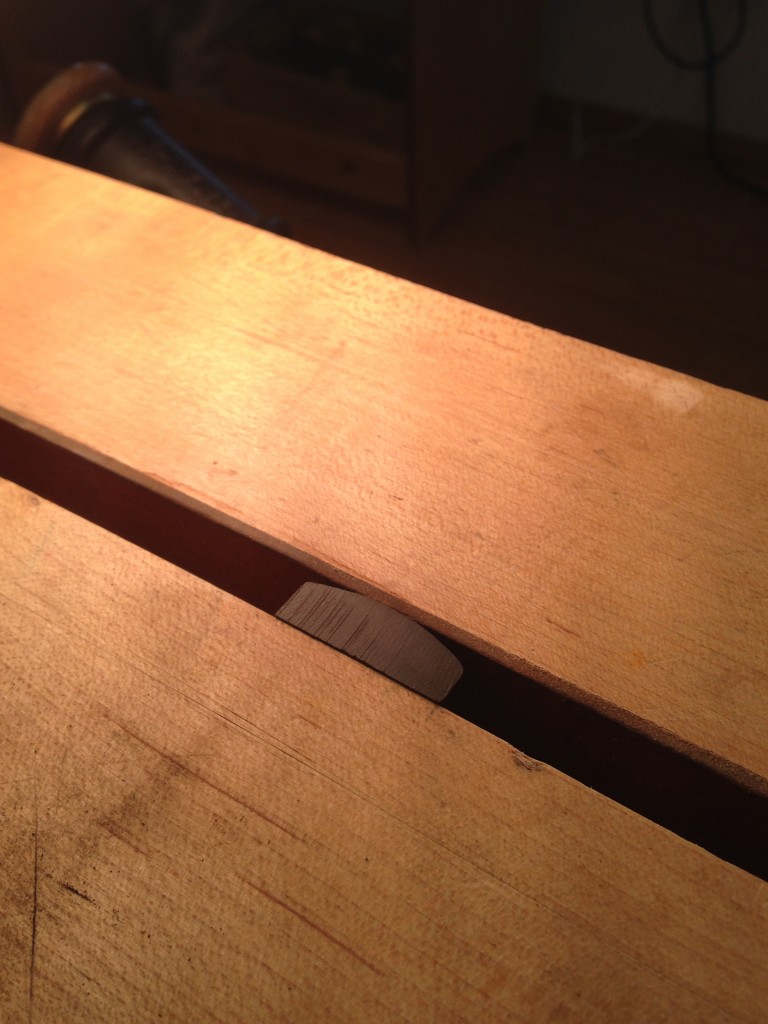
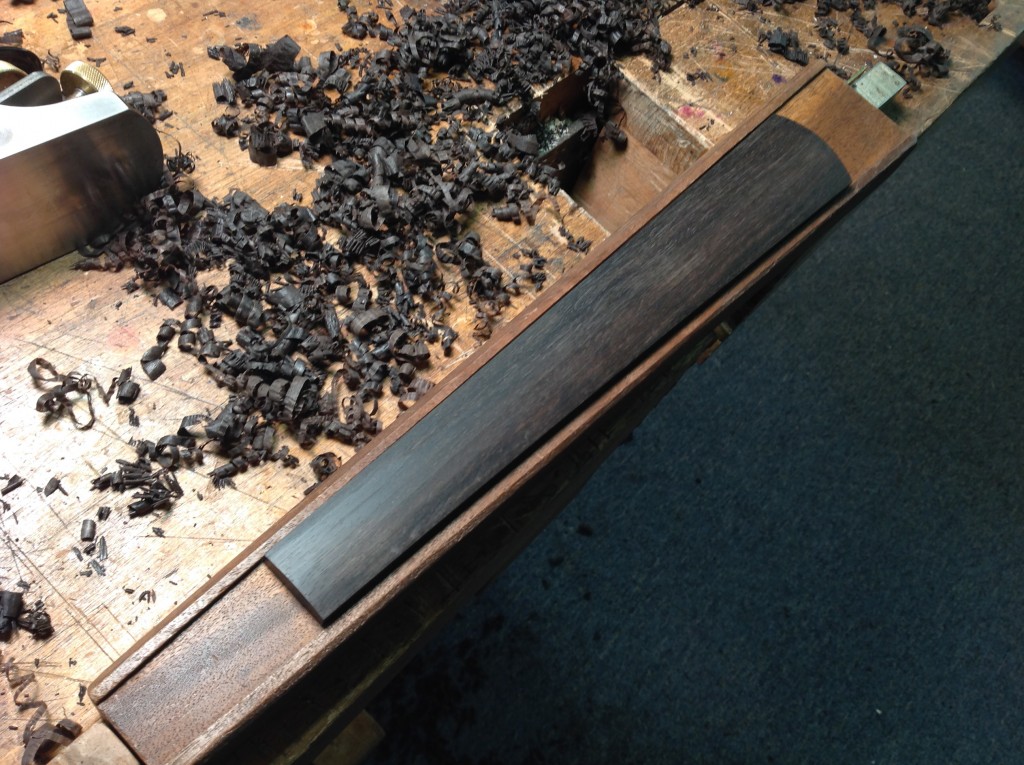
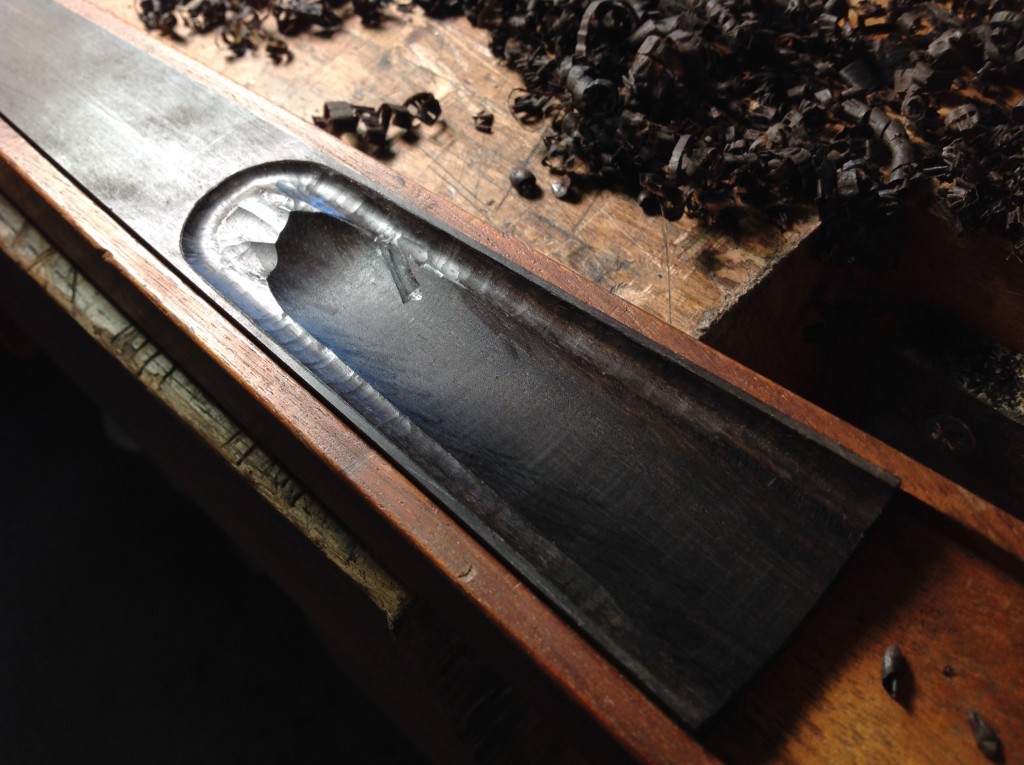
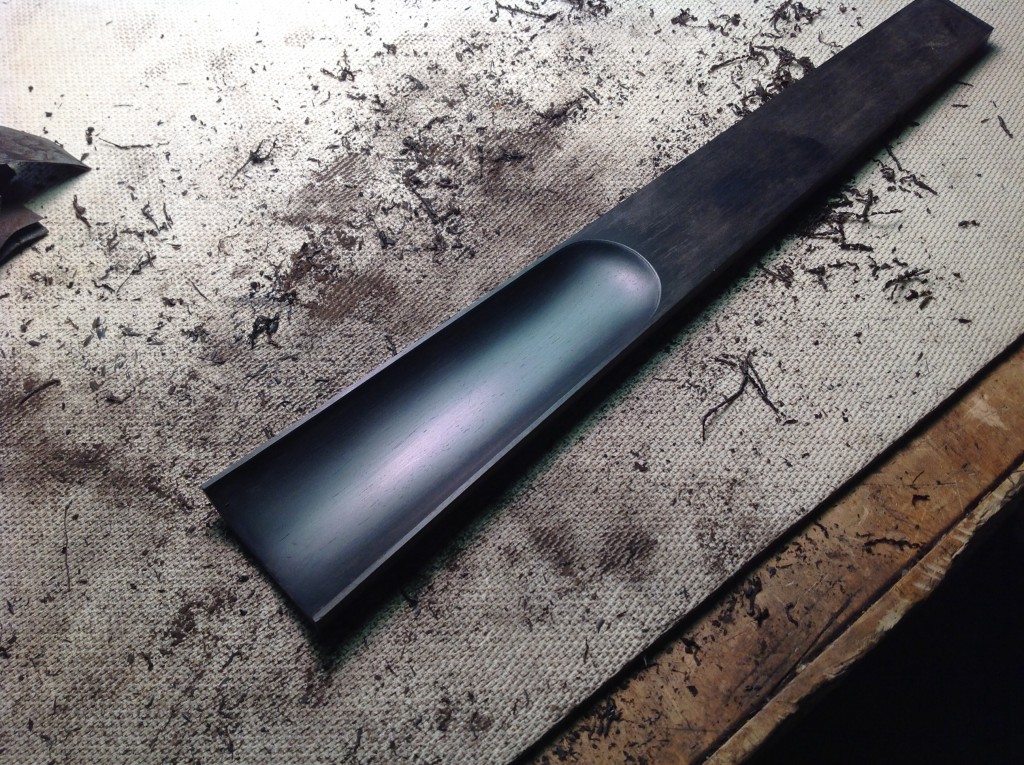
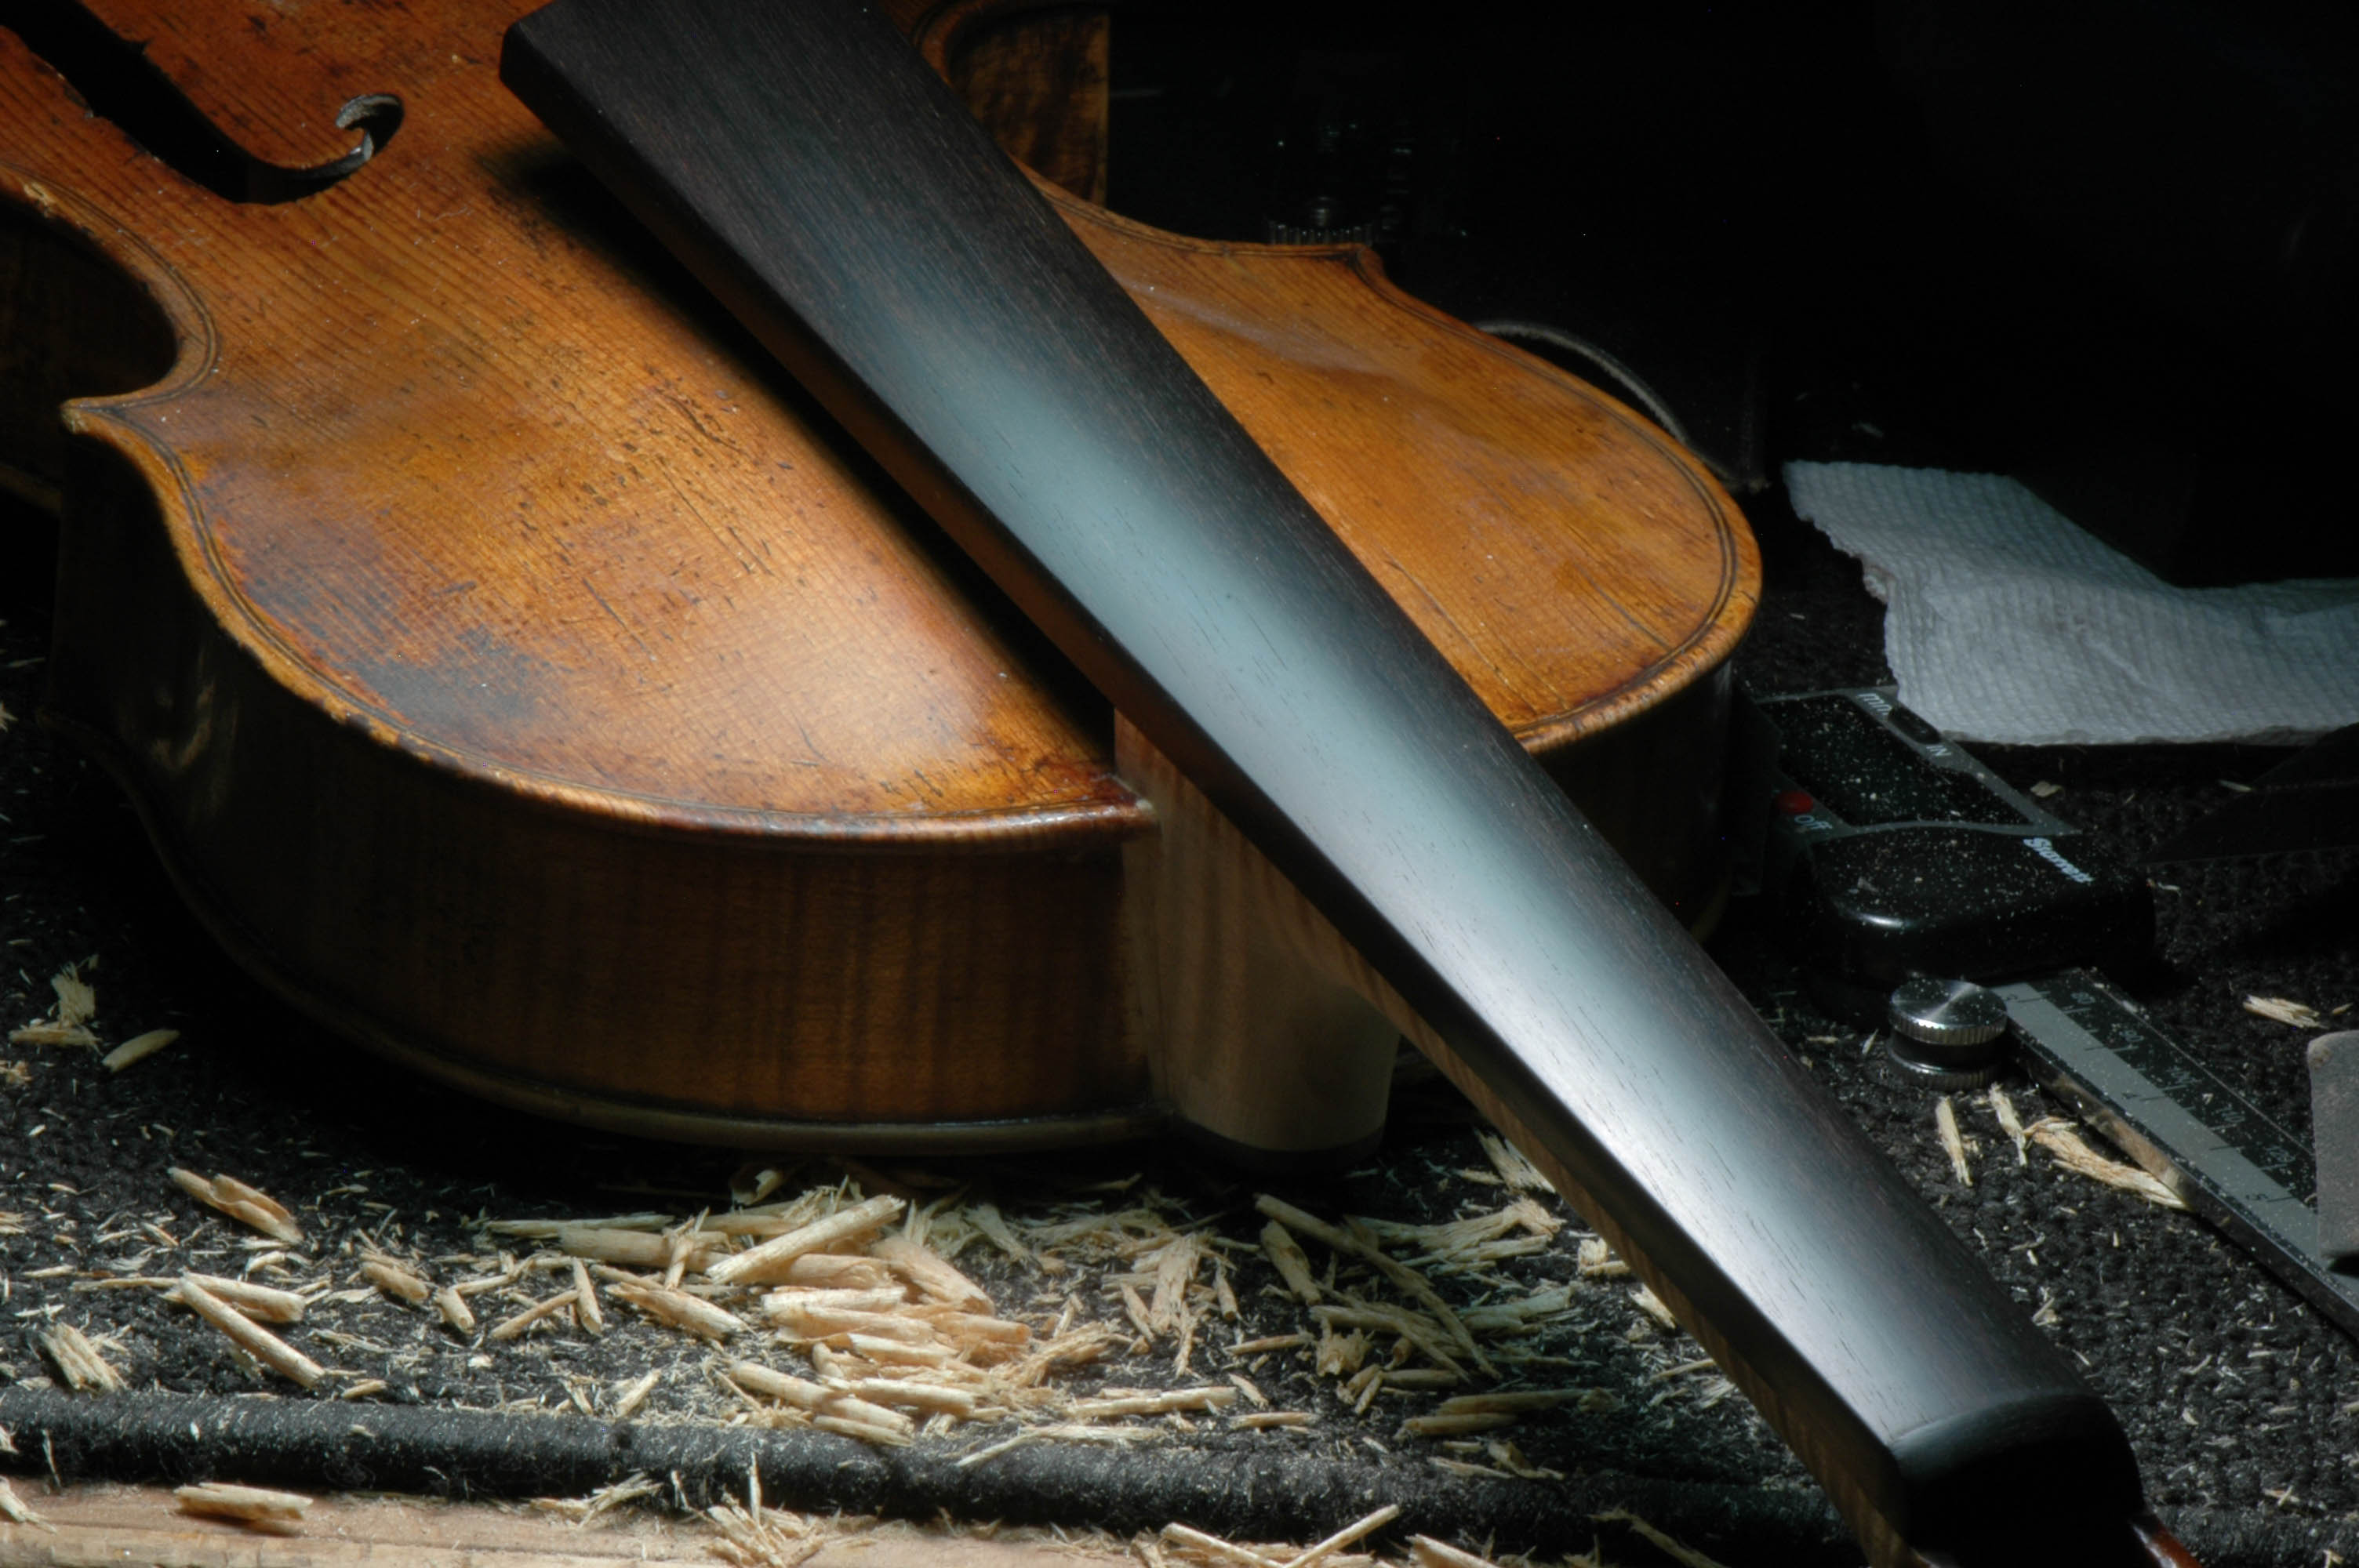
Flattening the Fingerboard Gluing Surface
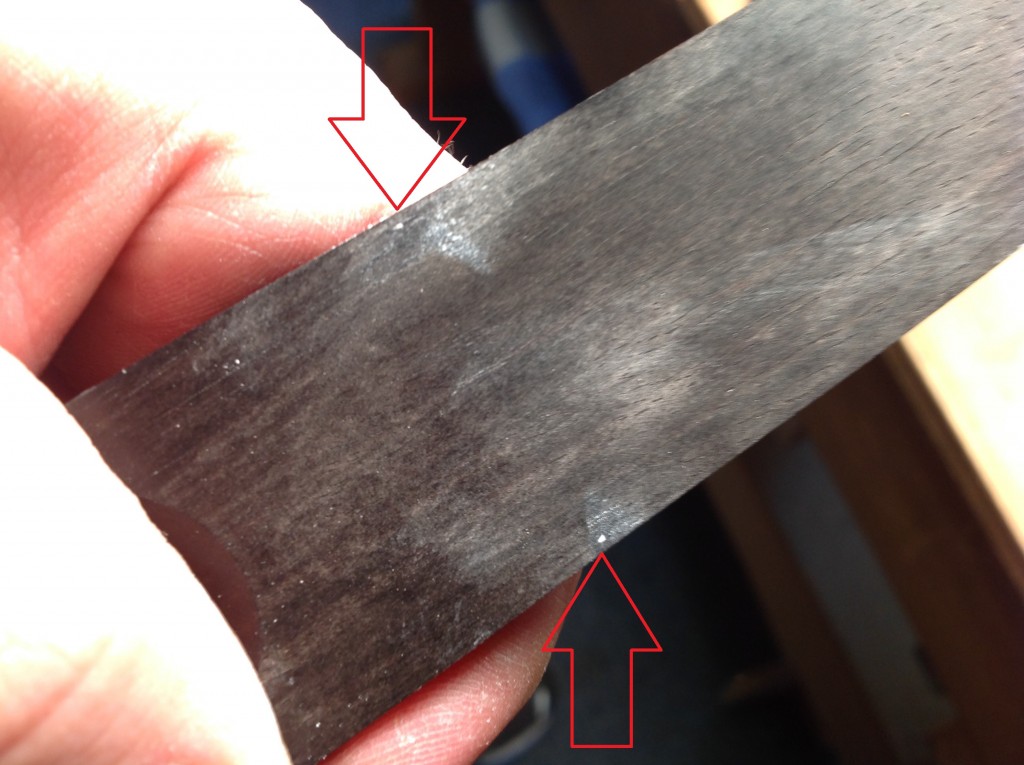
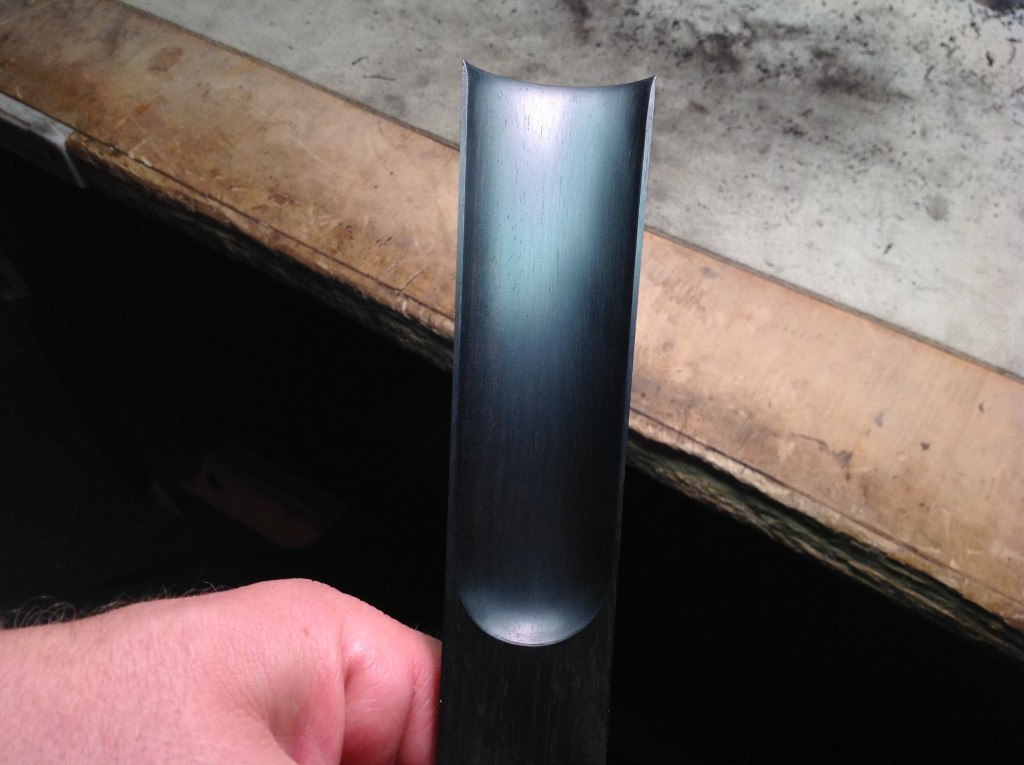
The end goal is to have a gluing surface that is flat lengthwise and slightly concave crosswise as shown in the picture.
In my experience the slightly concave surface produces a better glue joint. I believe this is due to wood swelling and the glue drying on the outside of the joint faster than it does on the inside.
The key to making a good fingerboard gluing surface is the plane blade. It must be very sharp and slightly convex in order to leave the fingerboard surface concave. This [Footnote] includes how I sharpen my blades.
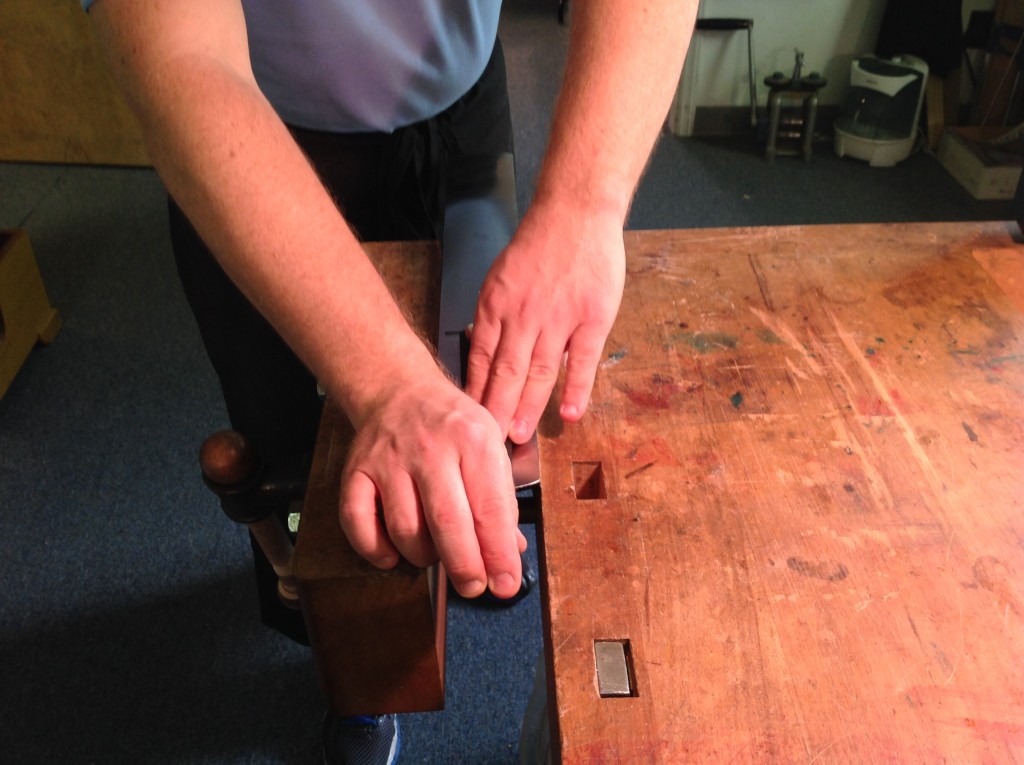
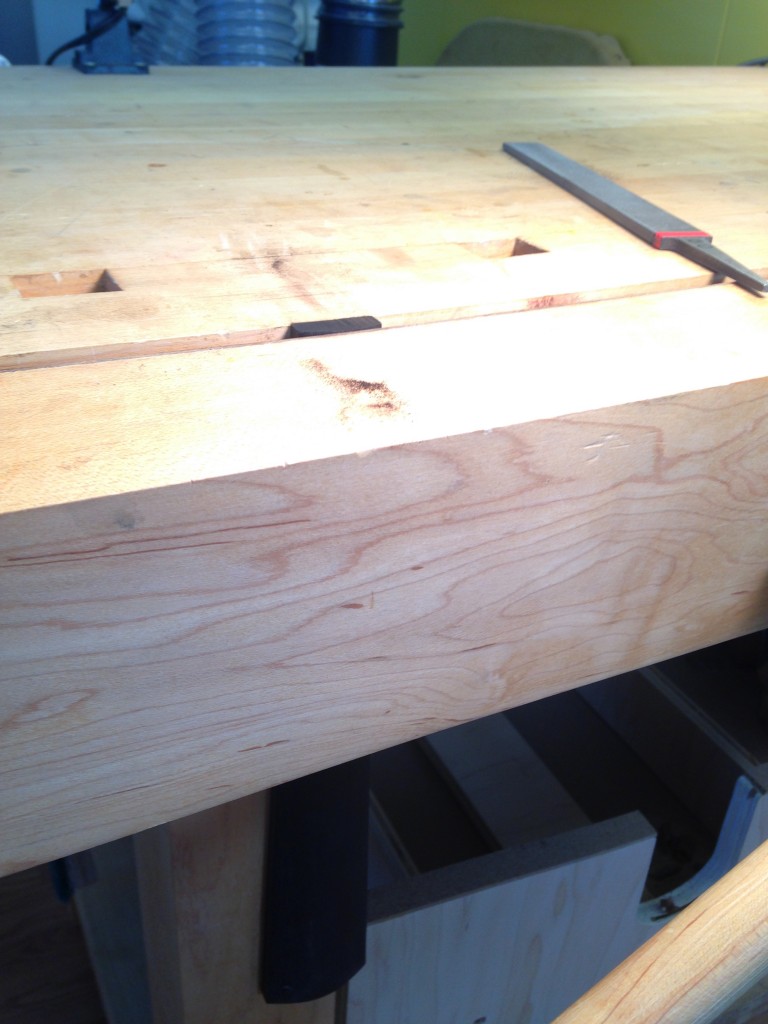
I put the jointer plane in a vise and pull the fingerboard (gluing surface down) across the planing surface. I check with a straight-edge lengthwise and crosswise. Even though I am looking for slight concavity crosswise, I make the surface dead-flat lengthwise.
Finishing the Ends
At this point I decide which end of the fingerboard to finish first and will explain how to finish this end. Then I will cut the fingerboard close to the final length and finish the other end.
I usually start finishing the nut end of the fingerboard first, but one could start at the bridge end. There would be a good reason to finish the bridge end first if the width of the blank at that end was already close to the finished dimensions. That way, when cutting the board to length, the waste would be cut off at the nut end. You would not be in danger of going below your finished dimensions, since the width of the fingerboard gets increasingly wider from the nut.
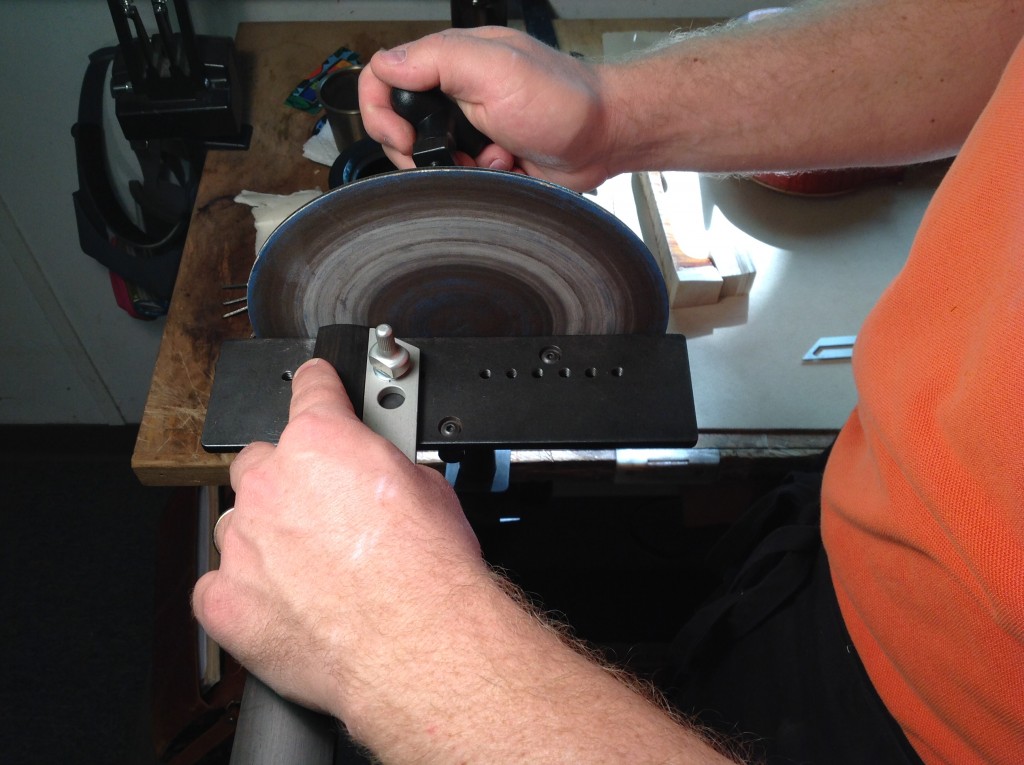
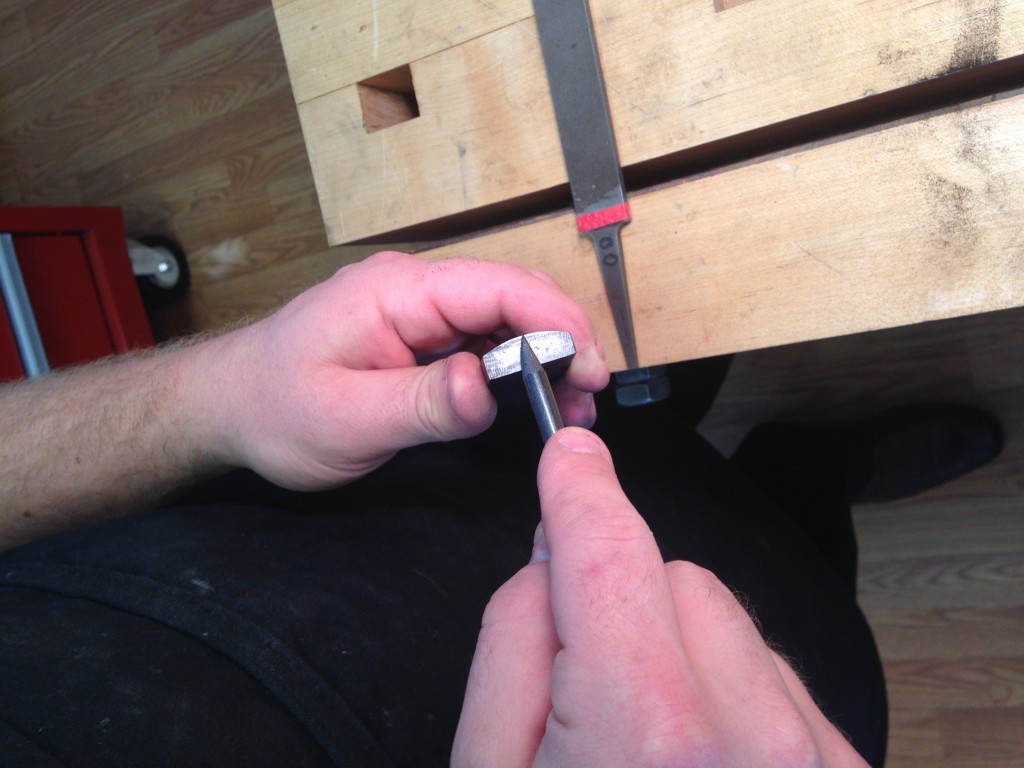
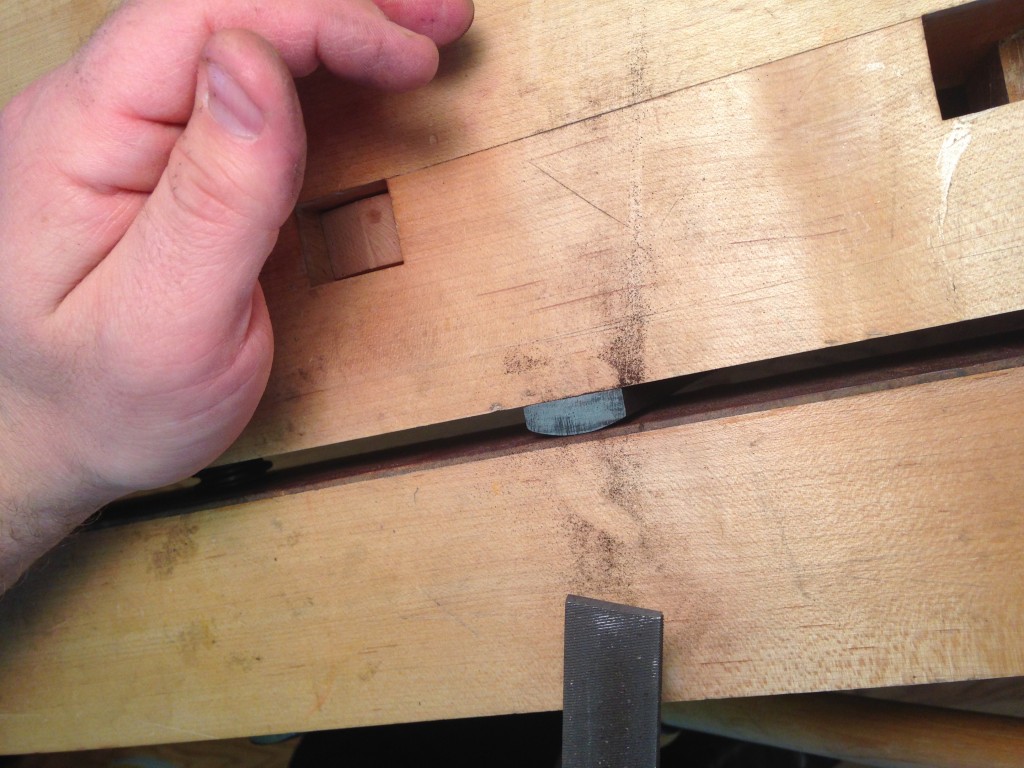
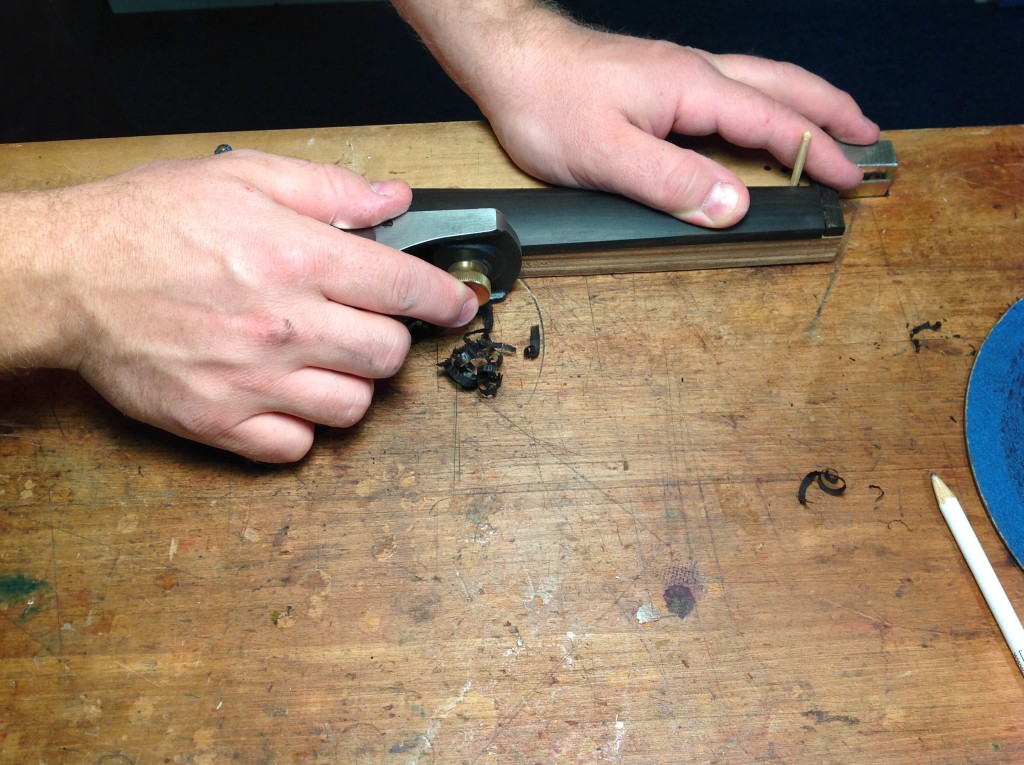
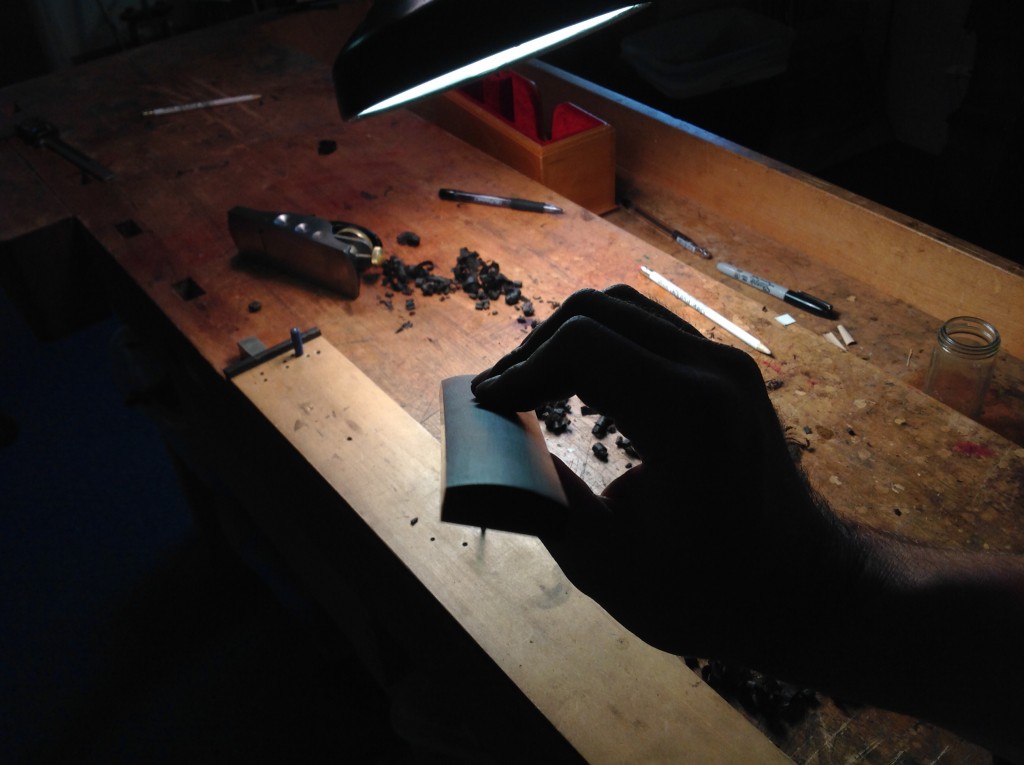
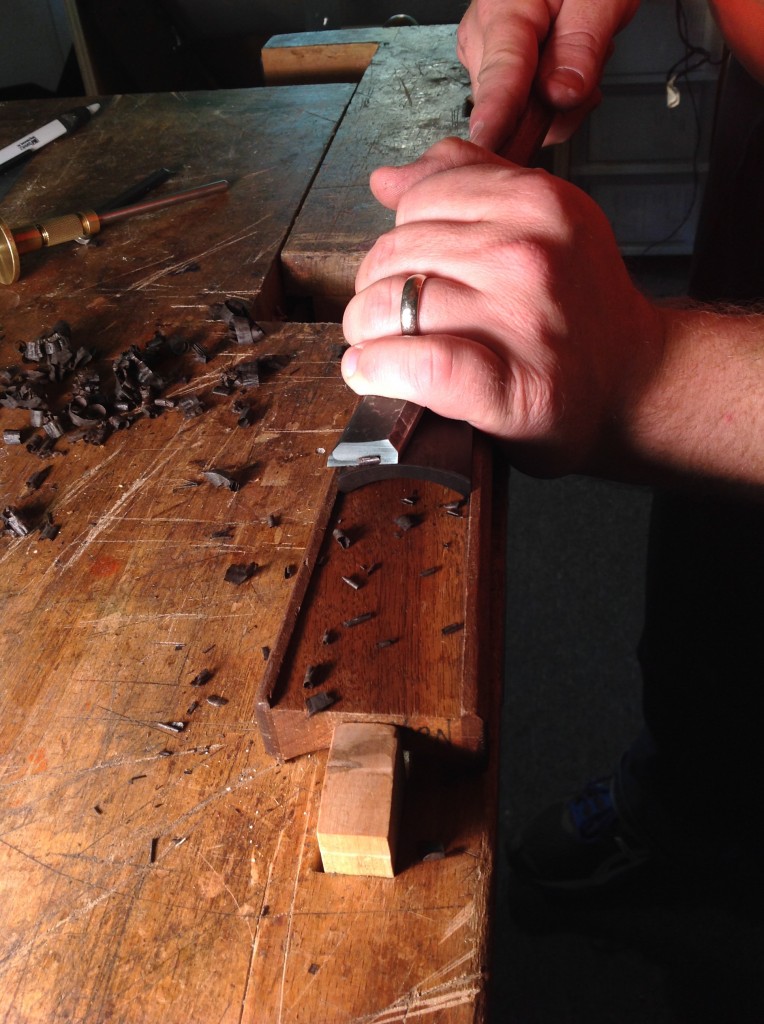
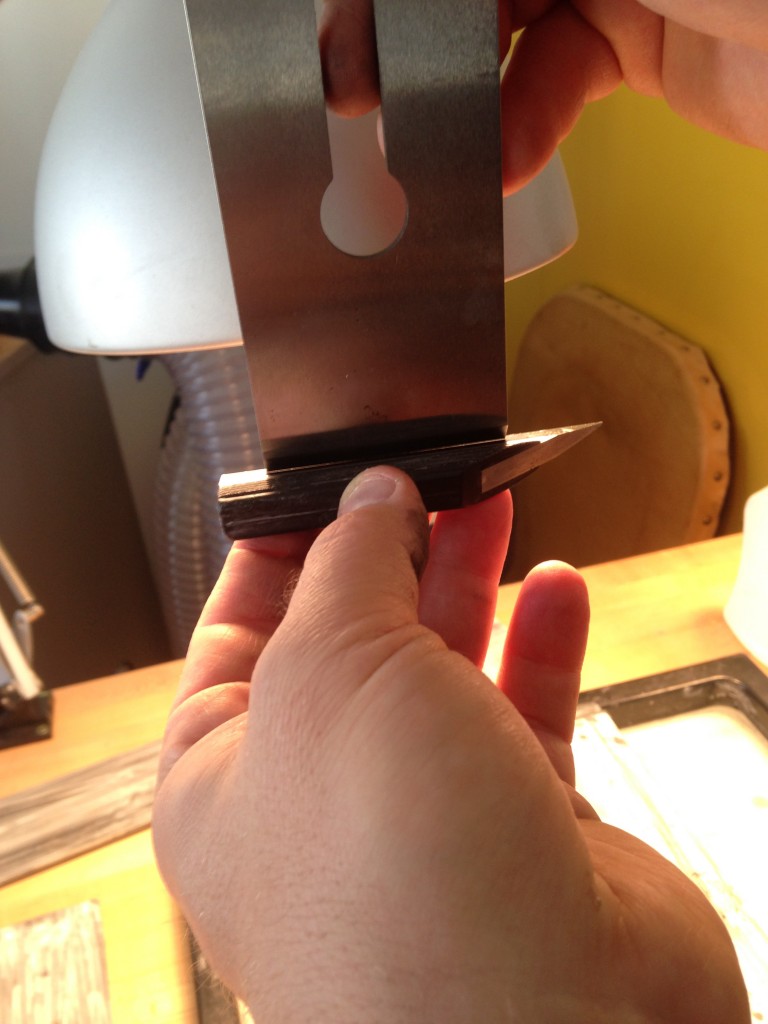
To establish the angle of the fingerboard end, I use a sliding T-bevel. I set the T-bevel to the angle on one side of the fingerboard. Then I flip the T-bevel to the other side to check how that angle compares. The goal is to have both angles be the same. If you have an Alberti Disc Sander, correcting the angle will be very easy. (The tool is quite expensive, but is a good tool for a number of shop tasks. I will explain later how to do this with just a flat file.) Make your corrections and check again with the T-bevel. Once I have the angle established, I will use the quick change function on the sander to switch to a higher grit disc and clean up the end.

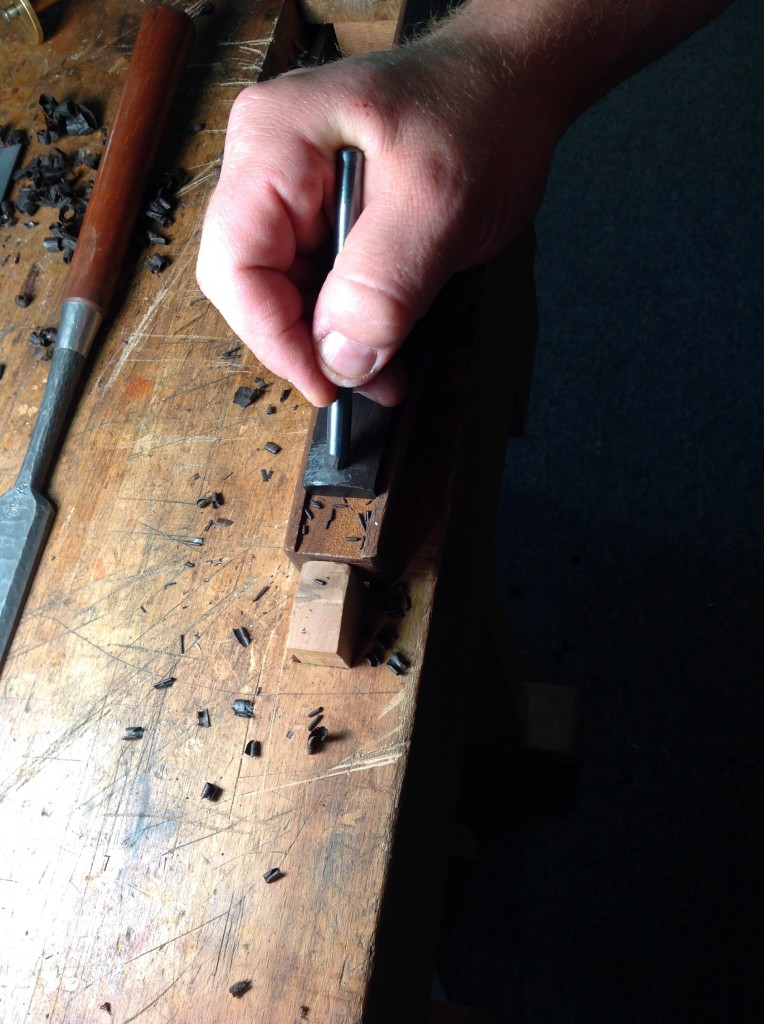
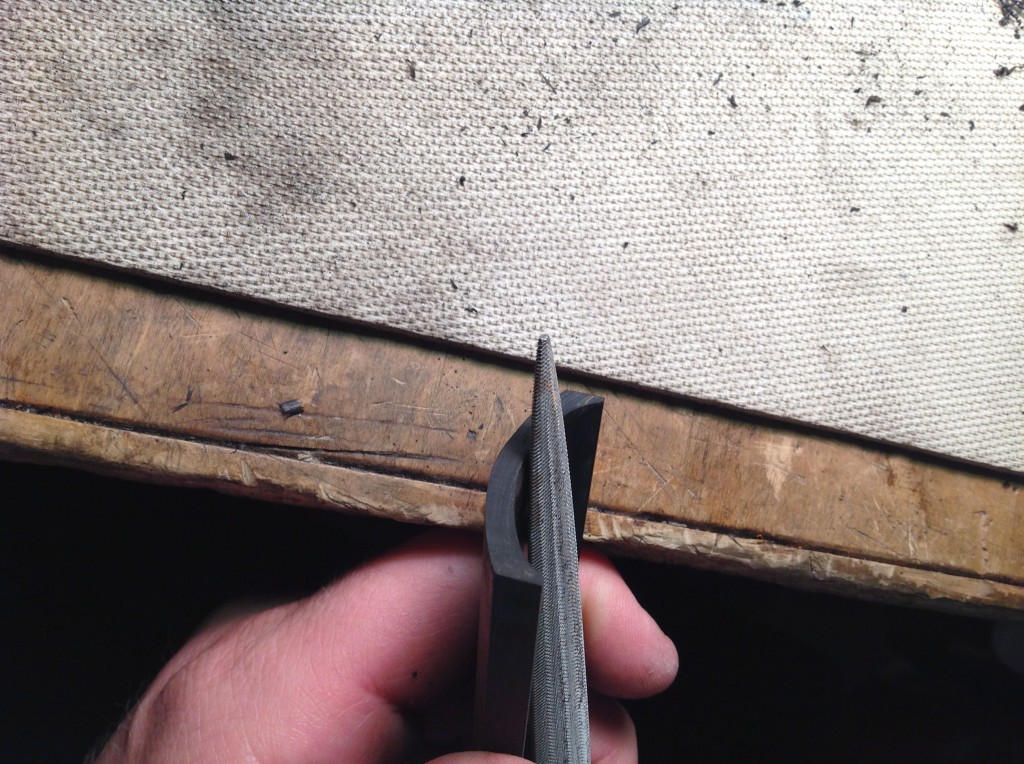
It is possible to do it the cowboy way and use a flat file to establish the ends. In this case I will still use a sliding T-bevel to check the angle of the ends. Once I know where to file, I put the fingerboard in a vise with the end just barely sticking out. I then use the flat file with one hand holding the tang, and the other holding the end. I then make long controlled strokes.
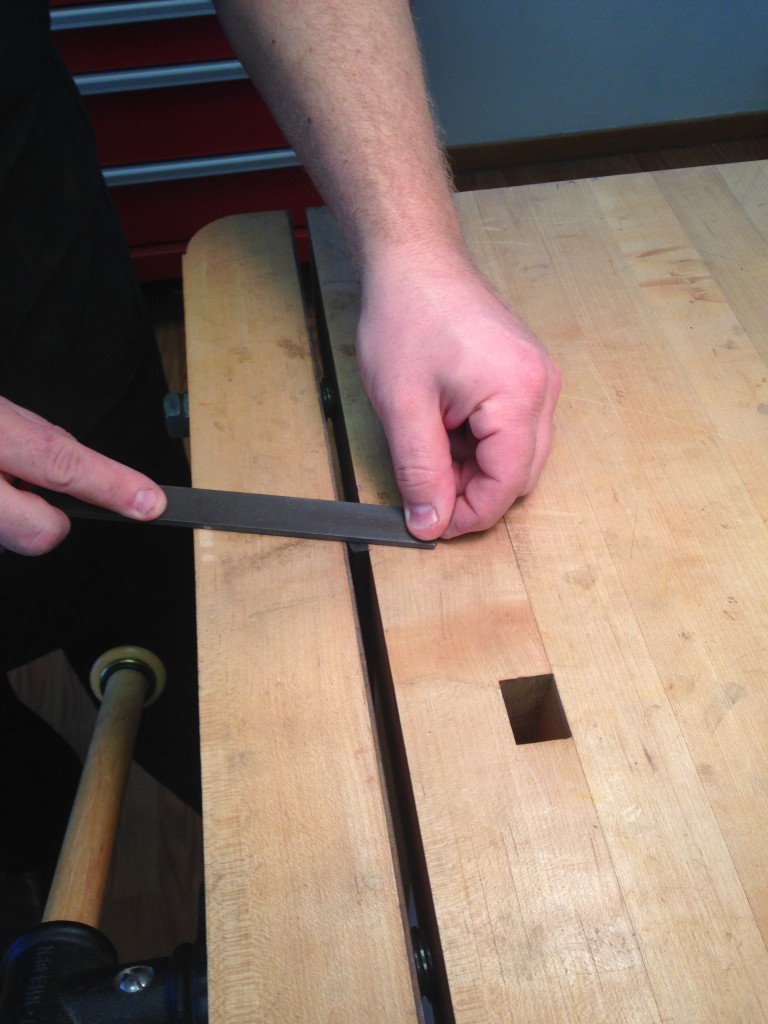
It helps to put a little graphite on the end. This way it is possible to tell exactly where material is being taken off.

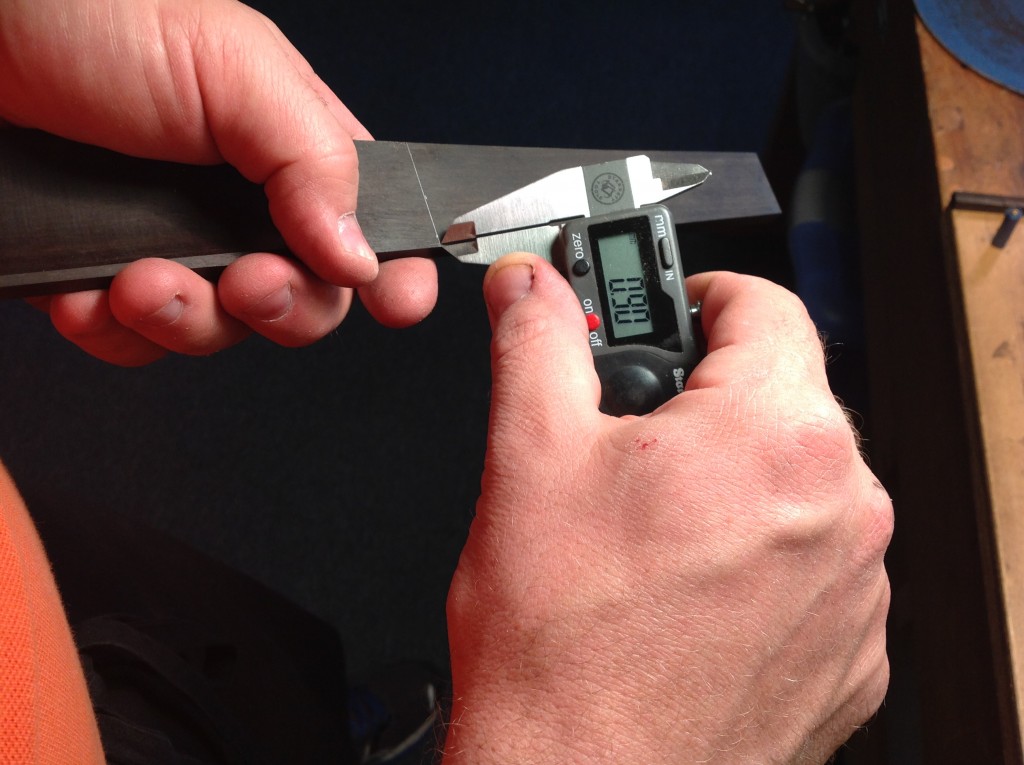
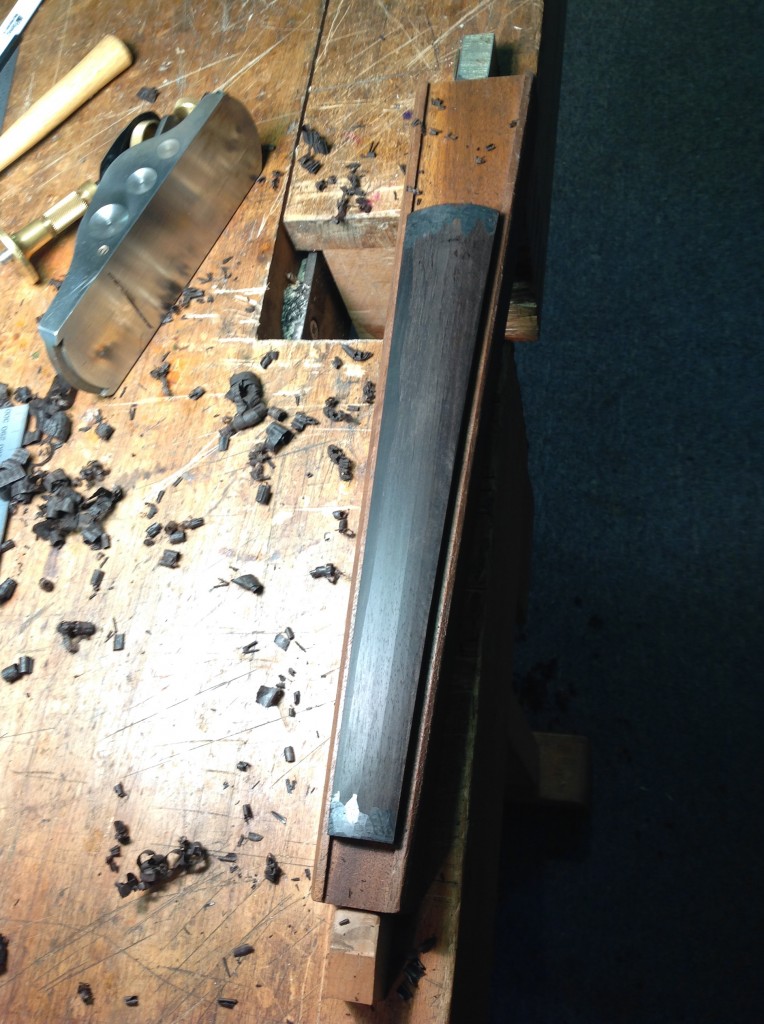
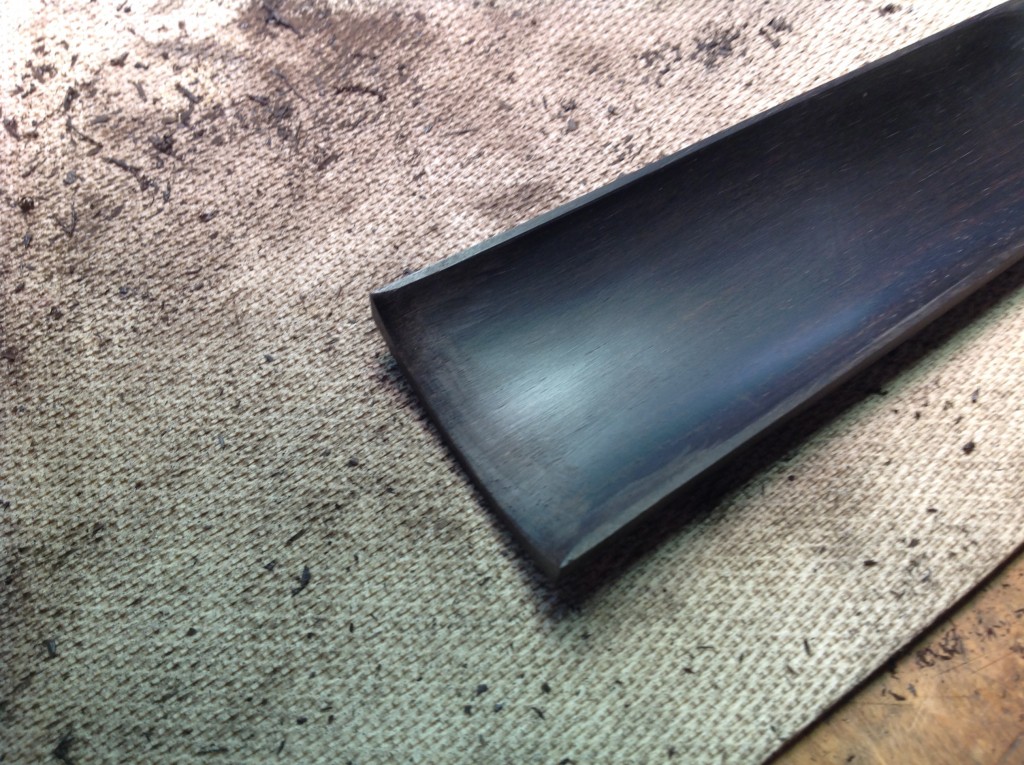
The finished fingerboard should be 270 mm long (579 mm for cello). Once one end is established, I will take the fingerboard to the bandsaw and saw off the excess. I saw it to 271. If you feel uncomfortable with your ability to make the end work in a millimeter or less, leave it longer. Saw slow and carefully, because you don’t want the ebony to splinter. (If you have problems with your saw splintering, you can score the wood ahead of time.) Of course a handsaw could be used for this application too. Now finish the end off in the same manner as before. When the end is established, the fingerboard should be at 270 0r slightly longer if you want to leave room to make any tiny adjustments later.
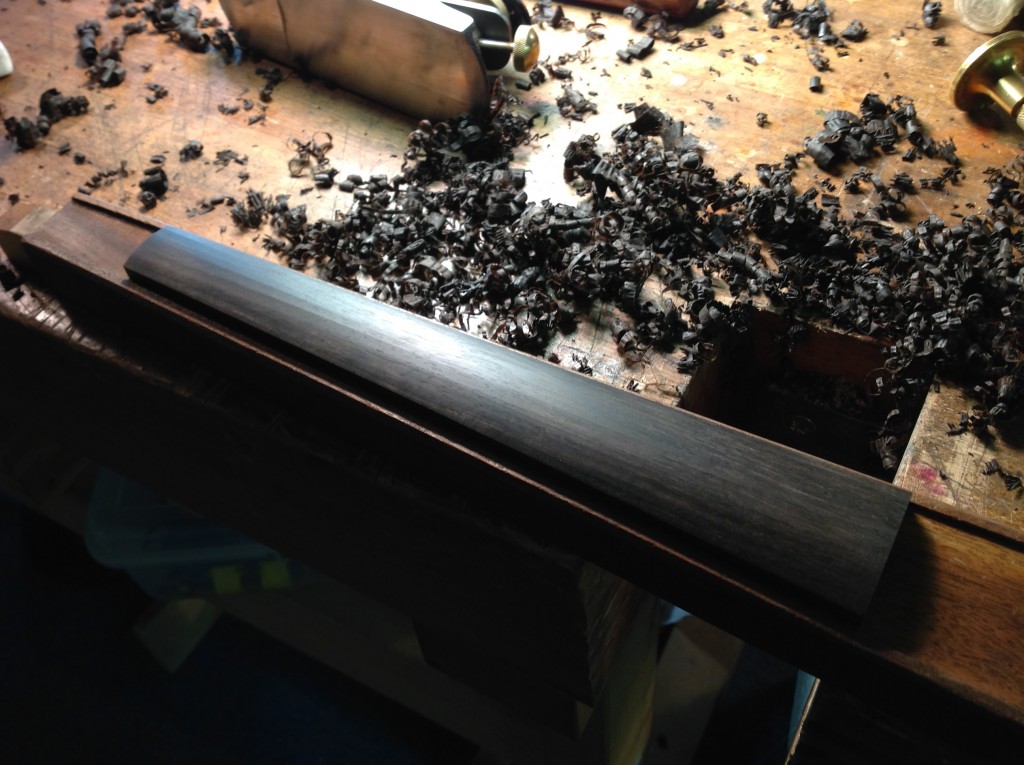
Planing the Sides
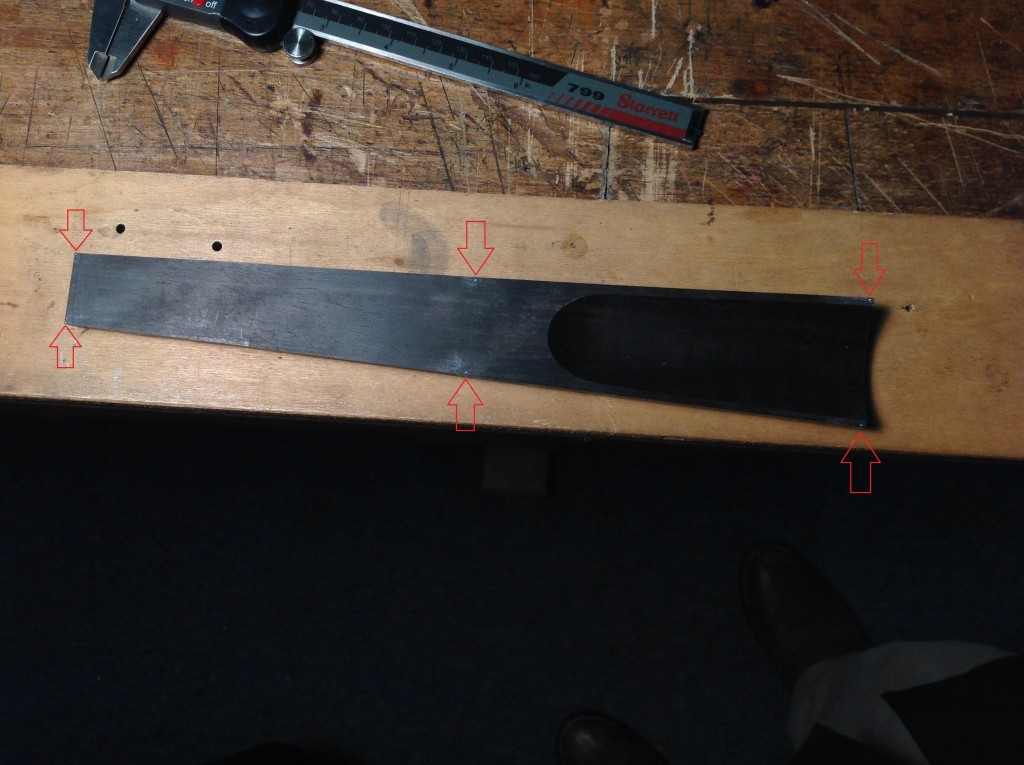
I start out by drawing a pencil line where the end of the neck will be. You can do this by putting the fingerboard blank onto the neck it is going to be glued to and making a mark. Or you can calculate where the end of the neck is going to be by using the neck length, plus the edge overhang, plus the depth of the neck mortise. After you have that distance, measure from the nut end of the fingerboard and make a pencil mark.
I now mark out the dimensions of the width of the fingerboard at three places–The nut, the neck foot, and the bridge end. The final widths will be 24 mm at the nut (32mm cello), 32 mm at the neck foot (44.5 mm cello), and 42 mm at the bridge end (63-65 mm cello). I will measure what the current width is and mark out where it needs to be.
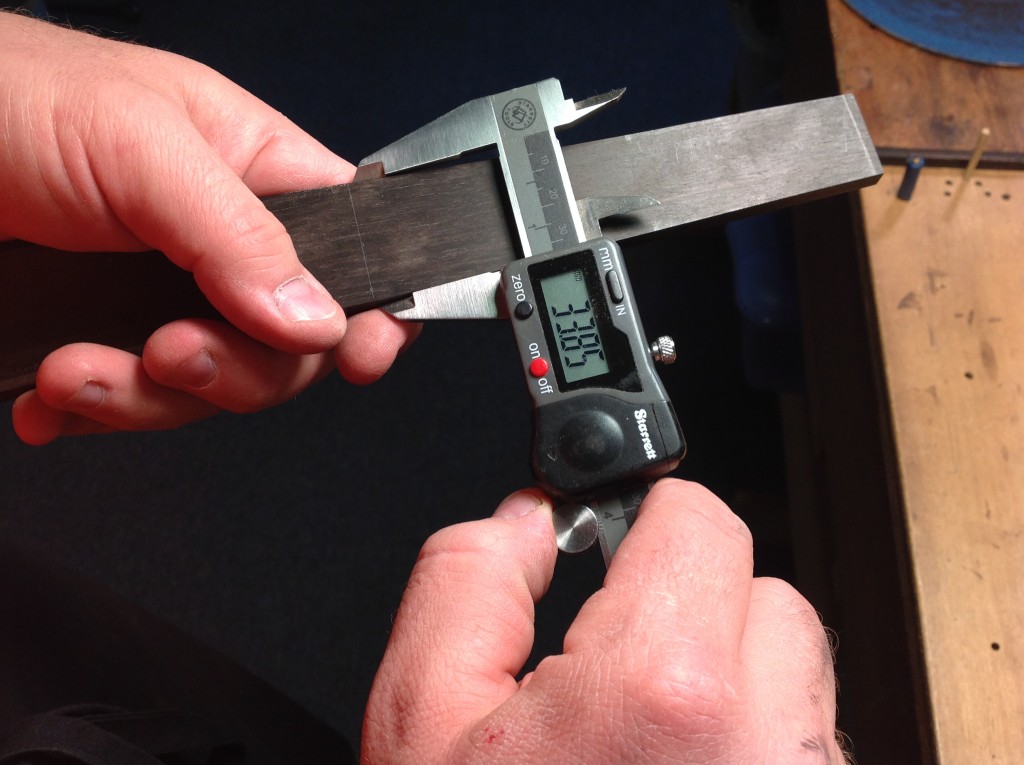
In the example of the pictures below, the current width of the fingerboard at the neck foot is 33.85 mm. I want the final width to be 32 mm. So I substract 32 from 33.85 mm. The difference is 1.85 mm. 1.8 is close enough for my purposes. So I divide 1.8 mm by 2 and get 0.9 mm. I will then make a mark of 0.9 mm on both sides of the fingerboard.
Then I take some chalk and rub it into the marks that were made so I can see them clearly.

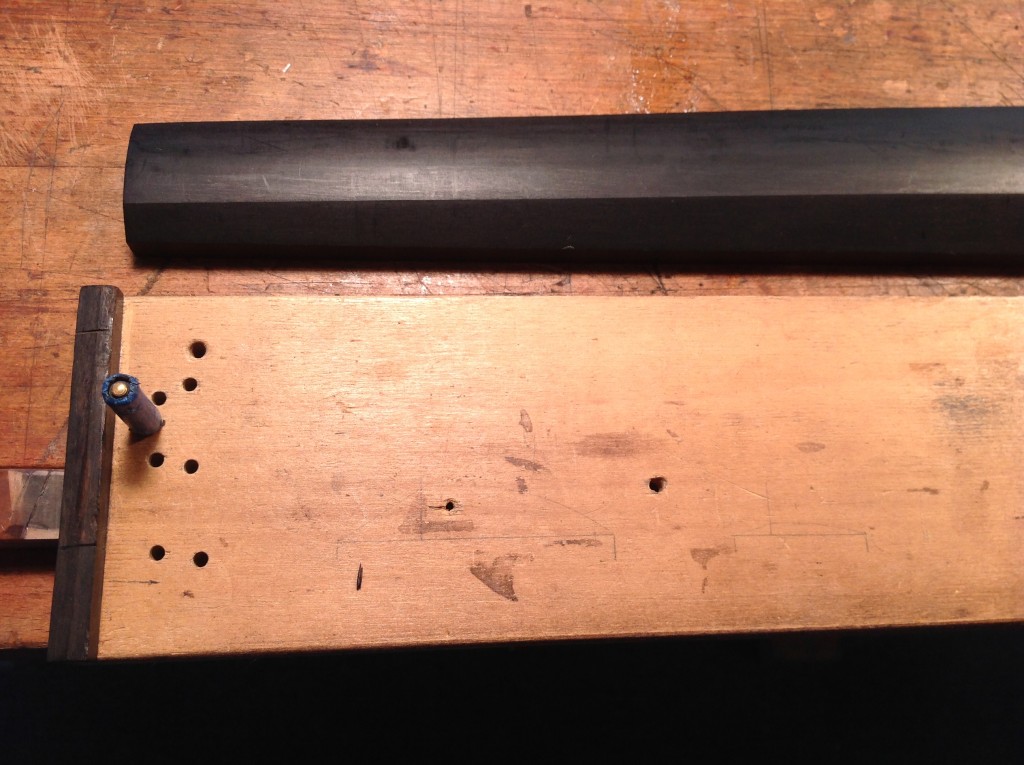
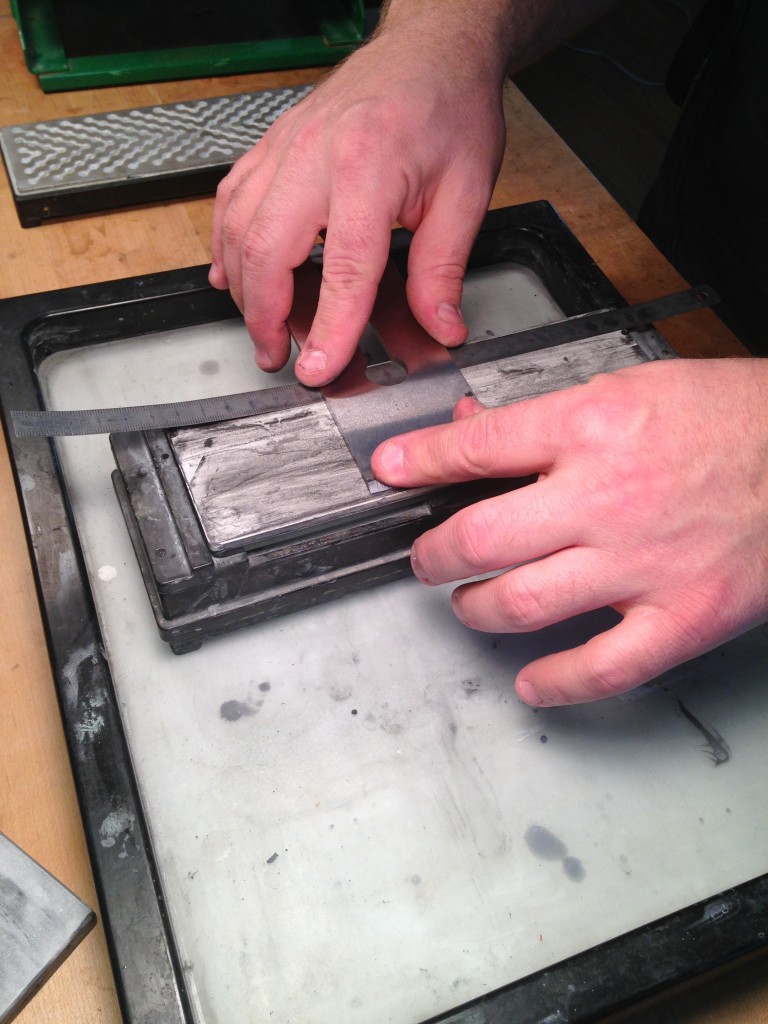
Next I will put the fingerboard into a side planing jig. Some may call this a shooting board. It’s very simple and consists of a flat piece of plywood with a stop glued to the end. Holes can then be drilled where 2 pins can be inserted to hold the fingerboard. As you can see, our board has many holes that were made over time. A little trial and error is the best way to find the right placement that works. Our jig will accommodate violin through cello fingerboards.

Now that I have my marks on the underside of the fingerboard, I will plane the sides to those marks. I will use a block plane turned on it’s side and shooting along the fingerboard.
As I am planing, I am checking my marks underneath and measuring as well with my calipers. The marks underneath allow me to take even amounts off of the fingerboard, since I already established the angle of the ends.
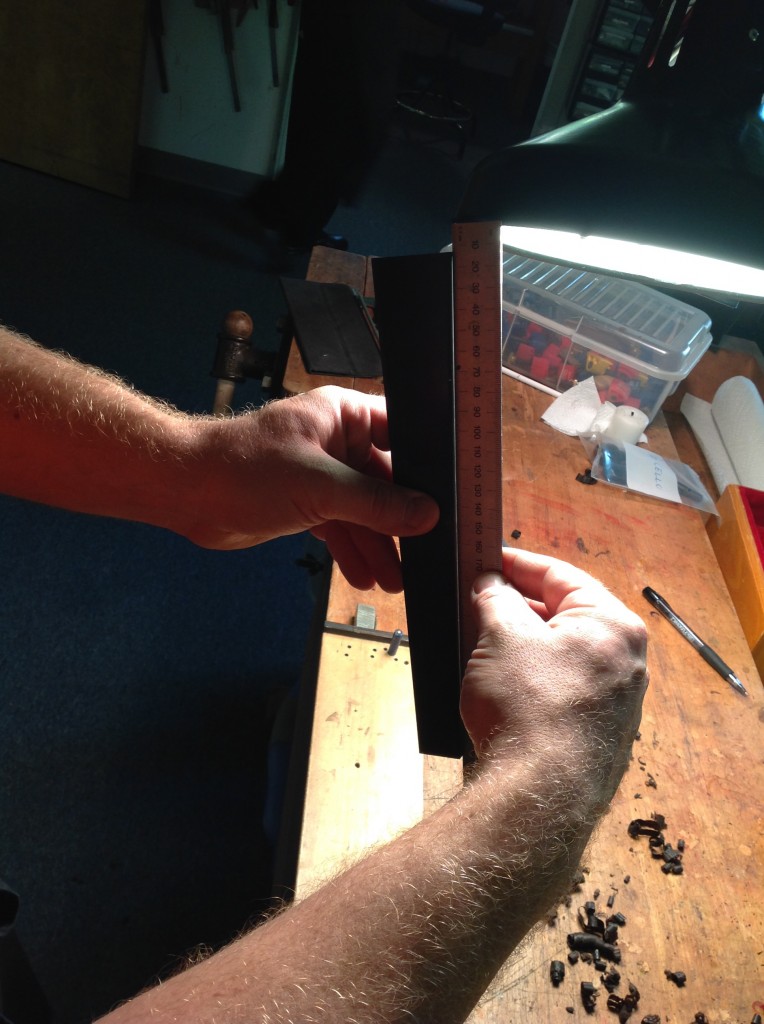
I will use a long ruler against a light to see the kind of relief that I am planing in. I will also check the squareness of the sides of fingerboard to the gluing surface.
To finish, I will sight down the fingerboard and make sure I have a smooth uninterrupted line going all the way along the side of the fingerboard as well as a nice finish to the edge. If I spend a little time making the fingerboard look nice at this step, it is much easier to make it look nice when doing the final planing when the fingerboard is on the instrument.
At this time it’s possible to go back and double check that the angles are still right at the ends of the fingerboard. If a little room has been left in the length, it’s still possible to make any minor corrections. I always find that if I have done the planing of the sides consistently, then no correction is needed and I just move on.
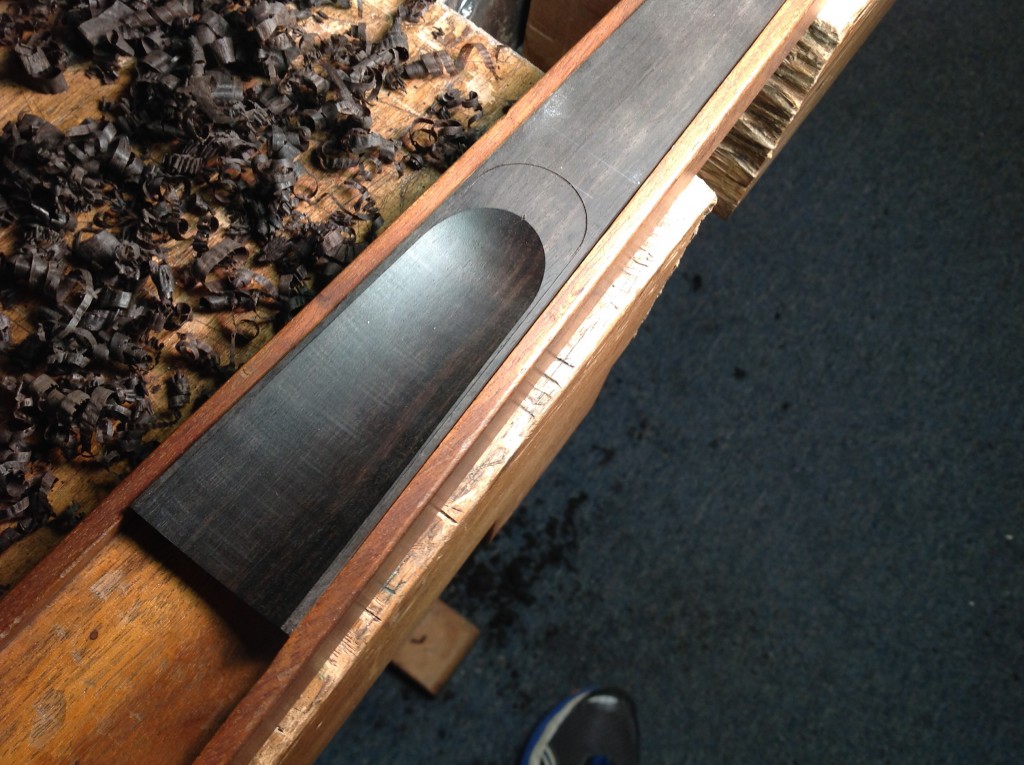
Establishing the Top Surface
I start out by marking the height of the fingerboard sides. I use a marking gauge set 5.5 mm for violin, 6 mm for viola, and 7.5 mm for cello. I then go back with a pencil and darken the line.

I then use my fingerboard template to mark both ends of the fingerboard. I line the template up with the lines I marked on the fingerboard sides. I use a 41.5 mm radius for my fingerboard template.

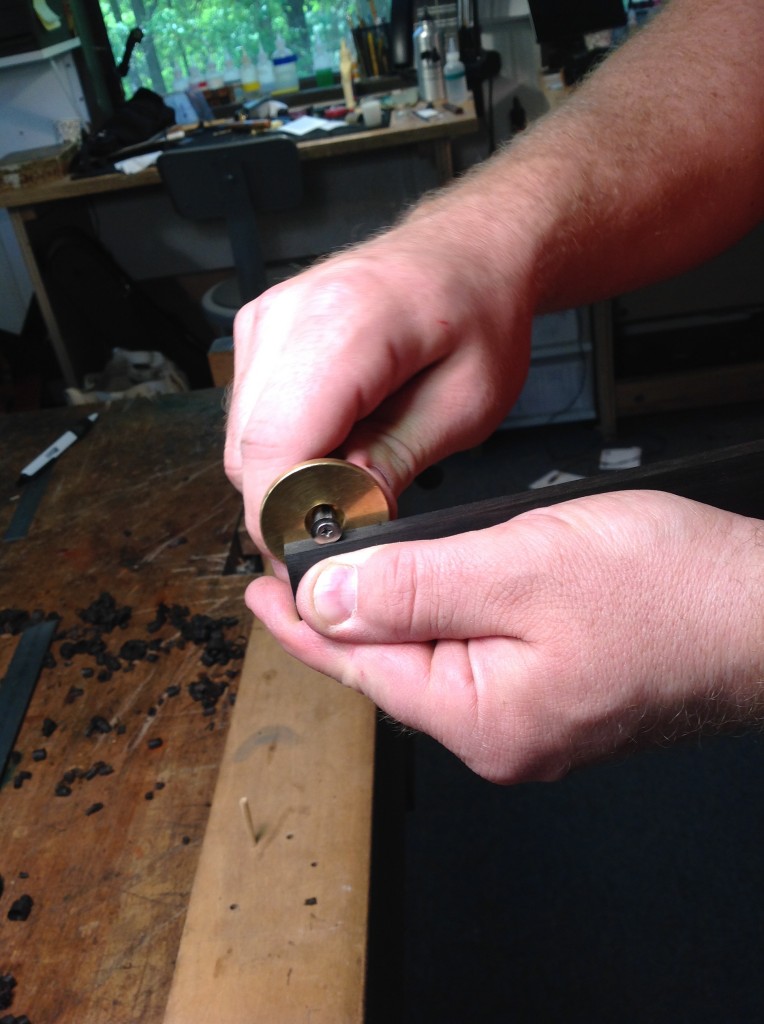
I stick the fingerboard in a custom made holder and pare down the ends to the line I marked out with my template. I use a paring chisel for this step.
I then rub graphite on the pared ends.

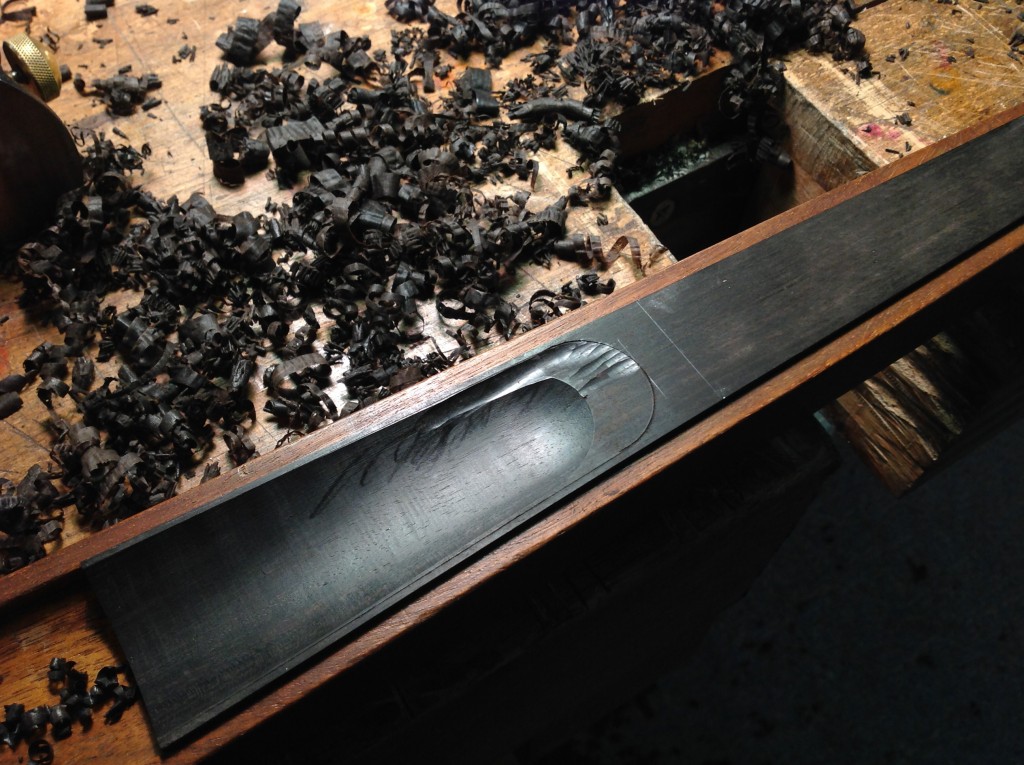
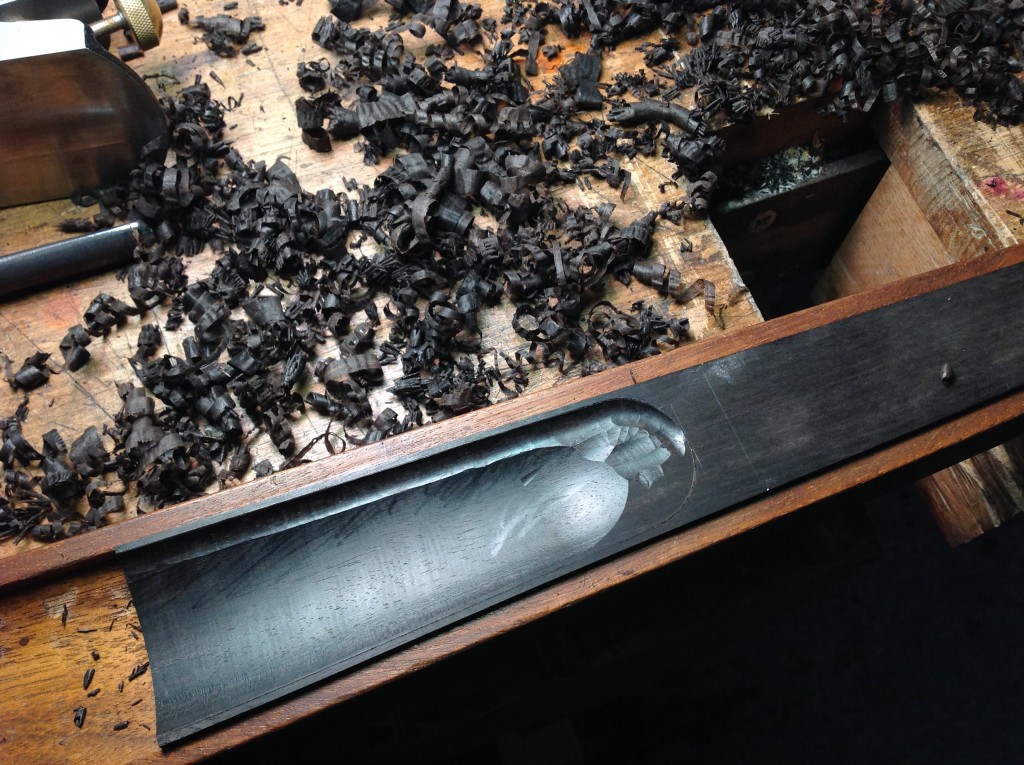
Now, I simply plane away the middle of the fingerboard until the grapite-rubbed pared ends are planed away. During the planing I will periodically check my progress with the fingerboard template and the scribed lines on the fingerboard sides.

Removing Wood from the Underside
On the other side of my fingerboard holder, the wood is hollowed out to accomodate the fingerboard top surface so I can work on the underside.

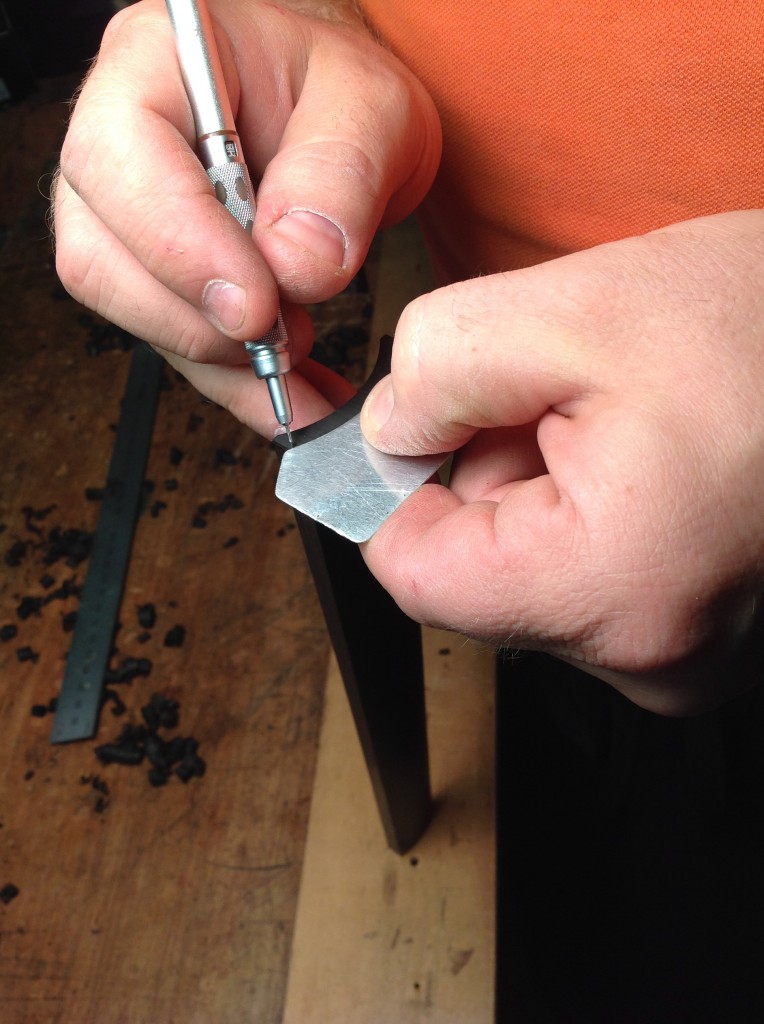
I set my marking gauge to 1.5 mm and scribe along both sides of the hollow. I then make a mark with a pencil 10 mm down from the spot where the neck-foot will be. I then set my dividers to make a circle that will meet both sides of the 1.5 mm lines I just scribed. I make sure that the top of the circle touches the mark 10 mm from the neck-foot.
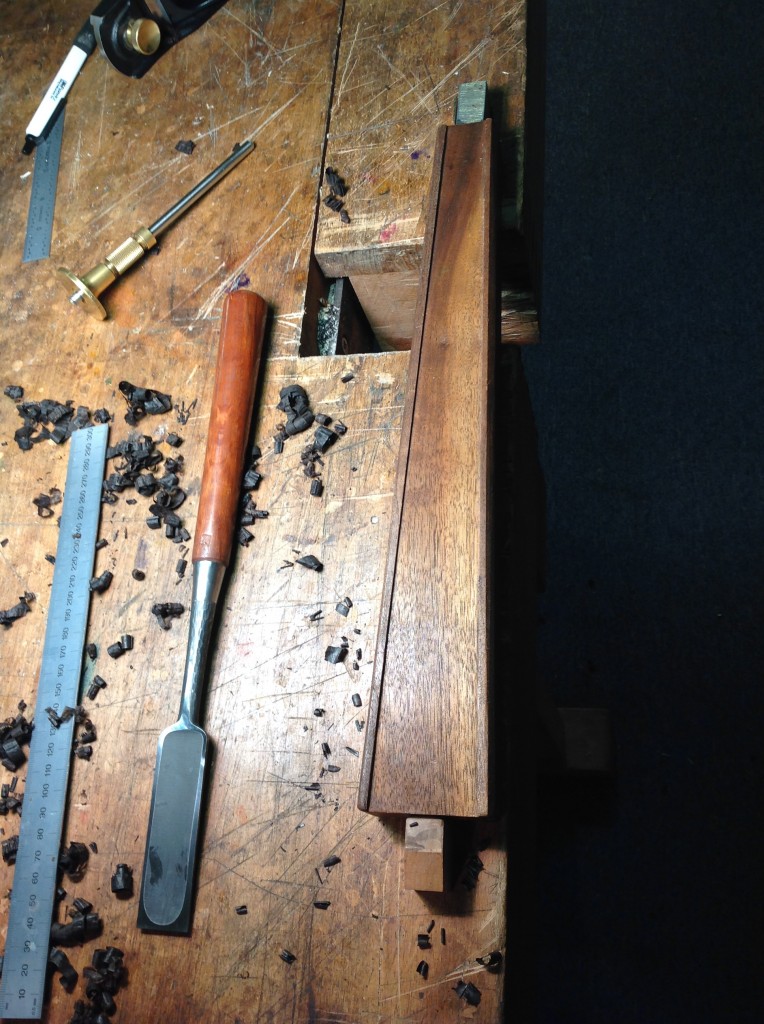
I now start carving with my gouges. I usually do this with two gouges. One gouge with a tighter sweep around the edge of the hollow and a flatter one for the rest. I start by carving a channel around the whole thing. I then connect the outer channel to the established blank channel using the flatter gouge. I make a series of straight channels rather than just chipping away randomly. The straight channels make the later smoothing job easy.

I then scrape it clean. After scraping, I sand it. I start with 220, then 320, and finally 600 with mineral spirits.
Often the end of the fingerboard still looks a little chunky at this point. To remedy this, I will taper the end a little. It’s only for cosmetic reasons. I will start with a crossing file. I make sure the shape is a smooth line and compliments the shape of the top of the fingerboard. On violins and violas, I will make the underside surface come to a point where the sides of the fingerboard meet end of the fingerboard. On cello, I will round those points tastefully. With cello, the player could likely get their hands injured with vigorous playing. With violin and viola it is highly unlikely, so I will stick with what looks good and bring it to a point. After the work with the crossing file is done, I finish it off with the sandpaper through the grits as before and finish it off with fine steel wool.

Now the fingerboard is ready to be glued to the violin! The rest of the work (like finishing the top surface) is done with the fingerboard attached.
Things to consider:
The proportions I use are a standard that I try to work to but on occasion I will make compromises based on the instrument. This is especially true with the widths.
I didn’t talk at all about cello rombergs (canted fingerboards). They can be tricky to plane, but the key once again is a very sharp and slightly convex blade in your fingerboard plane (the block plane with the modified rounded sole).
Notes:
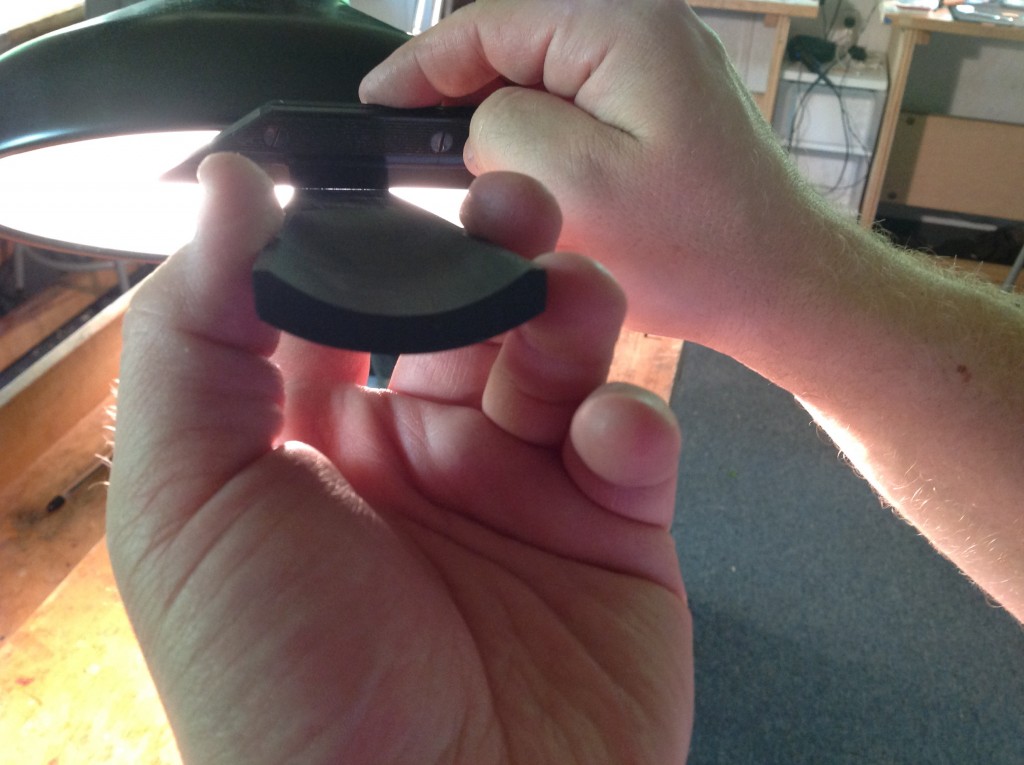
1. The block plane has been modified for fingerboard use only. The sole of the plane has been slightly rounded. The radius of the sole is the result of trial and error. I have been modifying it over the years to get the results that I am after. A good place to start would be to round about a 1/2 mm off of the ends of the plane and see what kind of shape results on the fingerboard. You can then flatten or round it more as needed. When rounding the plane, it is a good idea to keep the blade in the plane and just back it out a little. The blade tensioned in the plane can change the sole, so it is good to keep the plane in the state that it will be used while shaping the sole. For the initial rounding, I used a belt sander. Then I moved to finer grits of sandpaper on a flat slab.
Footnote: The key to making a good fingerboard gluing surface is the plane blade. It must be very sharp and slightly convex in order to leave the fingerboard surface concave. To prepare my blade, I first sharpen the blade on my Tormek Grinder. I get what is called a hollow grind.
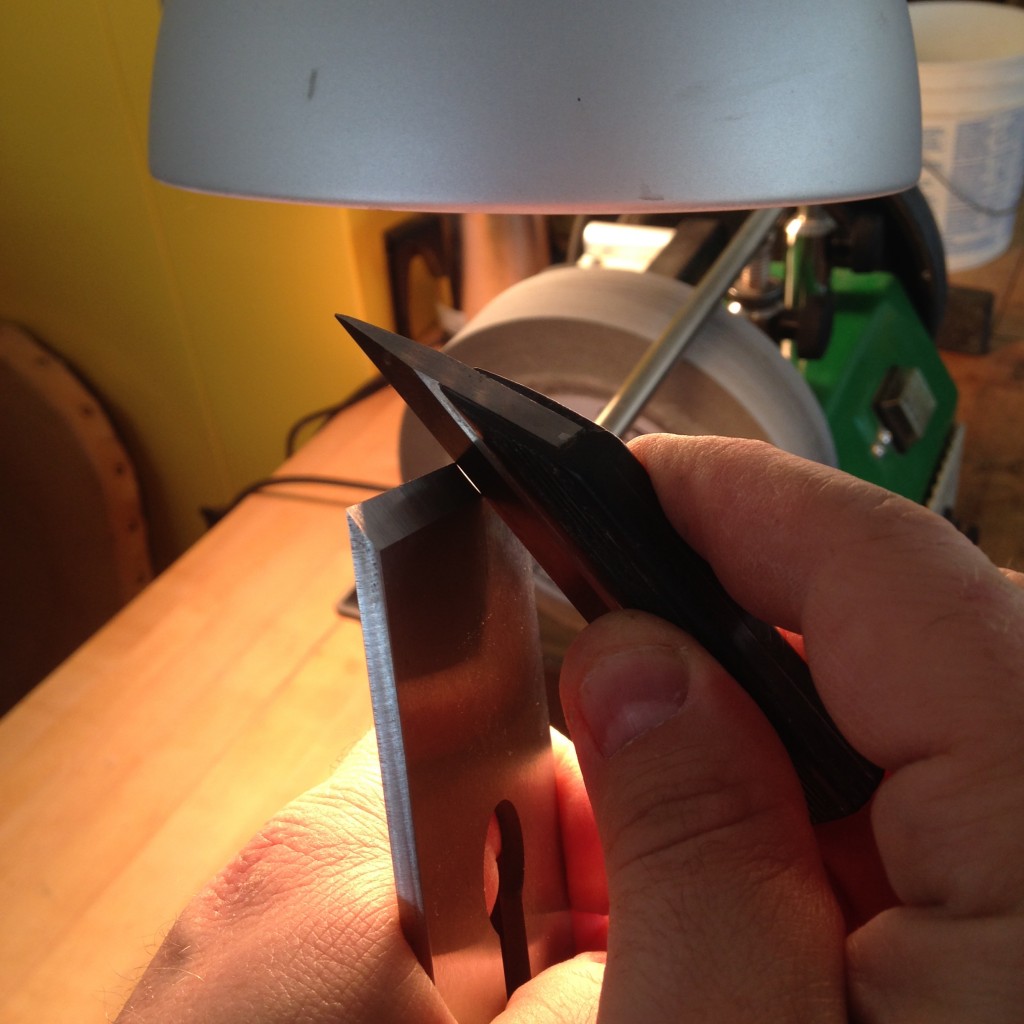
After I have established the edge on the Tormek, I finish the edge of the blade on wet stones by hand. I move the blade in a side to side motion with my fingers applying pressure on outsides of the blade. This pressure allows for a slight convexity.
The video shows the side to side motion. When I’m pushing the blade, my left finger applies more pressure. When I’m pulling the blade, my right finger applies more pressure.
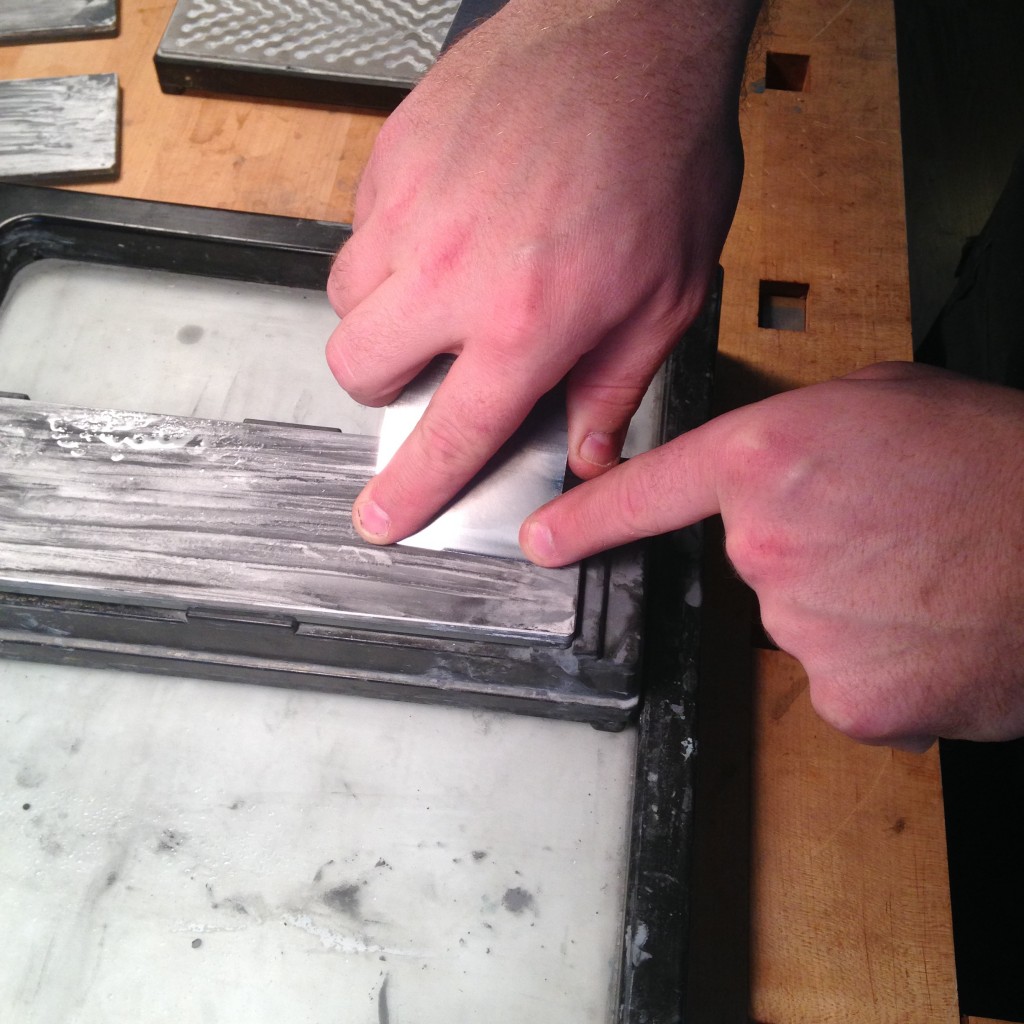
I lap the back of the blade on my highest grit. I put a thin ruler under the blade to raise it up slightly. This way I only have to lap the very last part of the blade near the edge.
Once the blade is sharpened properly, it makes the rest of the job easier.