Instrument, Techniques
Fitting Pegs

May

Every instrument intended to be played needs a set of well-fit and properly functioning pegs. Otherwise, you cannot correctly tune the instrument. Here at Triangle Strings, even our standard rental instruments receive one of the two peg fitting techniques detailed in this article: fitting pegs into pre-drilled peg positions on a new instrument and fitting new pegs to an already reamed peg box.
MATERIALS AND TOOLS
- Pegs
- Peg reamer (we use 1:30 taper, Herdim brand), fractional violin and full size violin sizes
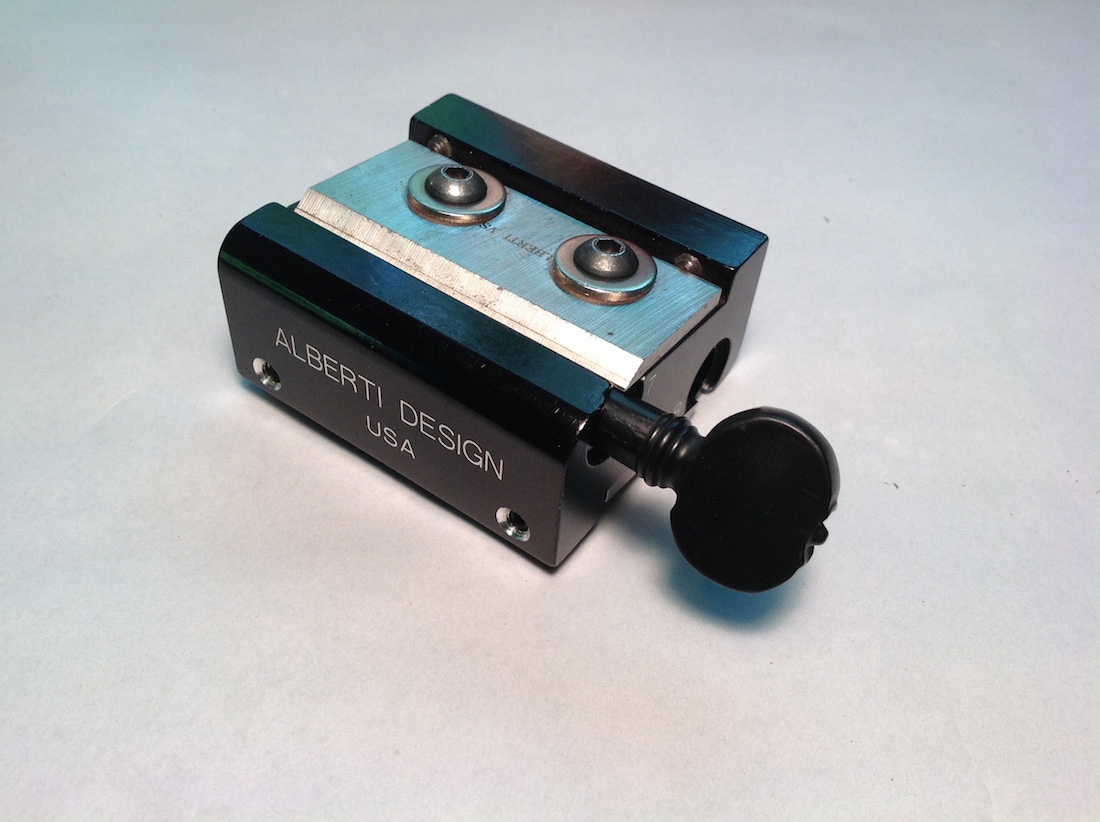
- Alberti peg shapers (1:30 taper, sizes 10 through 4)
- Rubber band
- Ruler (I prefer my Starett Co. No. C330)
- Bench knife
- A fine-toothed saw (I prefer pull-cut)
- Sandpaper grits 220, 320, and 600
- Pencil
- #1 crosscut wood file (Grobet)
- #00 crosscut wood file (Grobet)
- Bench carpet
- Awl
- 1.3 mm drill bit
- needle file
- W.E. Hill peg dope
- OPTIONAL: tapered drill bit
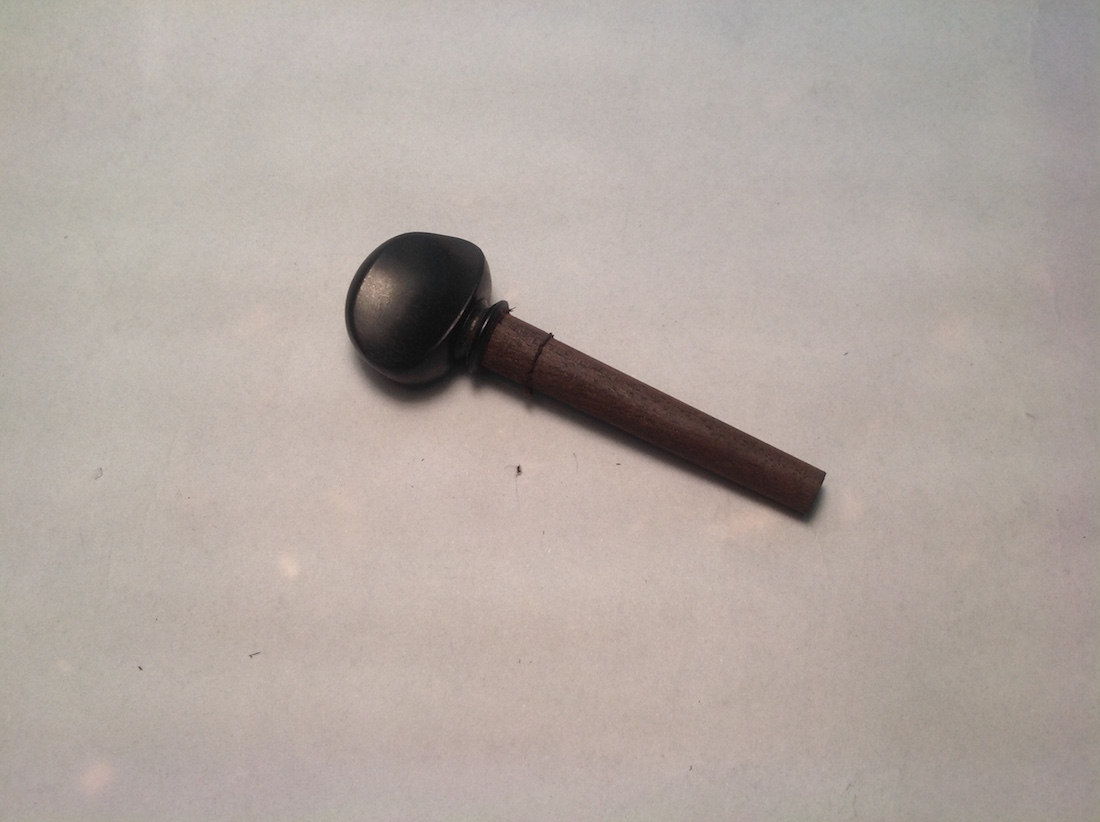
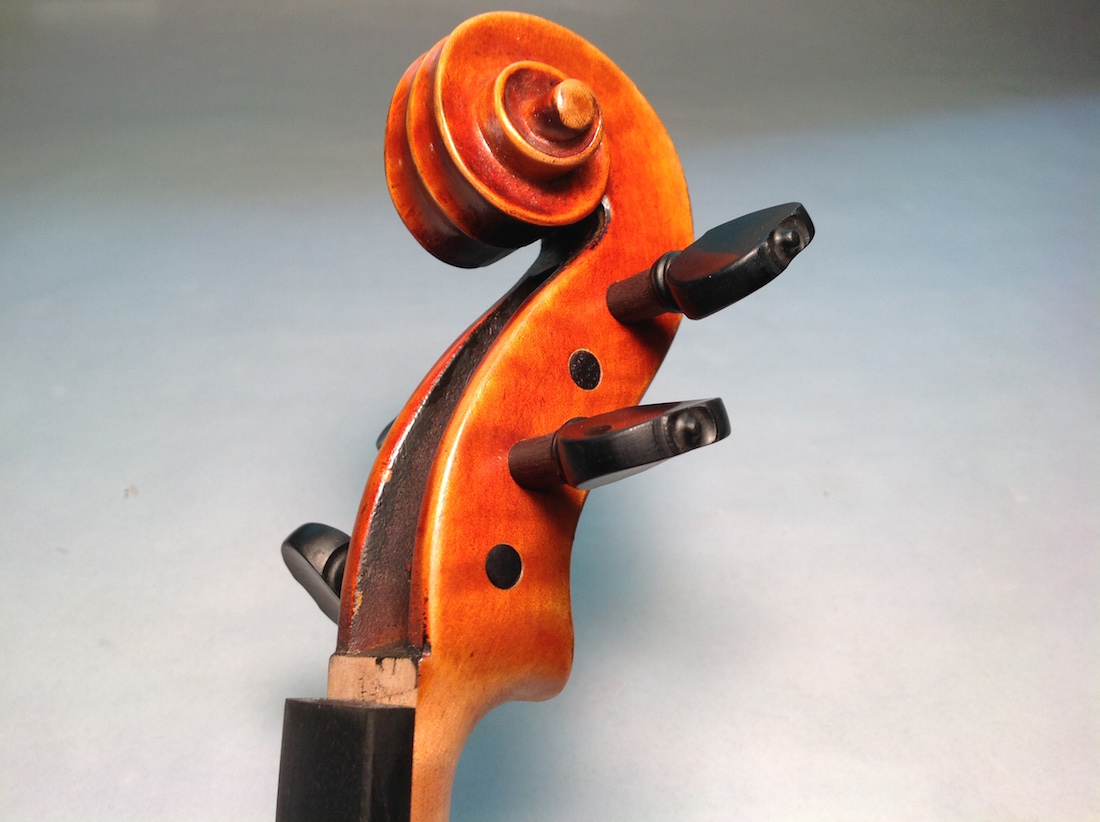
Fitting pegs into pre-drilled peg positions on a new instrument, like the Jay Haide violin pictured here, will be the first of two techniques discussed. Later, we will address the proper technique of fitting new pegs to an already reamed peg box.
SHAPING THE PEGS
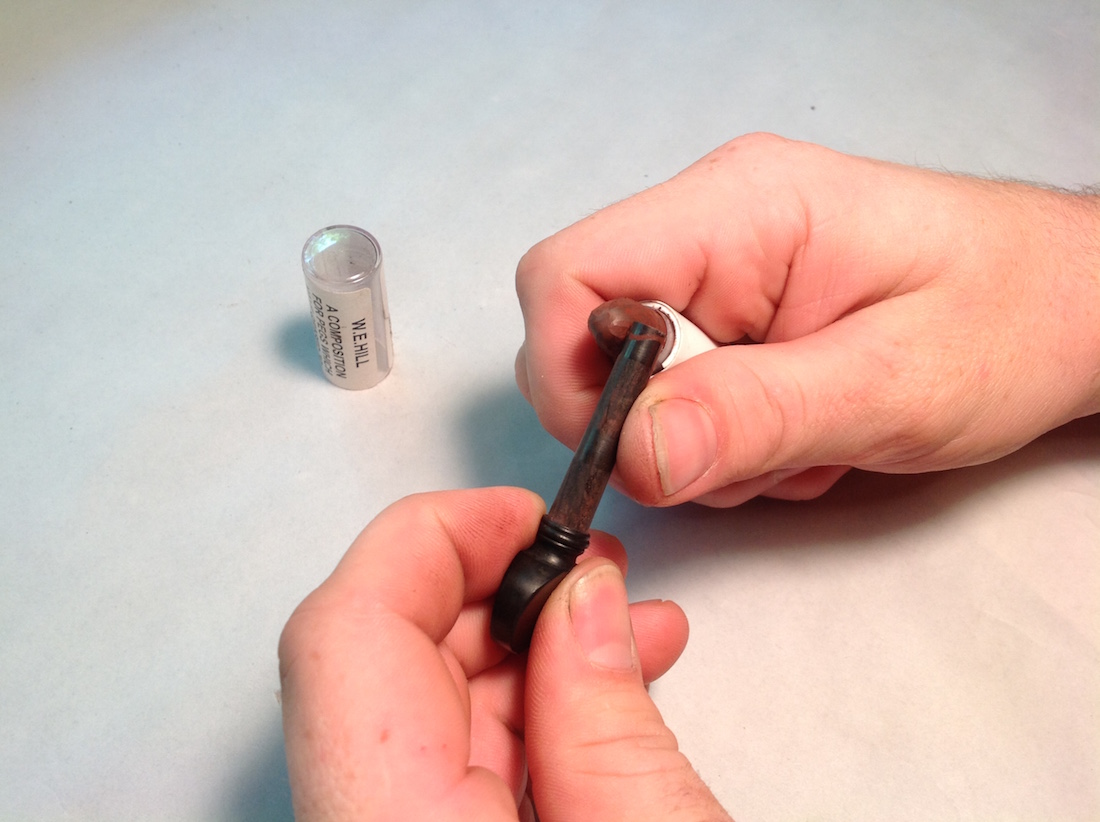
First, score each of your pegs right below the collar. This is to ensure that you do not split the collar out or accidentally shave off any of the collar when shaping the pegs.
Thinking ahead: You may want to shape three of the pegs to the final diameter, but leave one peg one step larger in shaper size, in case you ream one of the smaller pegs too far into the pegbox. Grab your awesome Alberti peg shapers, starting with the largest diameter setting that allows you to fit the peg fully into the shaper, while still actually removing material from the peg. If you start with a diameter that is too small, the peg shaft could wander out of center, leaving you with an off-center peghead. If you start with a diameter that is too big, the shaper will not take a shaving.
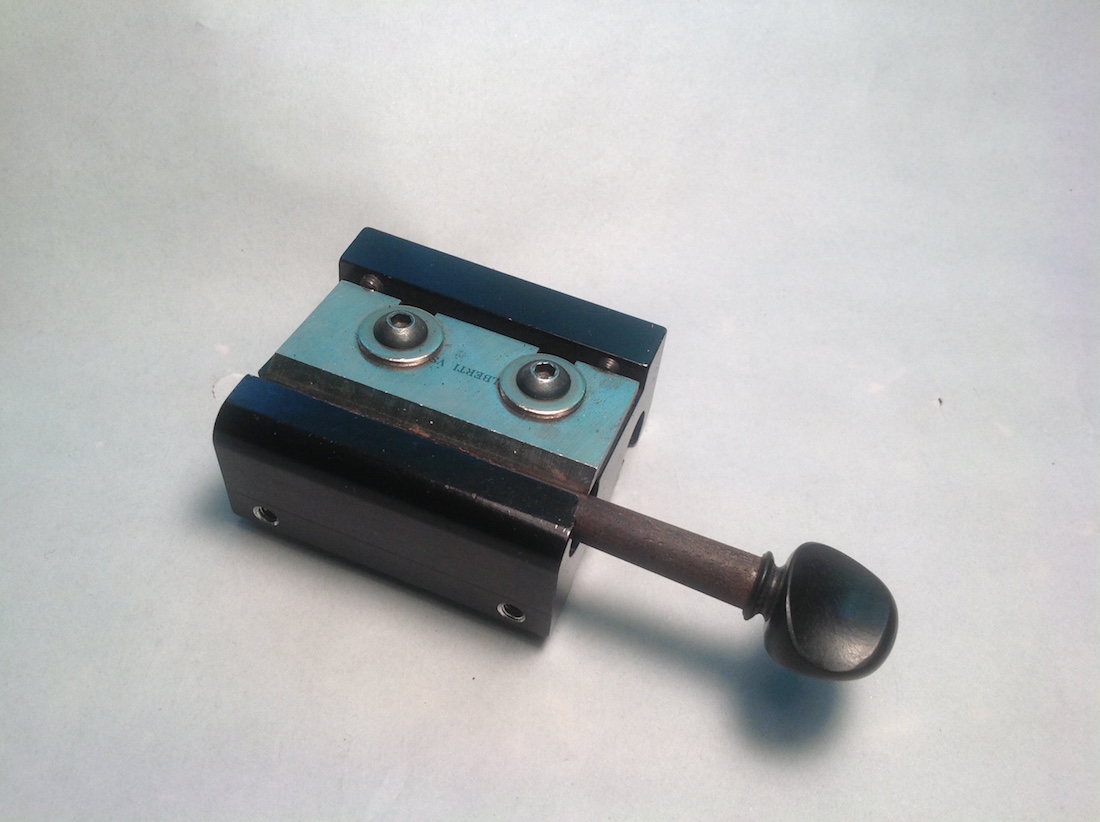
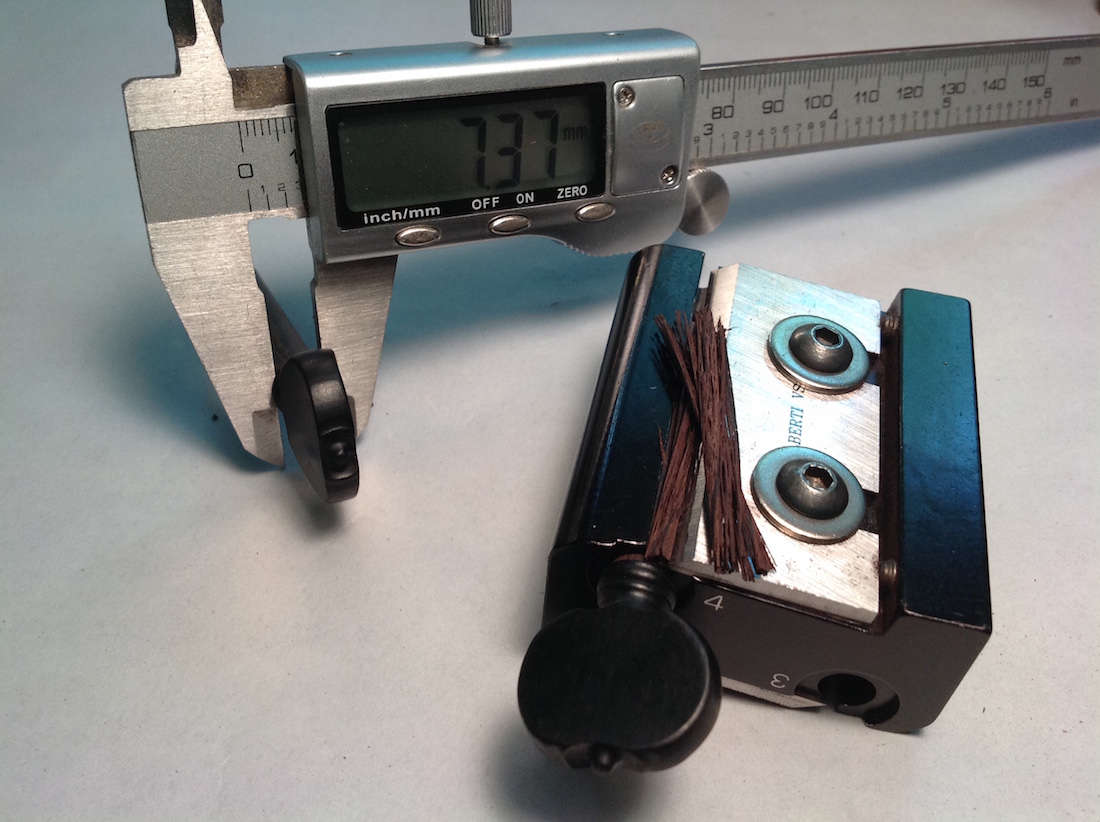
Now that you’ve found the proper size shaper to start with, move through progressively smaller diameters. Aim to take very conservative shavings to avoid splitting out the peg shaft. We stop at Alberti peg shaper #4, roughly 7.3 mm at the collar.
With the pegs properly shaped, it’s time to get them in the pegbox. If the pegs are digging into your fingers as you’re turning them in the peg shaper, you might want to wrap a rubber band around the head of the peg for comfort.
REAMING THE PEGBOX
Before you start reaming anything, you will want to make sure that you are actually reaming the pegbox in the correct direction so that the pegs will end up in the proper holes. Sounds silly, but it can and has happened! I once began to ream my E peg into the first hole on the right side of the pegbox (the exit point of the G peg) and had to bush the pegbox to fix my mistake.
You may want to start with a fractional sized reamer or use a tapered drill bit to open the predrilled holes wide enough to allow for your full size peg reamer. I actually prefer starting with the fractional reamer to give myself more leeway in perfecting the alignment of the reamer, and ultimately the alignment of the pegs. In our shop, we align the pegs with the scroll, as opposed to the body of the instrument.

Most instruments will need a neck reset at some point in their lifetime and the future luthier may choose to align the scroll slightly differently, which can potentially make body-aligned pegs look funny.
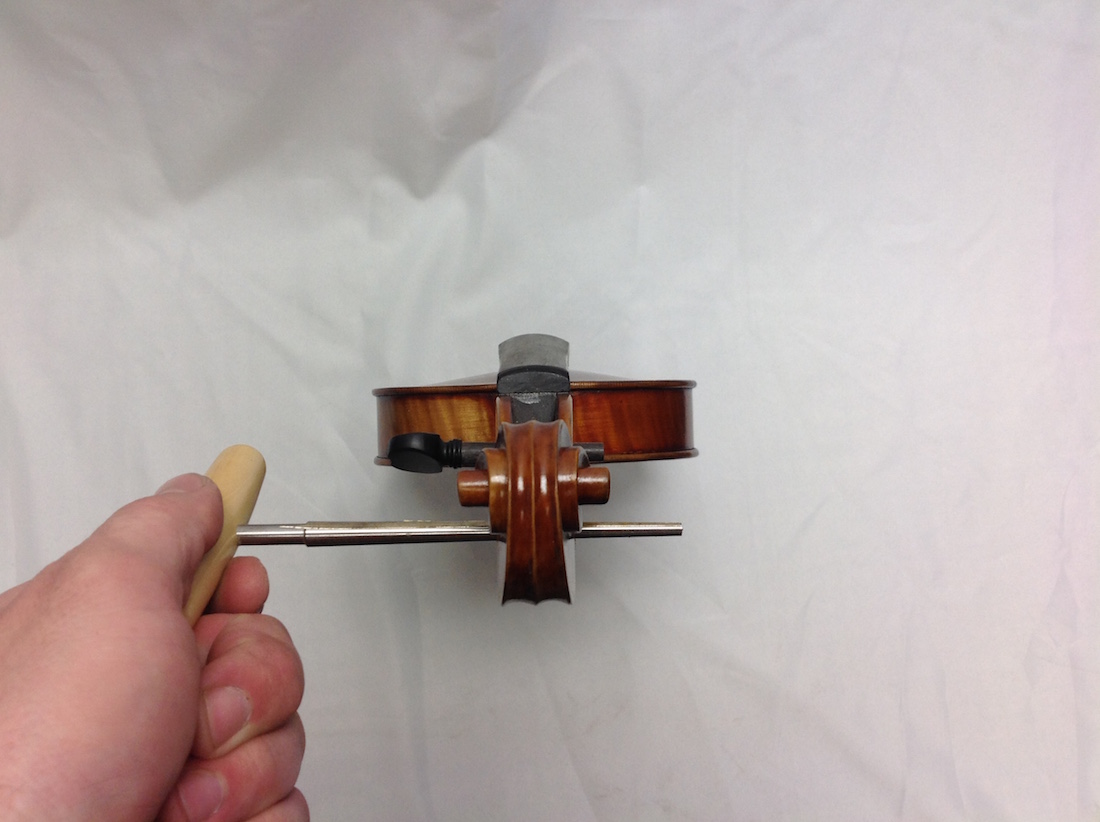
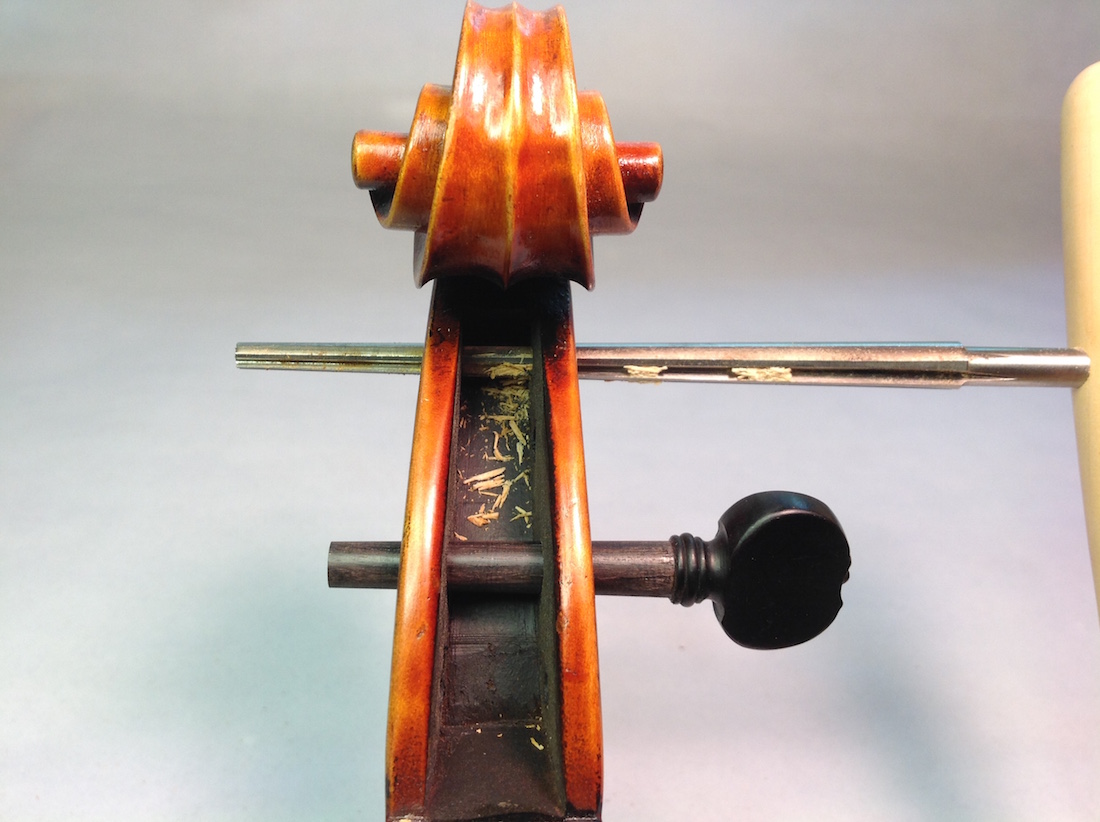
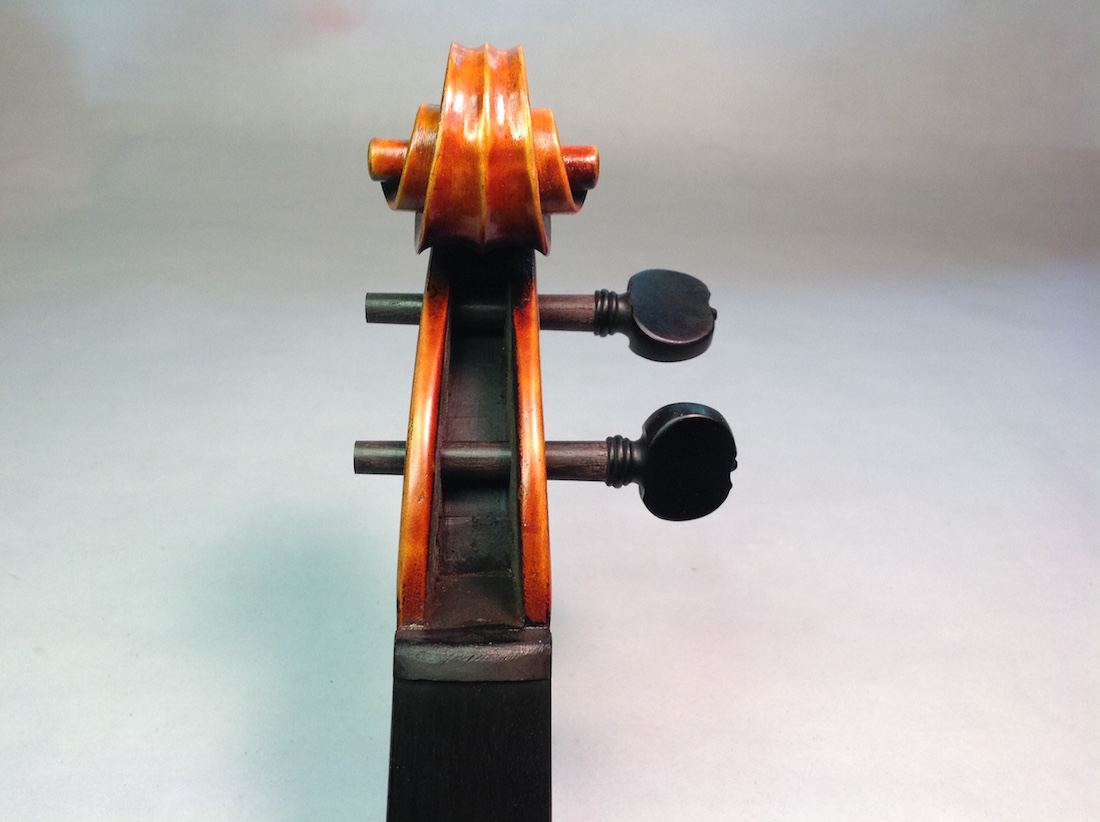
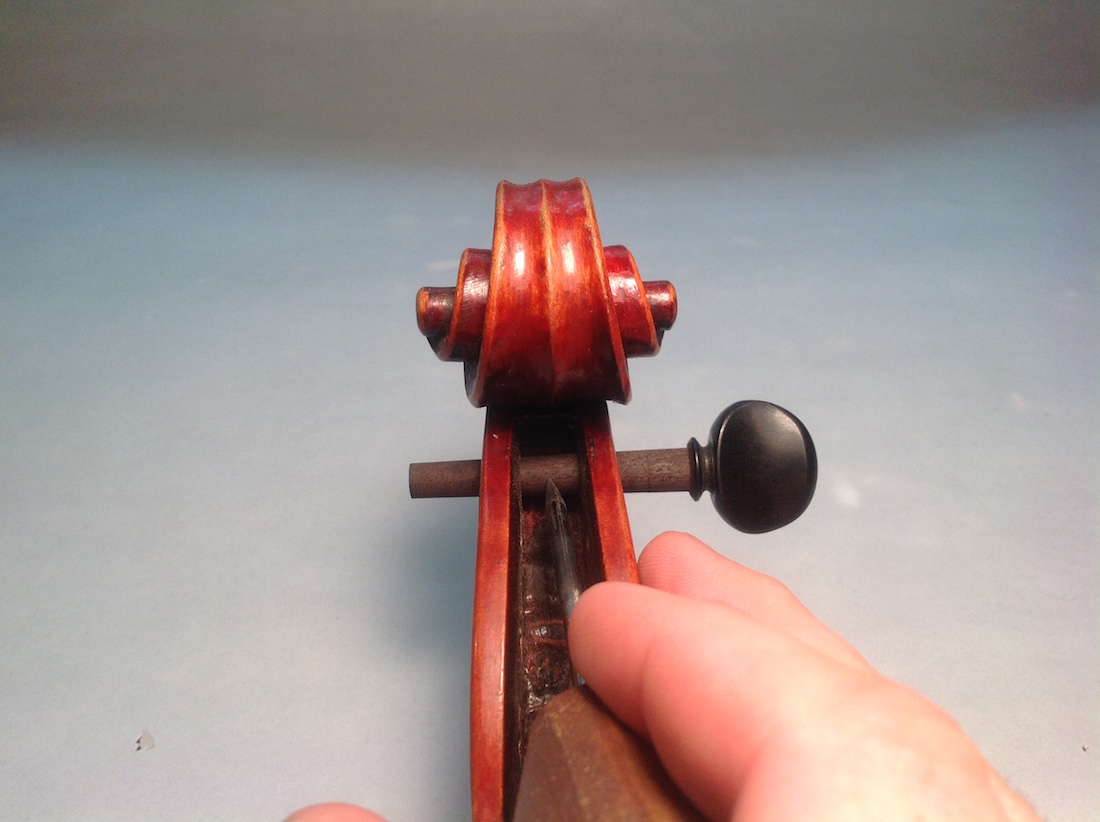
Start opening the peg holes with the reamer while checking the front view and the top view for proper alignment. Use the peg you plan to fit to that hole to check your progress into the pegbox as you ream.

At our shop, we measure to the outside of the peg, not including any decorative pieces such as the ball on the outside of these pictured pegs. We finish at 34 mm. If you’re nervous about reaming the peg too far into the pegbox, try spinning the reamer backwards for the last millimeter so it burnishes the wood rather than cutting it away, to better control your peg outsets.
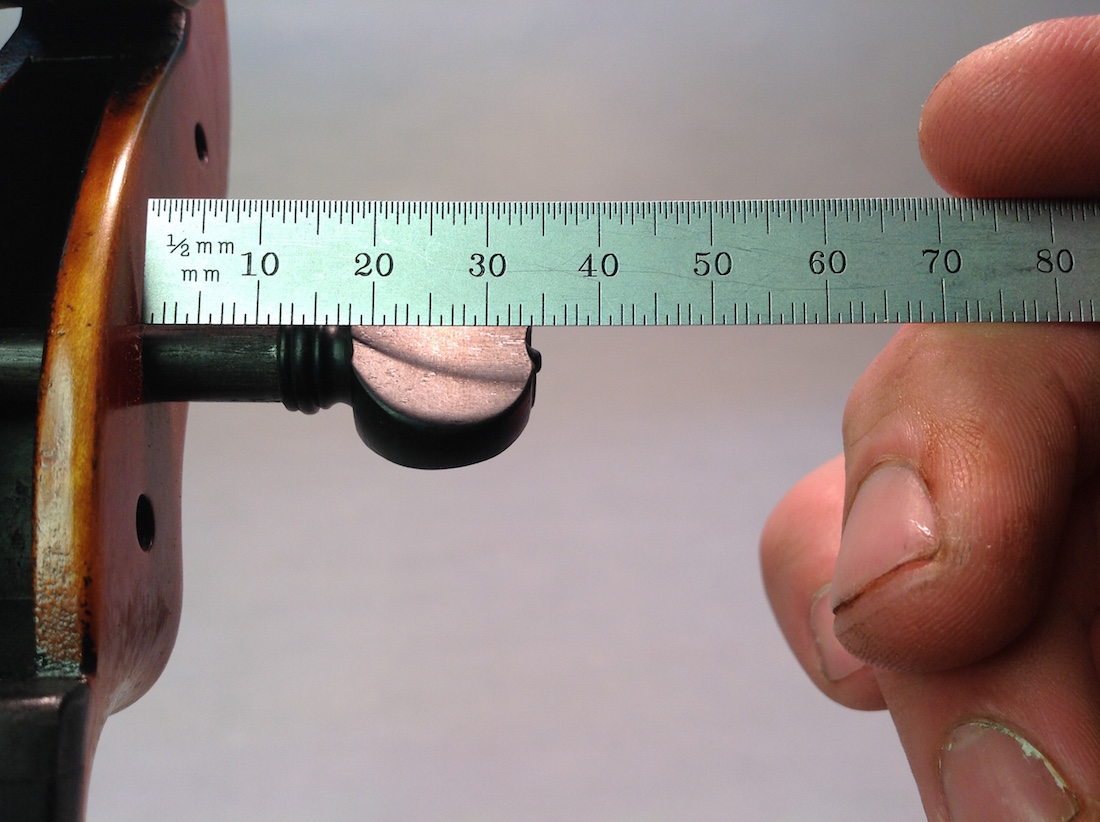
Some prefer to measure to the inside of the collar, a popular measurement being 11mm.

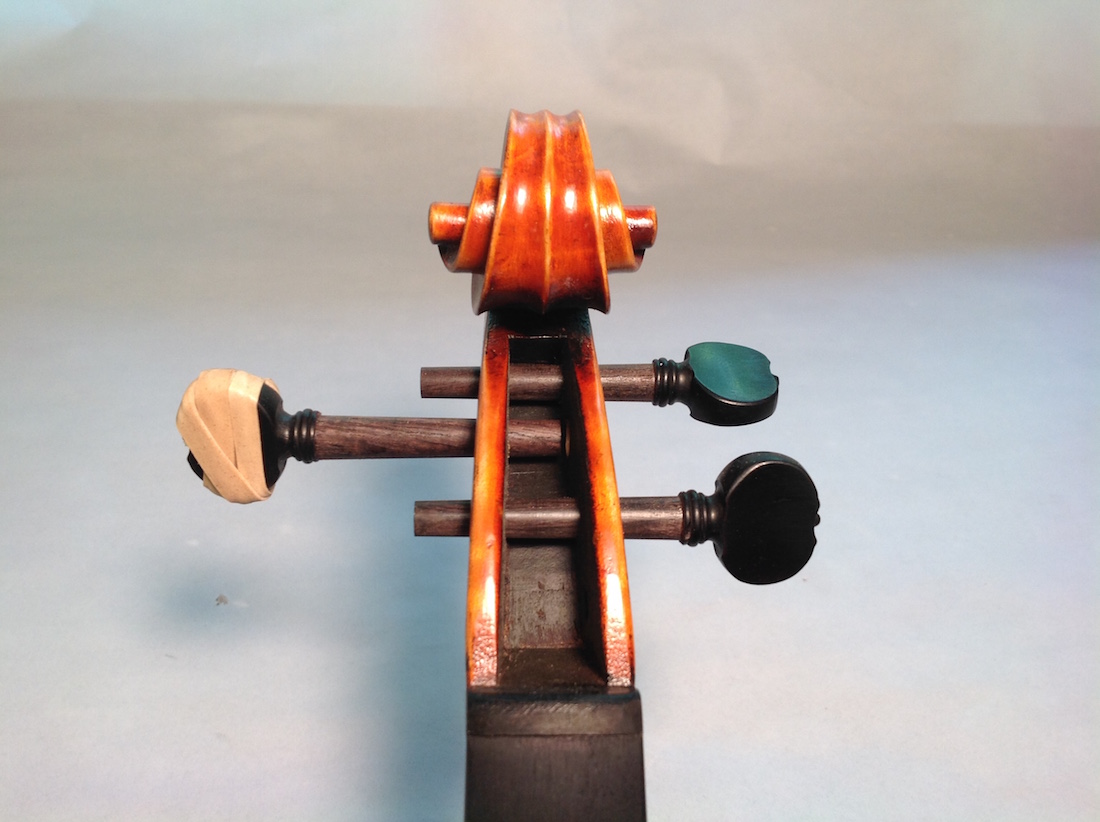
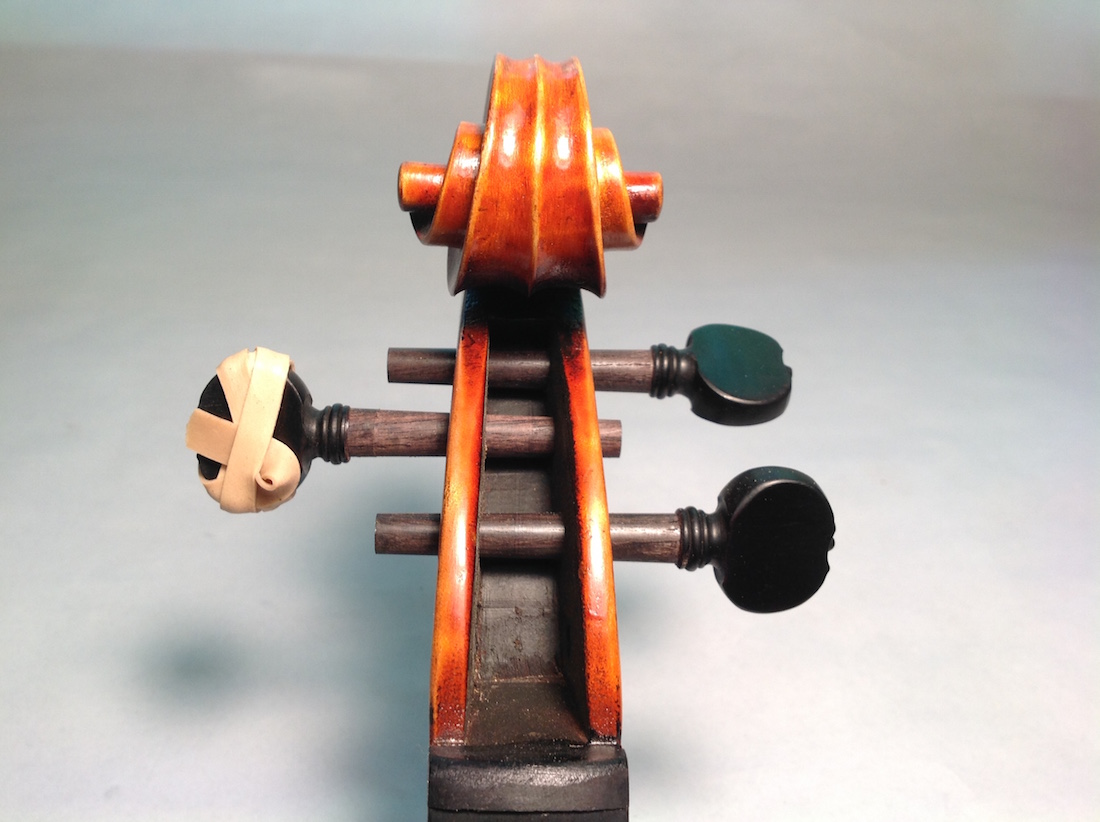
Now that you’ve gotten your first peg in (I prefer to start with the E peg), you need to do the rest. I try to align the first peg perfectly because the rest of the pegs will follow the first peg in alignment. If you align each peg independently of each other, you could be left with one or more pegs with an alignment that is slightly off. By that same token, if your first peg alignment is slightly off and you correct it with the other three pegs, your first peg will look wonky. I leave the first peg in the pegbox as I’m reaming the second hole to help my eyes line everything up. Once again, check from the top and front view for alignment.
In our shop, we like to leave the A peg out a bit further (.5mm) for aesthetic reasons. It is also acceptable to have the same peg outset measurement for all four pegs; it is simply a matter of preference.

Use the same process for the other side.
FITTING PEGS TO EXISTING PEG HOLES
If you are replacing an existing set of pegs on an instrument, you want to ream the pegbox as little as possible; just enough to match the taper of the existing peg hole to the taper of your shaper. As previously stated, our reamers and peg shapers are 1:30 taper. This time, instead of reaming the hole to fit the peg, we want to conserve the wood of the pegbox and achieve the correct outset by shaping the peg. Once again, starting with the largest setting on the peg shaper, begin to shave the peg shafts, checking the peg outset measurement frequently. In some cases a pegbox has been reamed at a non standard taper and when reaming the peg box at all is not an option, an adjustable peg shaper must be used.
Something that can frequently happen as you’re shaping a peg to fit an existing hole is you’ll be shaving the peg down and successfully get the peg to the correct outset measurement when fit inside the peg hole, but you’ll be halfway through a reamer size and be left with an unattractive “step” of ebony near the collar.
To rid yourself of this, insert the peg into a larger diameter shaper and push the step into the blade, effectively shaving just the step and leaving the rest of the shaft untouched (see video below).
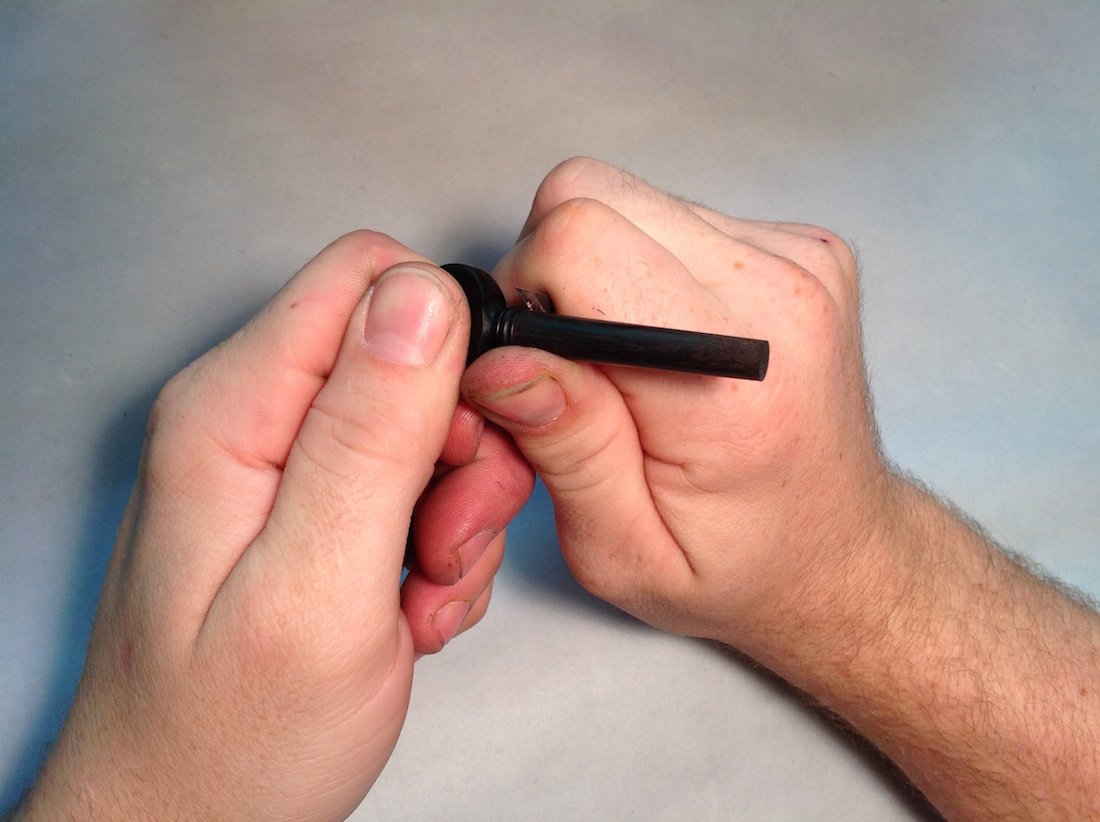
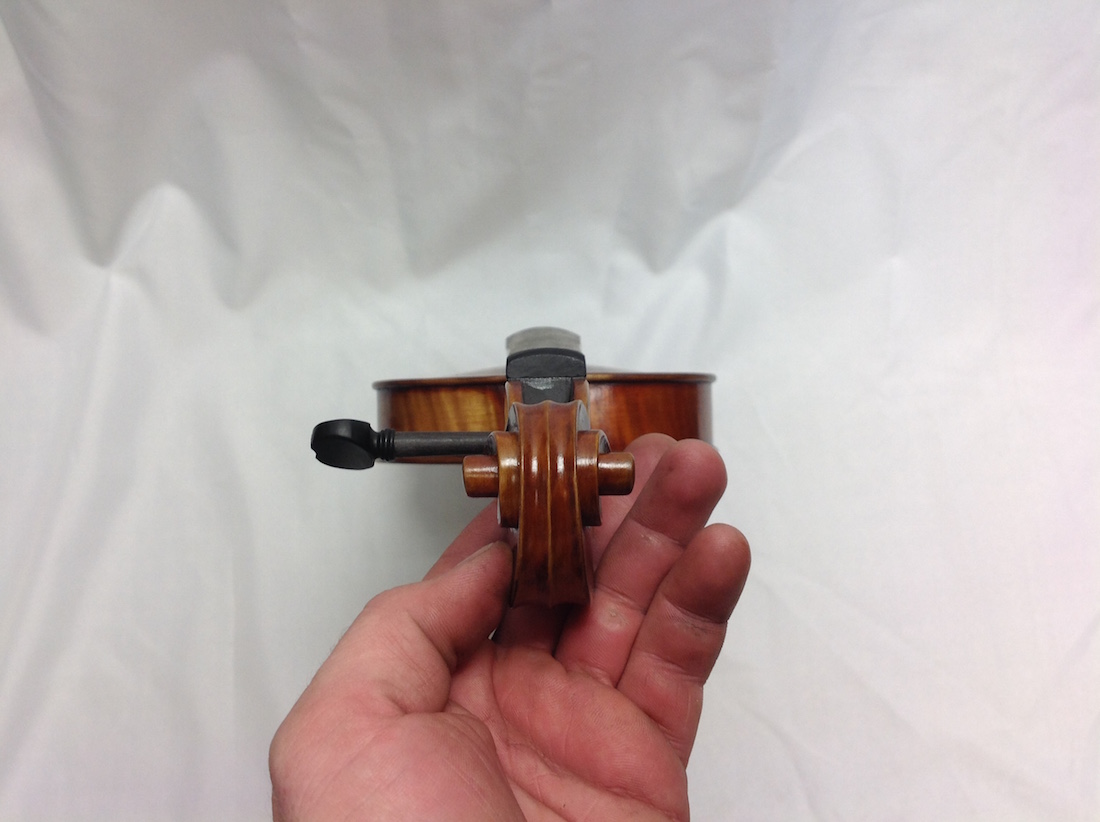
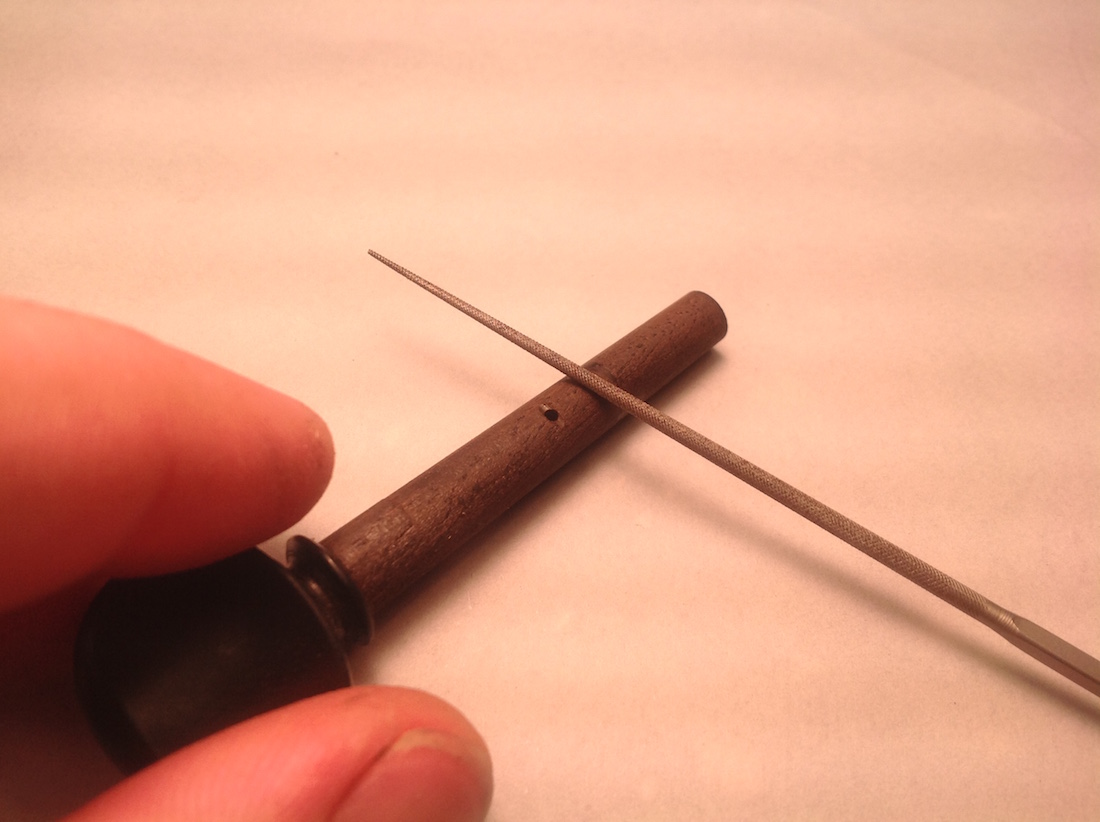
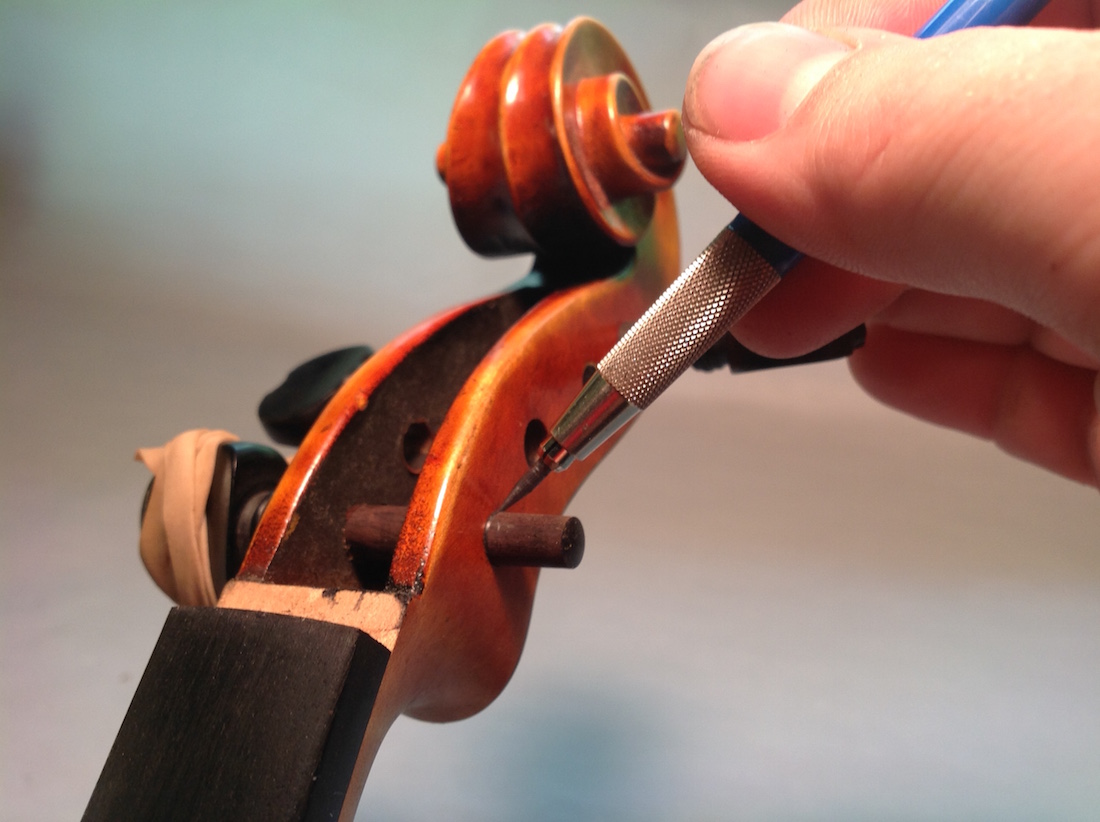
After the pegs are fitted, by either technique, you will need to drill a hole to receive the string. I start by marking where I want the hole to be with an awl. You want to aim for as centered as possible between the peg box walls. I also orient the peg so that the hole will be perpendicular to the head of the peg as pictured.
Using a drill press with a bit of plywood to support the underside of the peg I drill the string hole with a 1.3 mm drill bit. Be sure to press the peg against the plywood to limit tear out. I then finish the hole off with a needle file.
TRIMMING PEGS TO LENGTH
Regardless of which method of peg fitting you’re doing, you are now faced with four properly fitted pegs that are considerably longer than they need to be. The first step is to use your pencil to mark the end of the peg where it exits the pegbox.
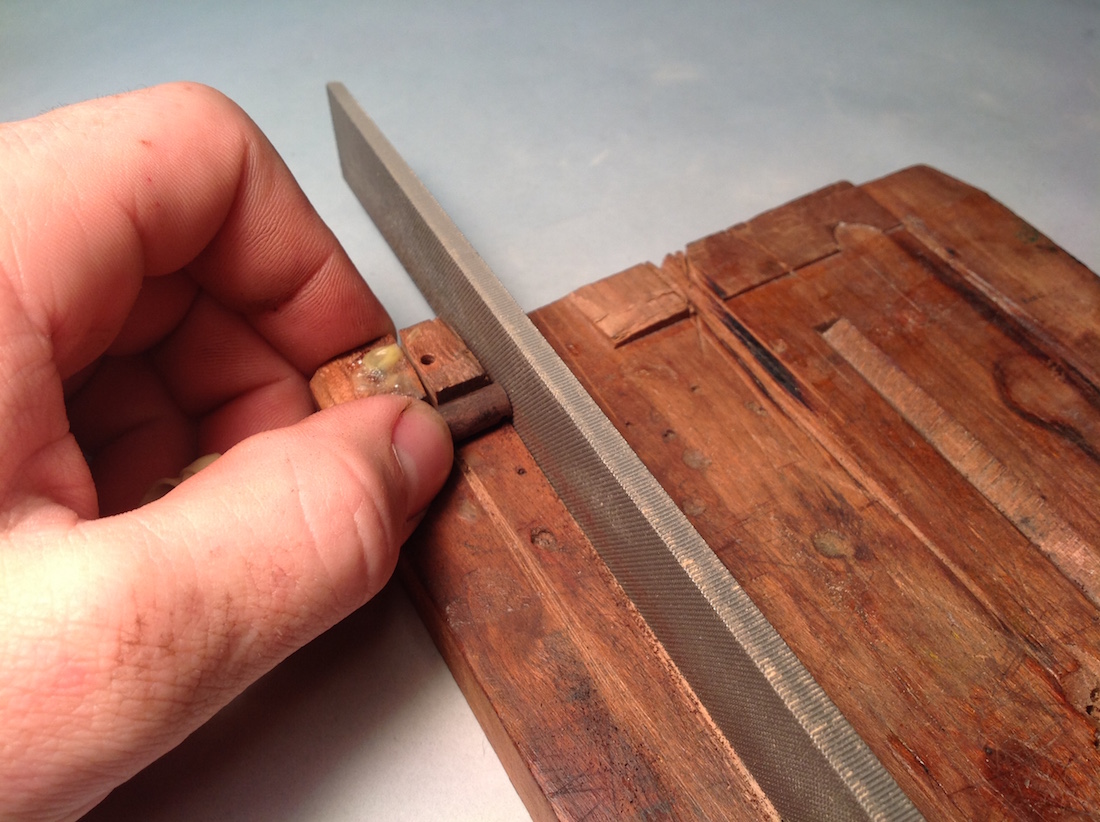
Now it’s time to cut! I use a bench hook and a Japanese pull-cut saw to trim the ends of my pegs. I start by removing the pencil line and no more.

Put the peg back in the pegbox to check the length. If it sticks out at all, I remove the rest of the material with a #00 file until it is flush with the edge of the pegbox.
Due to the angle of the pegbox, sometimes you’ll be flush with the wider side of the hole, but the peg will still be proud of the pegbox wall on the opposite side (this is especially typical of the A and D pegs). You want to trim the peg to where it’s flush to the smaller side, so that none of the peg is sticking out at all.
Even if you happened to saw the peg to the correct length on the first go, you’ll want to clean up the saw marks with the file.
Now we need to dress the ends of the pegs. The ultimate goal is to have a finished peg end with a very slight radius. You will achieve this by moving through the grits of sandpaper, pressing the peg end down onto the sandpaper lying on top of your bench carpet. The give of the carpet as you press is what helps create the slight roundness of the peg end.
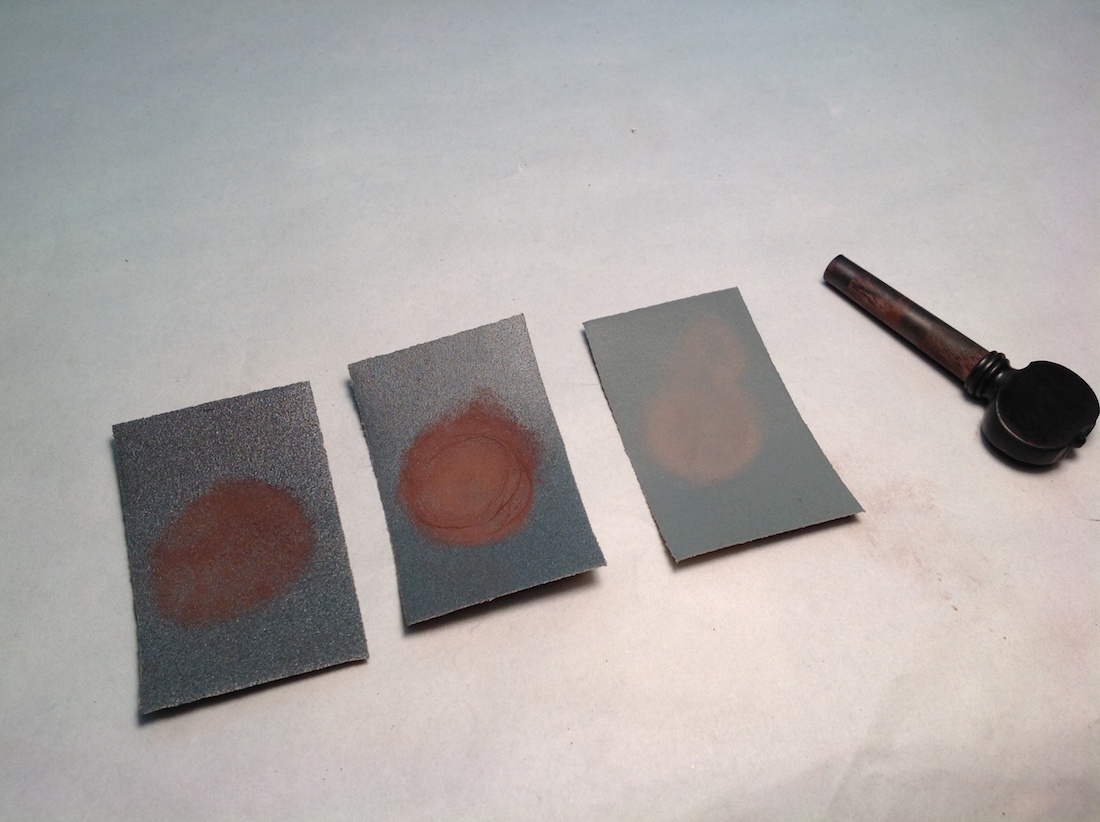
After sanding through the grits (220 – 320 – 600), flip the sandpaper over and burnish the end of the peg on the backside.
Lastly, for optimal peg performance, apply a small amount of Hill style peg dope.