
Instrument, Techniques
Raising the Projection

Nov

This is a guide to a common adjustment, especially in times when instruments experience higher than average humidity. Excess moisture in the air can cause the spruce top of an instrument to swell, most notably in a transverse direction (perpendicular to the grain). Since the plate is fixed around the edges, it has nowhere to go but up. The arch rises and takes the bridge and strings along for the ride.
To counteract this situation, we must change the angle at which the neck meets the body of the instrument, bringing the bridge end of the fingerboard up. Fortunately, we have a quick and minimally invasive method of doing this, which does not require the entire neck to be reset. It’s known as a projection or pitch raise. Some luthiers refer to it as a “New York neck reset.”
MATERIALS AND TOOLS
-Two rulers
-Opening knife
-Seam knocker
-Tiny hammer
-Dry soap
-Block plane
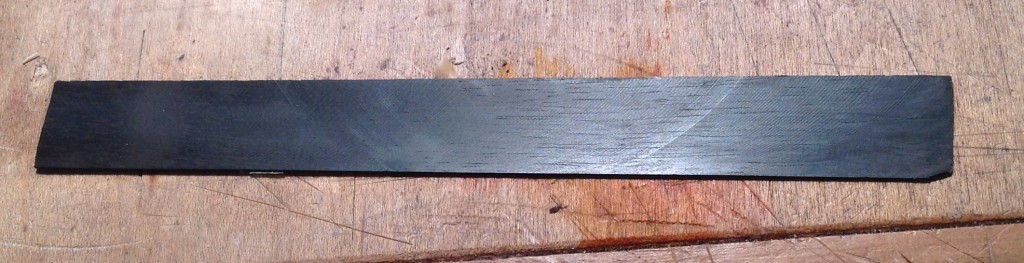
-Thin strip of ebony, roughly 0.5 mm thick
-Micro-saw or small Japanese saw
-Small knife
-Closing clamps
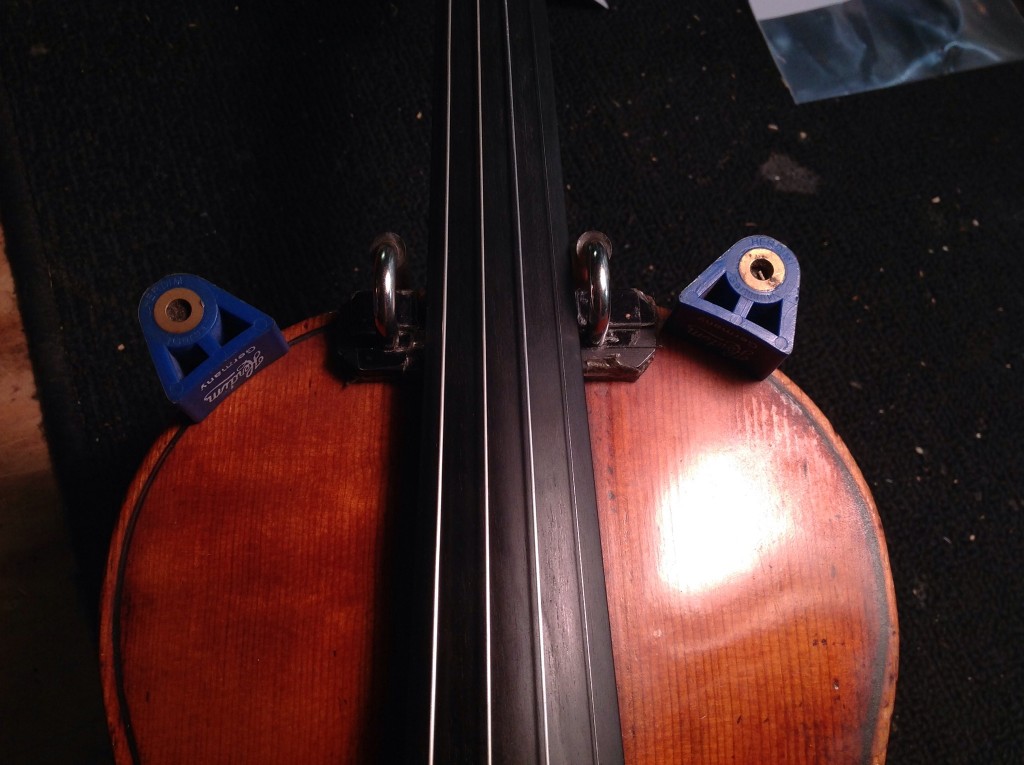
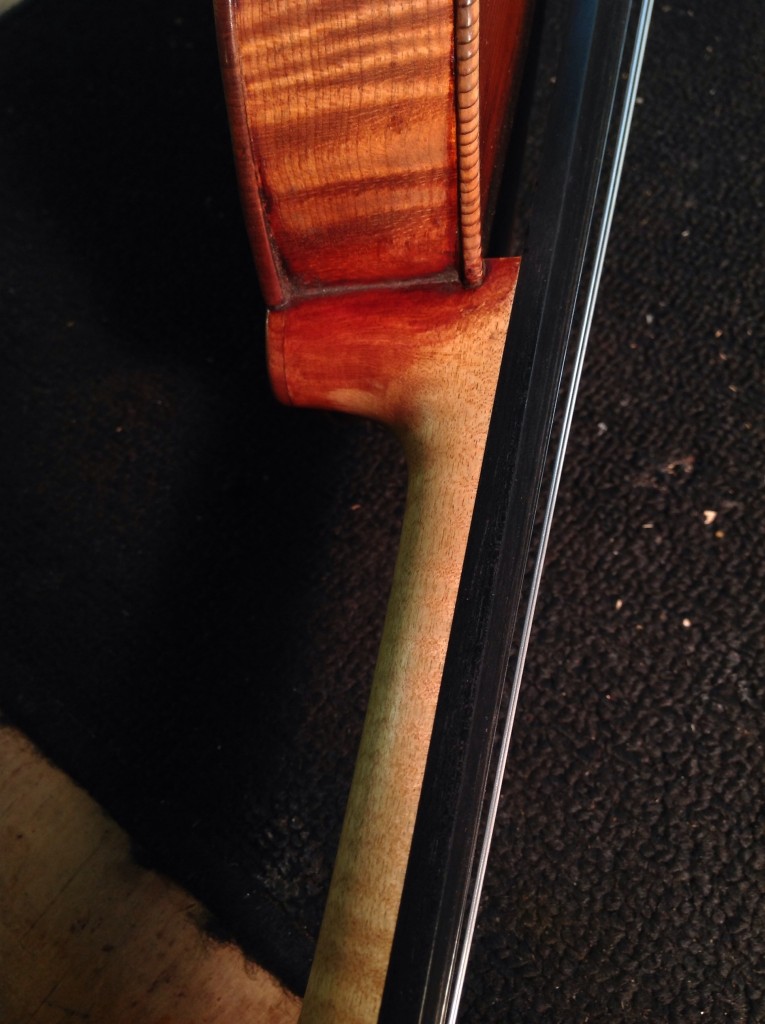
Measuring the Projection
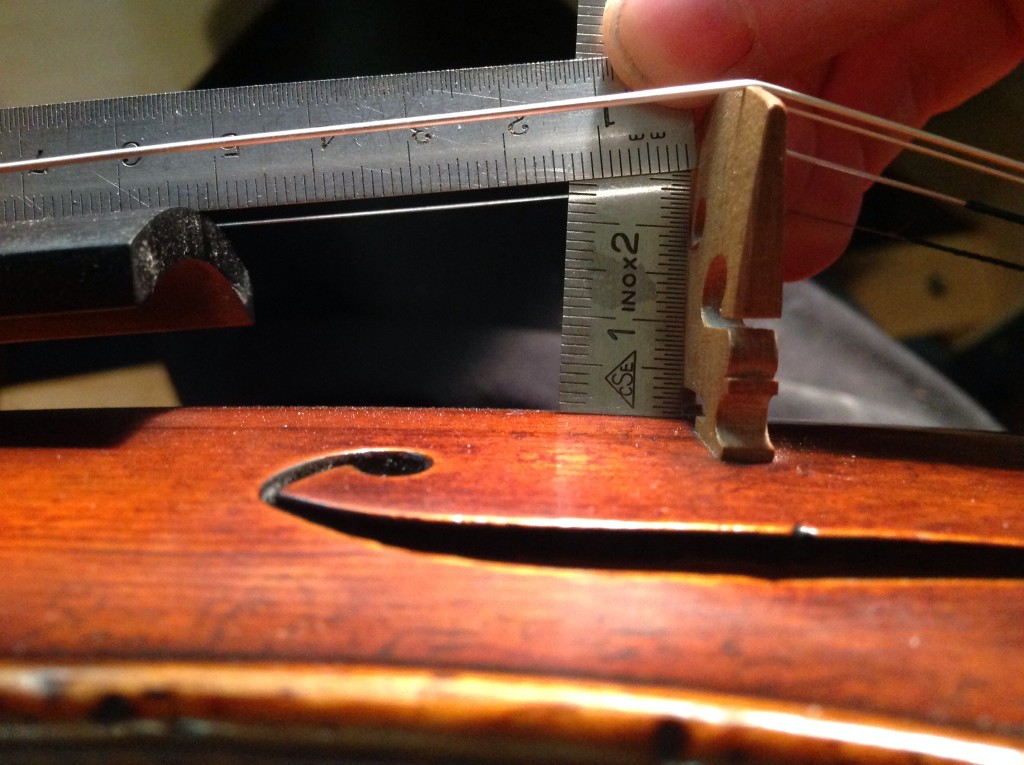
I like to think of projection as the point where the fingerboard would collide with the bridge if it suddenly grew longer, a la Pinocchio’s nose.
To measure the projection, take two rulers, one of which should be roughly as long as the fingerboard (a 30 cm ruler works great for violin and viola, 60 cm for cello). Using a ruler that is too short can give you a false reading because of the scoop in the fingerboard. Rest the long ruler along the center of the fingerboard and slide it forward so it reaches all the way to the bridge (or to the bridge position, if there is no bridge).
Use the other ruler to measure the distance from the top of the instrument to the bottom of the long ruler, as pictured above. That measurement is the projection. In our shop, we like to set violin necks with a projection of 27.5 mm , 30-33 mm for viola and 82.5-84 mm for cello.
Order of Operations
Often we are working with an instrument that needs a lot of other set up work done at the same time. If the customer would like a fingerboard planing and/or a new sound post along with the projection raise, it’s important to take care of those things first because they can alter the projection slightly. Similarly, if the instrument is getting a new bridge, make sure to raise the projection first, since it directly impacts the string heights.
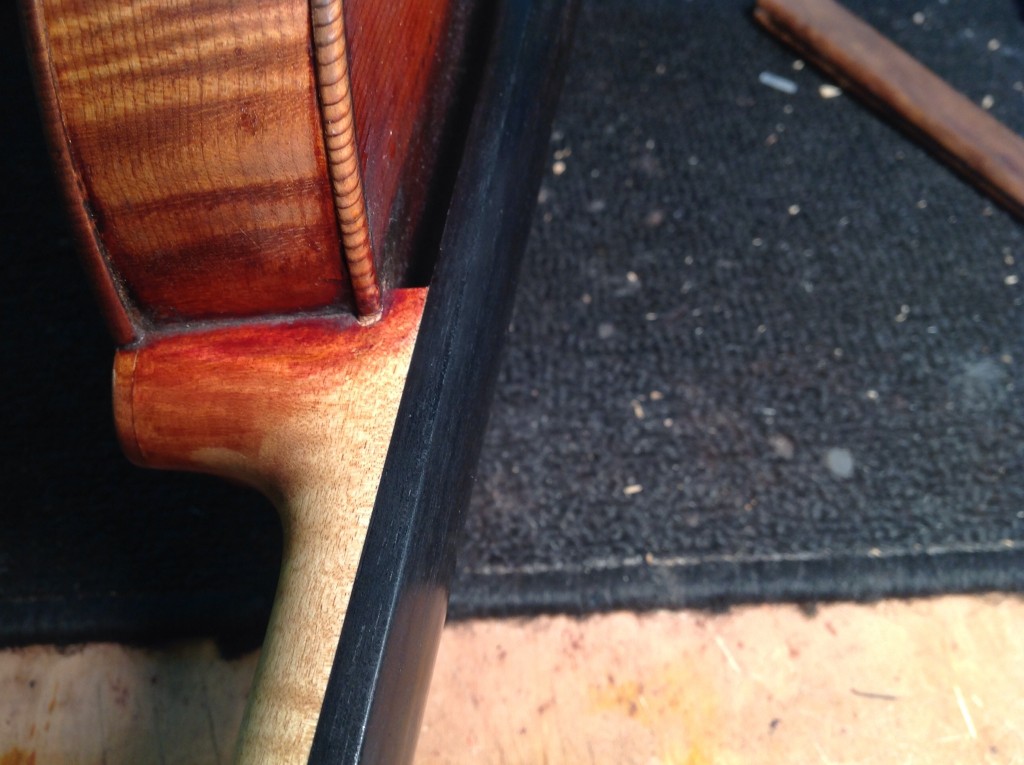
Opening the Upper Bouts
In order to raise the projection, we must open the upper bouts and release the top from the upper block. A good precaution before starting, is to slide one’s opening knife (lubricated with a bit of dry soap) carefully into the joint where the plate’s edge meets the neck root, making sure to stop at the bottom of the neck mortise.

Doing so will prevent the top from binding to the neck root and creating a crack next to the block.
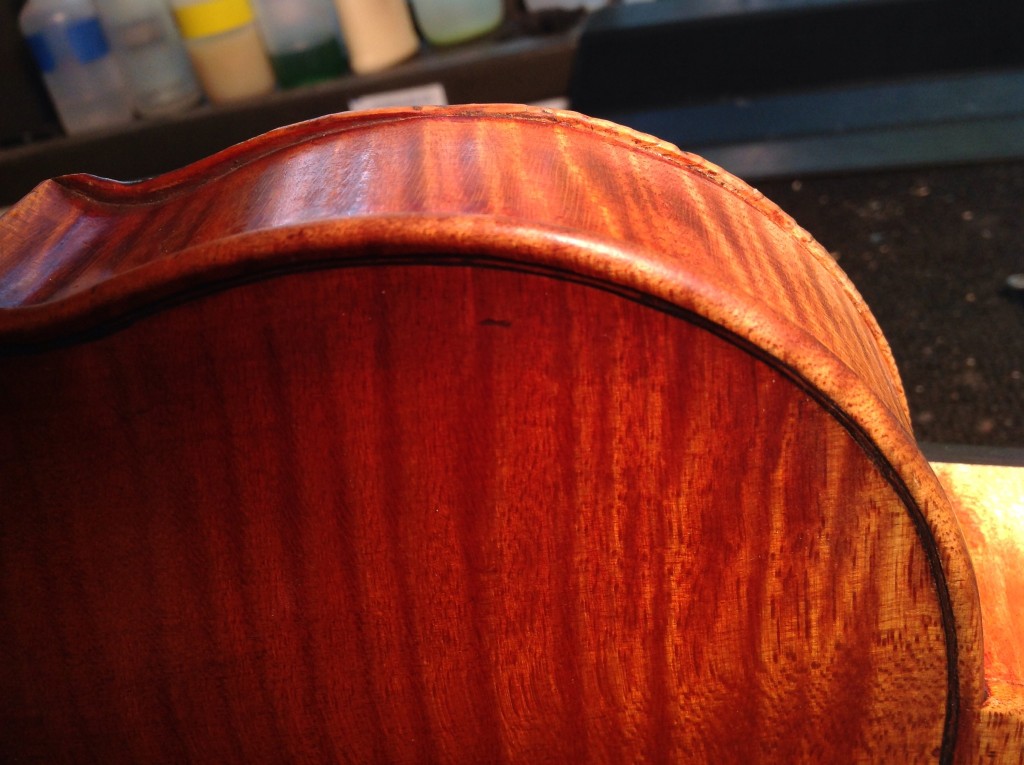
Next, I gently coax the seam open using a small hammer and my “seam knocker.”

Placement of the seam knocker in relation to the grain of the top is very important. Be sure to position it right on the shoulder of the bout. If you go too close to the neck, you could cause a crack. Too far the other direction and you risk breaking the edge clean off.

The placement of your hands is also critical. I make sure to support the edge of the top with my fingers, while my thumb rests on the back directly behind the seam knocker to help guide the hammer.
For cello, the arrangement is the same, except I always add some protection on the rib so I don’t inadvertently mar the varnish with my hammer.
When the seam knocker is positioned just right, tap it gently but assertively with the hammer. Then, inspect the seam. If it’s still closed tightly, repeat the process. While some may balk at this method of opening (believe me, I was terrified the first time I tried it), when applied correctly, it has absolutely no adverse impact on the instrument.
I discourage using moisture, as that will re-hydrate the hide glue and increase its strength. Moisture will also swell the wood and make everything tighter. Some luthiers apply alcohol to loosen glue joints. I rarely resort to this, because it makes me nervous to have alcohol so close to varnish.
Once you have created a small opening, gently slide your opening knife inside, still using dry soap as a lubricant. The knife should have a very slight wedge shape to the blade, which will help the seam pop open.
You must be constantly aware of the grain of the top, vis-a-vis the angle of the knife. To avoid causing a crack, make sure the knife is always at an angle to the grain and never parallel with it.
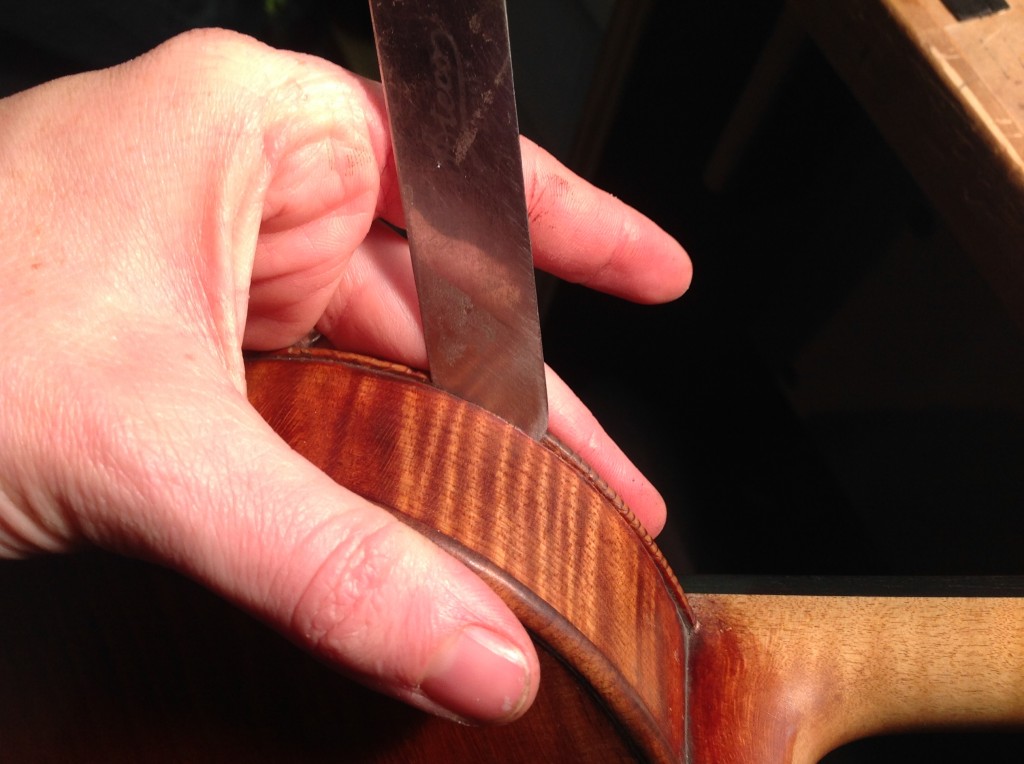
Look at the picture and see how I support the top with my fingers at all times. This allows me to feel how the knife is affecting the top and I can stop immediately if anything feels amiss. Work your way down to about the middle of the bout and then up to the top block. Repeat the process, starting with your seam knocker, on the opposite bout.
The trickiest part is often getting the top to release from the block. I like to remove the end button so that I can look inside the instrument and ensure that my opening knife is working its way into the seam and not into the block or the top. Keep sliding the knife in, keeping the blade perpendicular to the grain, as the area around the block is especially susceptible to cracks. Come from both sides as needed.
When the top is free of the block, you should be able to gently wiggle the neck back and forth to open the joint where the shim will be placed. Be sure to support the button with your palm as you do this.
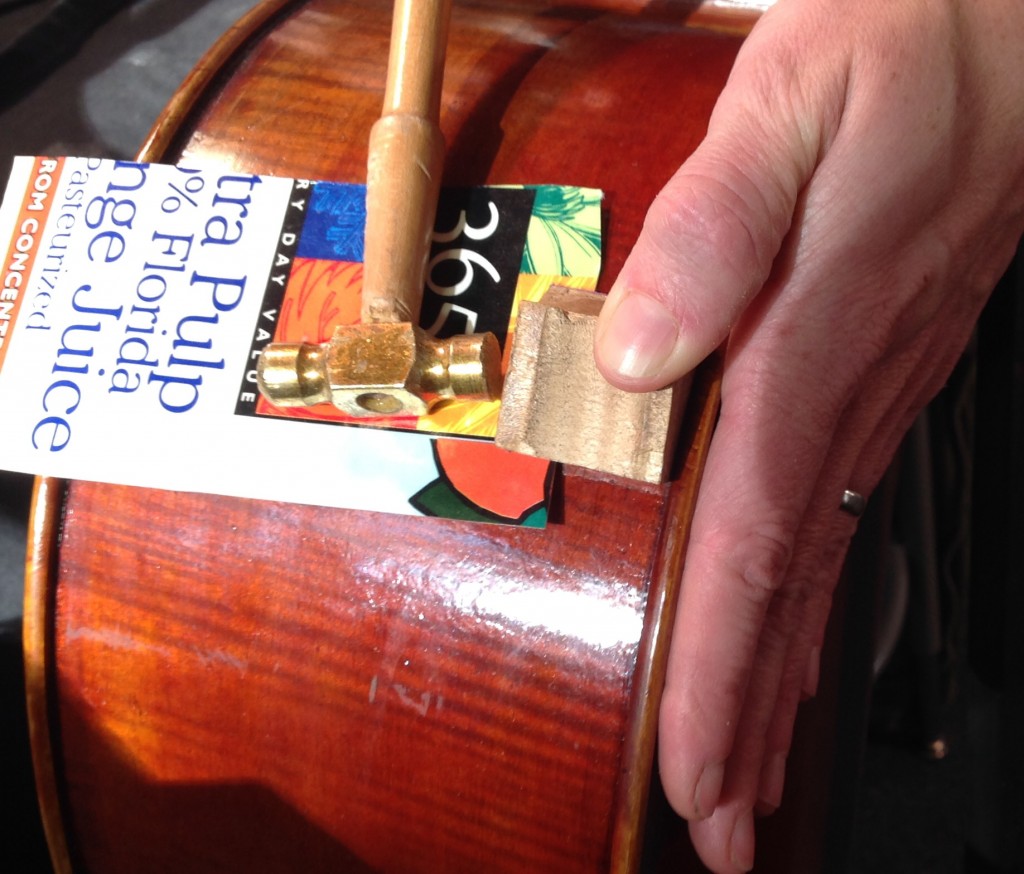
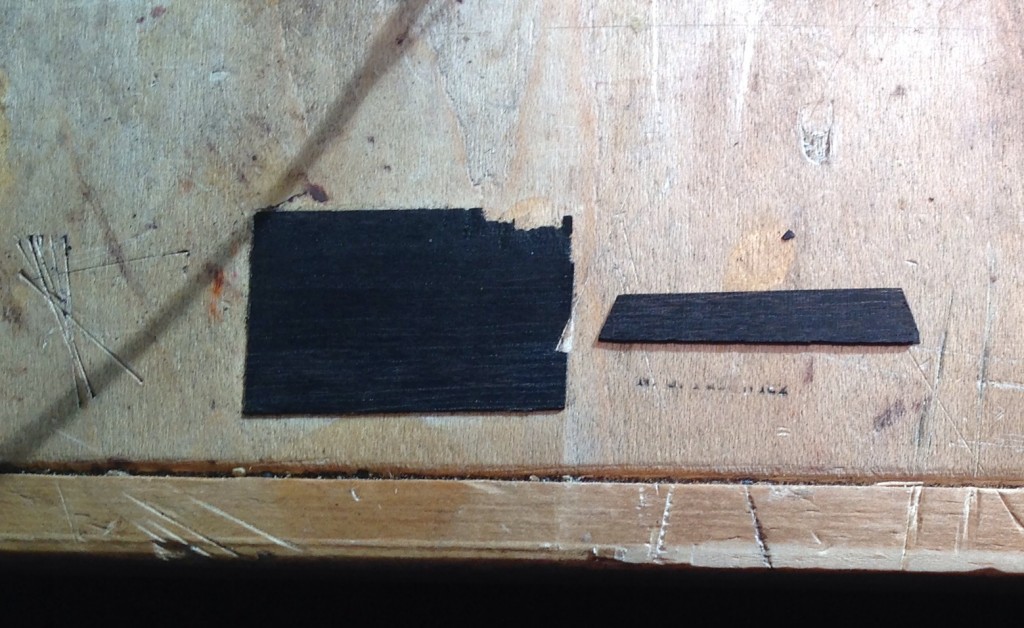
Fitting the shim
Next, we get the shim to the right size and thickness. Take your shim stock and hold it next to the neck mortice to mark the length.
I cut the shim to length with my micro-saw and use a knife to split the piece to the right height. Approximate this dimension by guesstimating the thickness of the top and adding about 2 mm, roughly 5 mm for a violin or viola, 7-8 mm for a cello. I like to split the shim along the grain lines because it will make it easier to cut down later after it’s glued in.

Finally, putting a bevel at each end will make it much easier to insert.
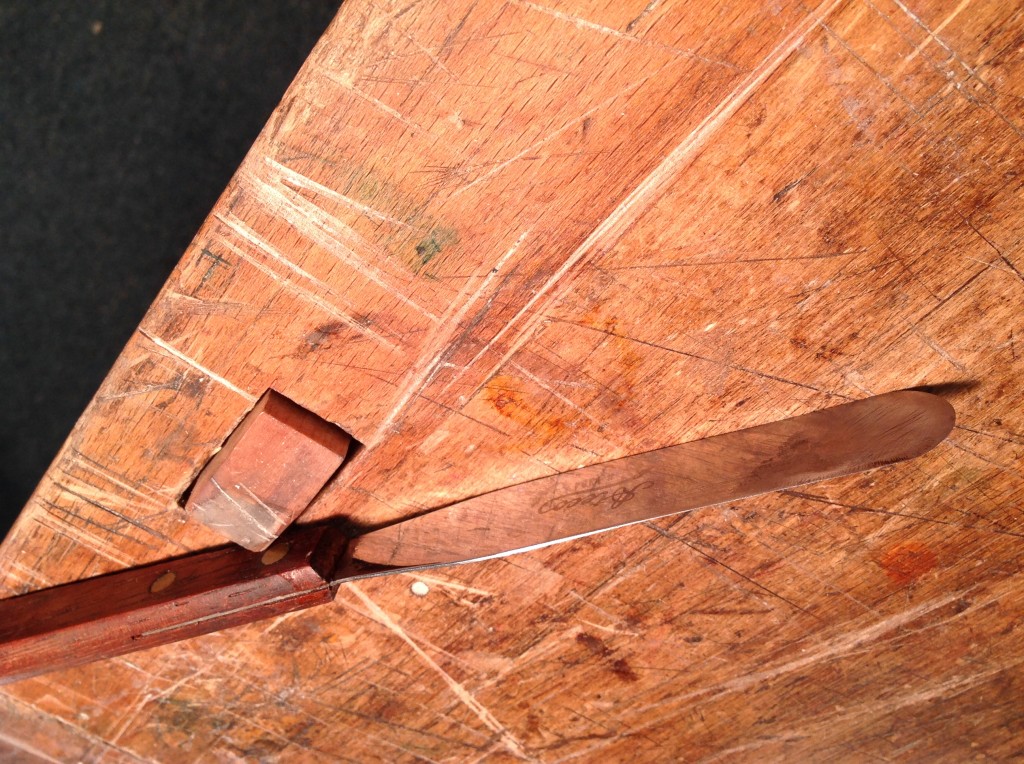
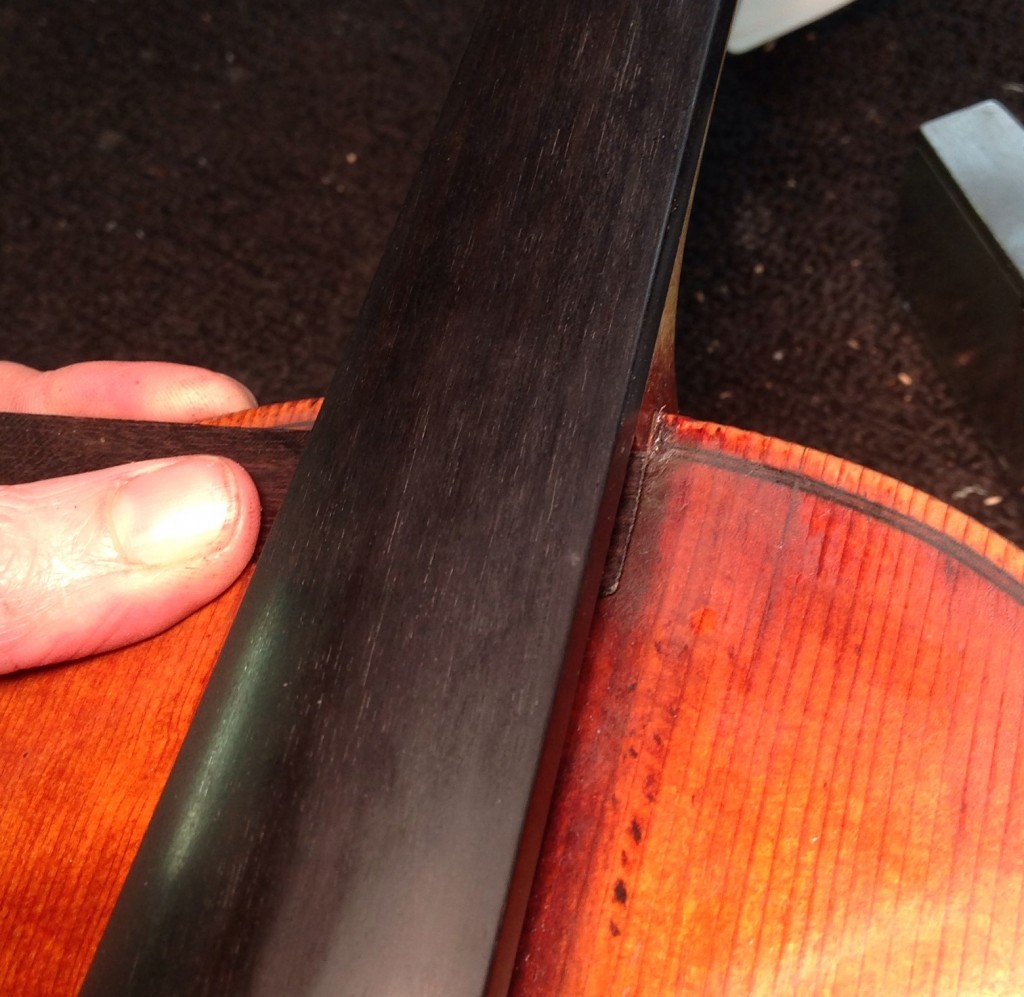
Slip the shim under the fingerboard and slide it down into the gap between the neck root and the top. You will need to tilt the neck back a little in order to do this (again, support the button!). Using the tip of a knife to manipulate the shim will greatly aid the process.
From time to time, little splinters of wood or bits of old glue may impede the shim from sliding home. In that case, you will need to get in there as best you can with the tip of your knife or a small pick to clean it out.
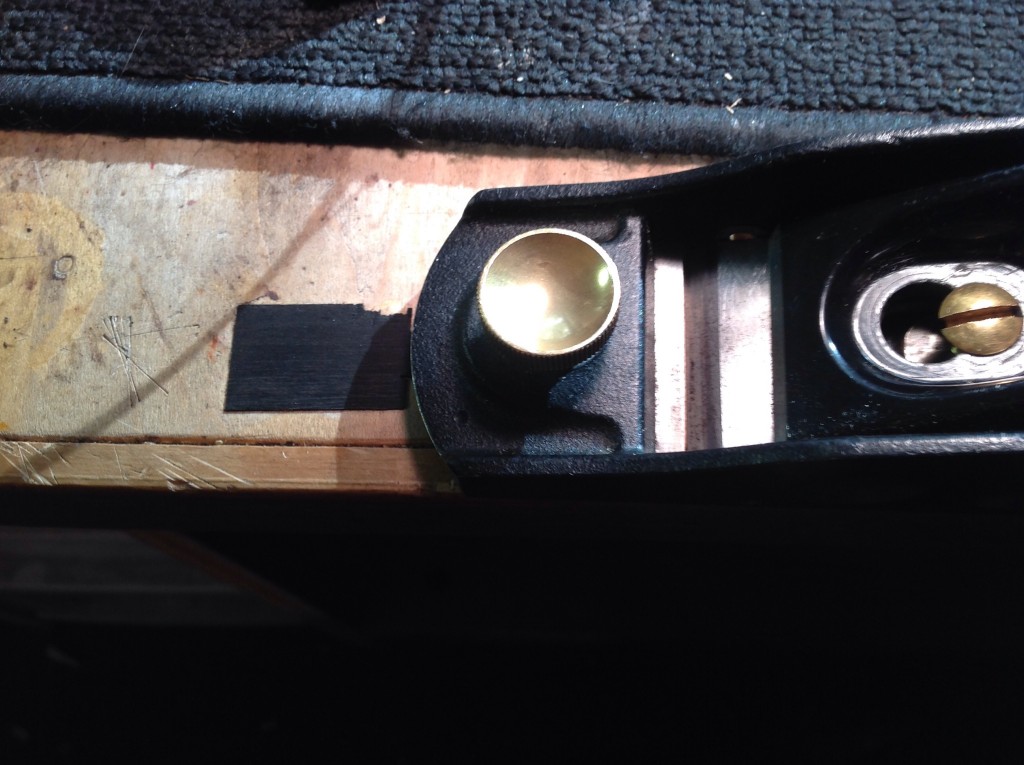
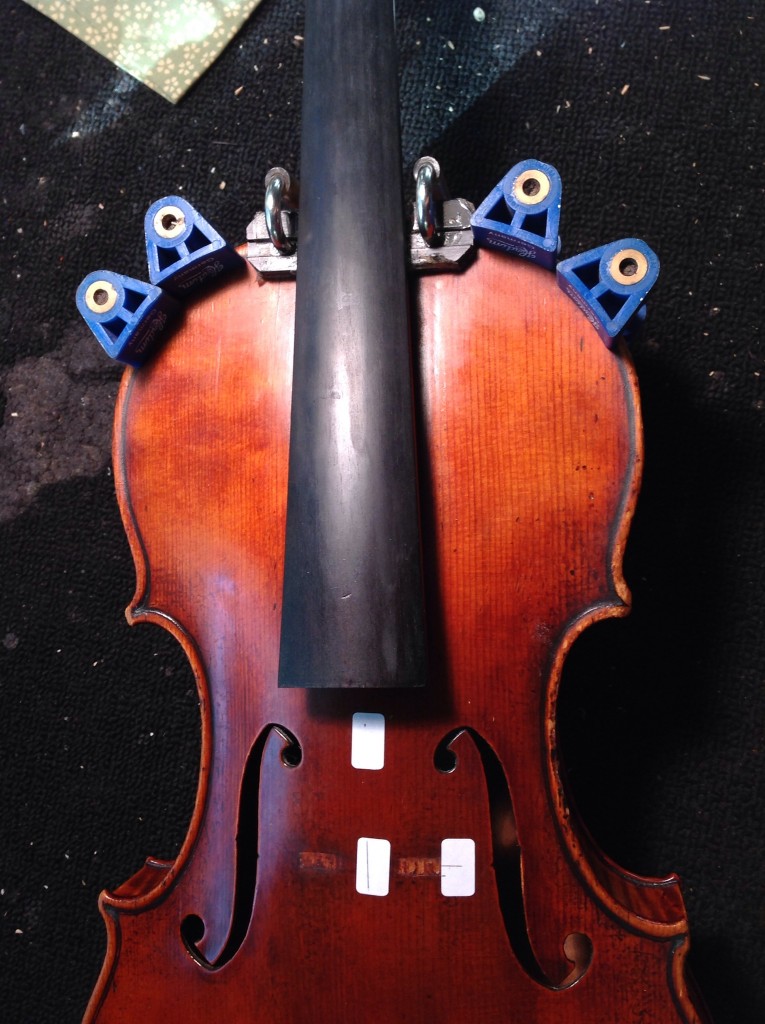
With the shim in place, secure a few closing clamps on the instrument to support the open seams while you measure the projection.
If the instrument is getting a new bridge, simply measure the projection without the strings on. If you will be reusing the existing bridge, put the instrument up to tension with all four strings and check the string heights.
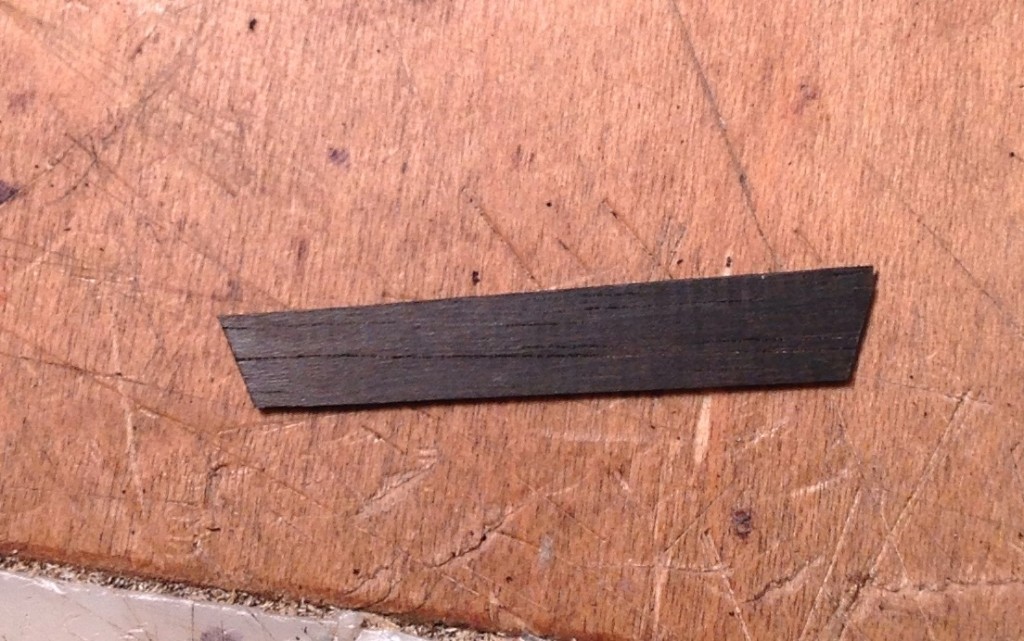
If the projection measures high, you will need to thin the shim down. If it measures low, you will need a thicker shim (or two thin pieces glued together).
Planing the shim down will be easier if you glue a thin piece of veneer to the surface of your bench and cut a little notch into it as a stopper.
Plane off about .10 mm, measuring with the digital calipers. Place the shim in the mortise, replace clamps and check the projection or string heights again. Continue working this way until the desired numbers are reached.
Occasionally, you will find that only a very thin shim is needed. If the ebony gets down to about .25 mm and it’s still too thick, you may use a piece of cardstock (business cards work well for this) instead of ebony. Just be sure to “ebonize” it with a black permanent marker before gluing it in.
Gluing the Shim In
Once you are happy with the fit and thickness of your shim, it’s time to glue it in and close the seams. As always, be kind to the next restorer of this instrument, and use sparing amounts of moderately weak hide glue. Dab a small amount of glue on each side of the shim and slide it into place. Close up the seams and be sure to clean thoroughly any excess glue that may have dripped or been squeezed out by the clamps.
Set instrument in a safe spot while the glue dries (minimum of 3 hours).
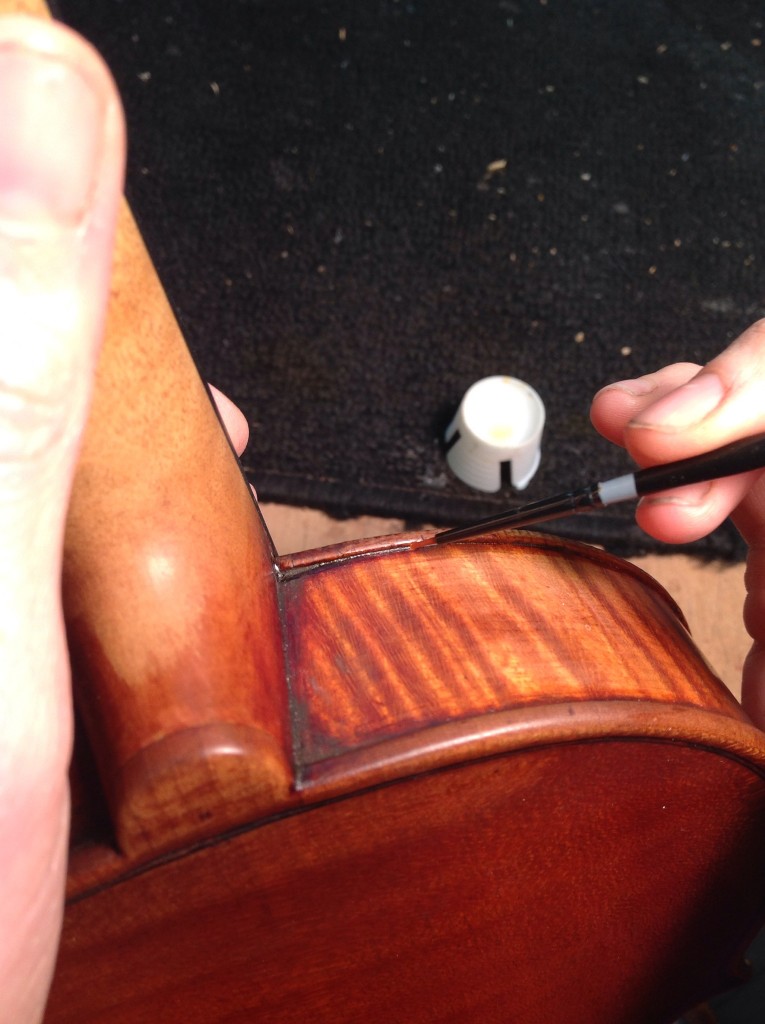
Final Touches
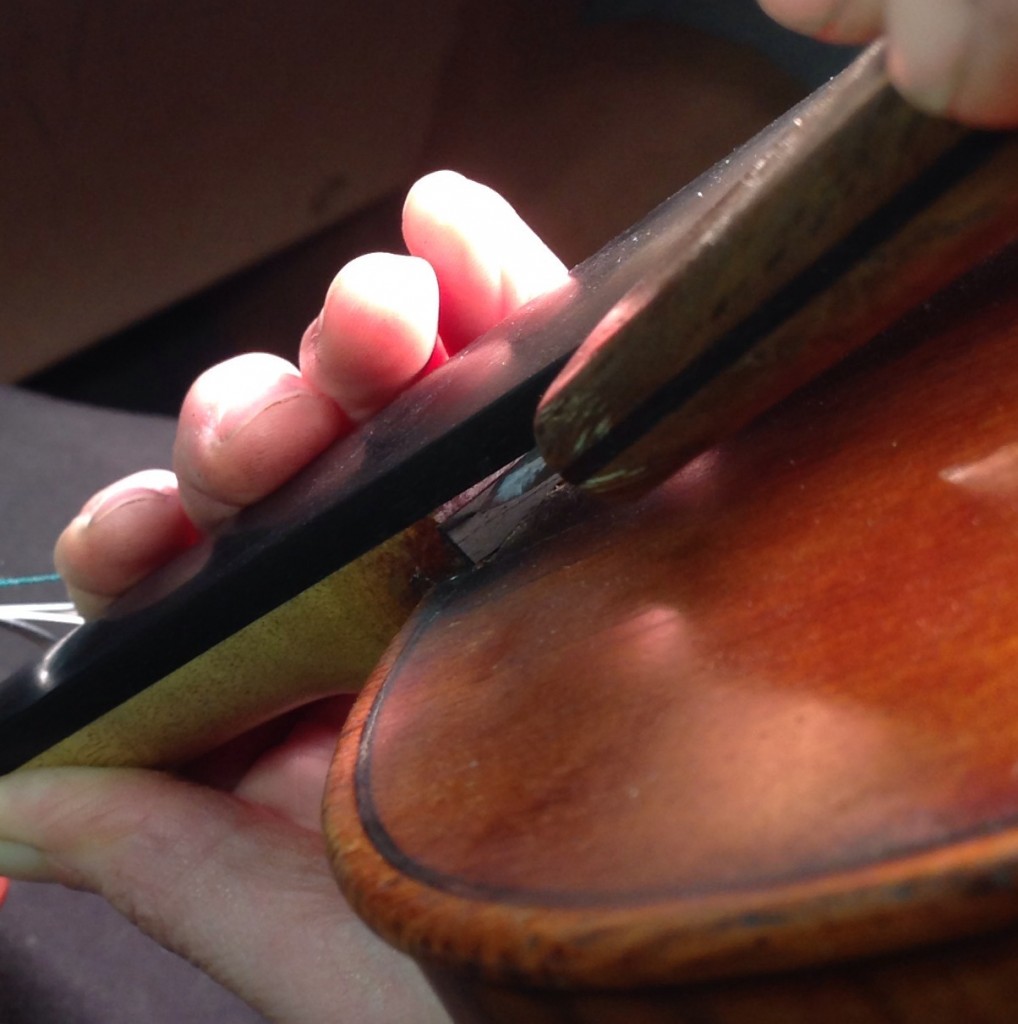
When the glue is dry, remove the clamps and use a sharp knife to trim down the millimeter or so of the shim that’s still visible.

The last step is to apply a small amount of varnish touch up. Because we have changed the overhang of the top plate slightly, a tiny amount of unvarnished wood is now exposed under the edge that was previously hidden. Here:
And here:
On an older instrument, make sure you put an appropriate amount of “dirt” (using earth colors) so that it blends well with the existing patina.
Seal the color in with a thin coat of clear and you’re done.
Do a final check with the strings on to ensure that the projection is correct.

Why Projection Matters
The sound production and play-ability of an instrument depends very much on having the correct projection. The issue goes deeper than simply making string heights comfortable for the left hand – otherwise, we could just lower the bridge to accomplish the same result. An instrument with a low projection will lack in volume and response forcing the musician to work harder with their bow arm in order to compensate. In extreme cases, this could cause a playing injury. Raising the projection injects energy into the set up of an instrument and gives a lot more support to the musician.
Email Sally at Sally@tristrings.com if you have any questions or comments.
Fill out this form to receive monthly Technique Article updates!
© Pasewicz String Instrument, Inc. 2014