
Bow, Techniques
Replacing Missing Tortoiseshell with Dyed Optical Epoxy

Feb

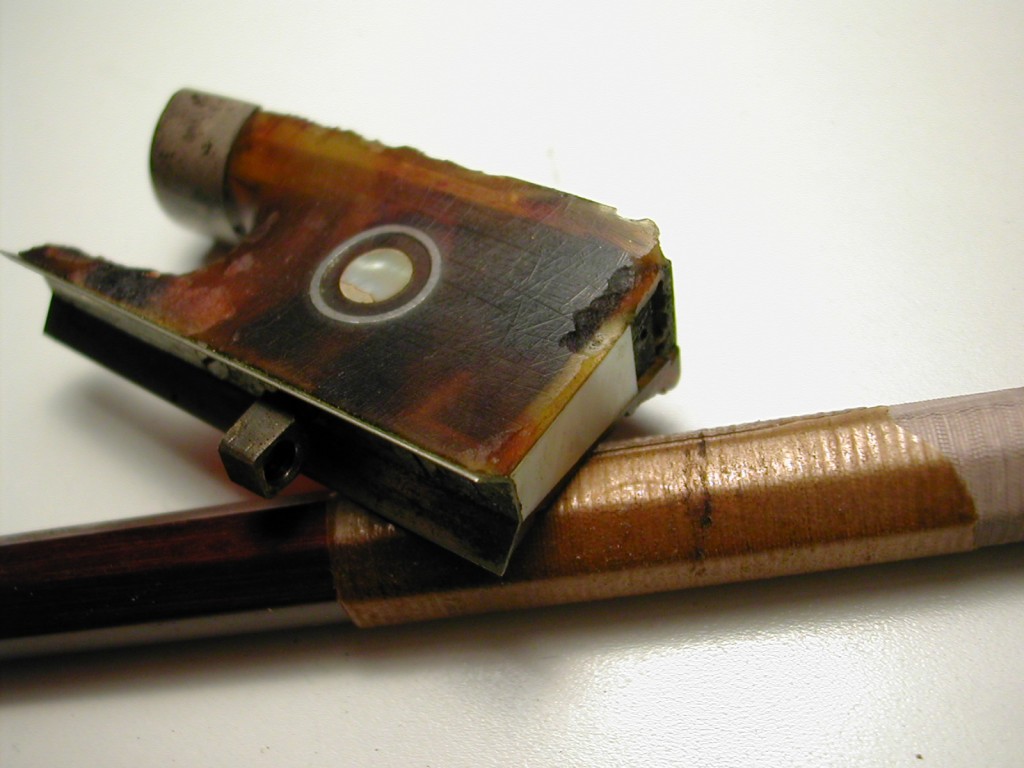
The conventional manner to repair damaged tortoiseshell has been to fill the frog with small pieces of tortoiseshell cut from combs, oriental fans, or other flea-market finds and glue the pieces into place using CA glue. However, results of this time-consuming method varied and, today, tortoiseshell has become very hard to find.
To replace missing pieces, our workshop uses a low-viscosity, high-transparency optical epoxy. The low viscosity contributes to the quality of the result by allowing any bubbles trapped during pouring to flow out easily. The high transparency enables restoration of the clearest of tortoiseshells.
MATERIALS AND TOOLS
– good-quality, non-stretching transparent packing tape
– modelling clay
– 4 dental dappen dishes
– very low-viscosity, high-transparency optical epoxy (such as Epoxy Technology 301-2)
– a palette knife
– opaque pigments (available from Epoxy Technology)
– ethylene glycol monoethyl ether (Cellosolve)
– a spatula
– toothpicks
– a cloth
– a matting agent (such as Aerosil)
– carving tools, including a shallow gouge, a chisel, knives, scrapers and files
– assorted abrasives, including micro-mesh
– mineral spirits
– alcohol
– dyes in powder form (such as Orasol Powdered dyes)
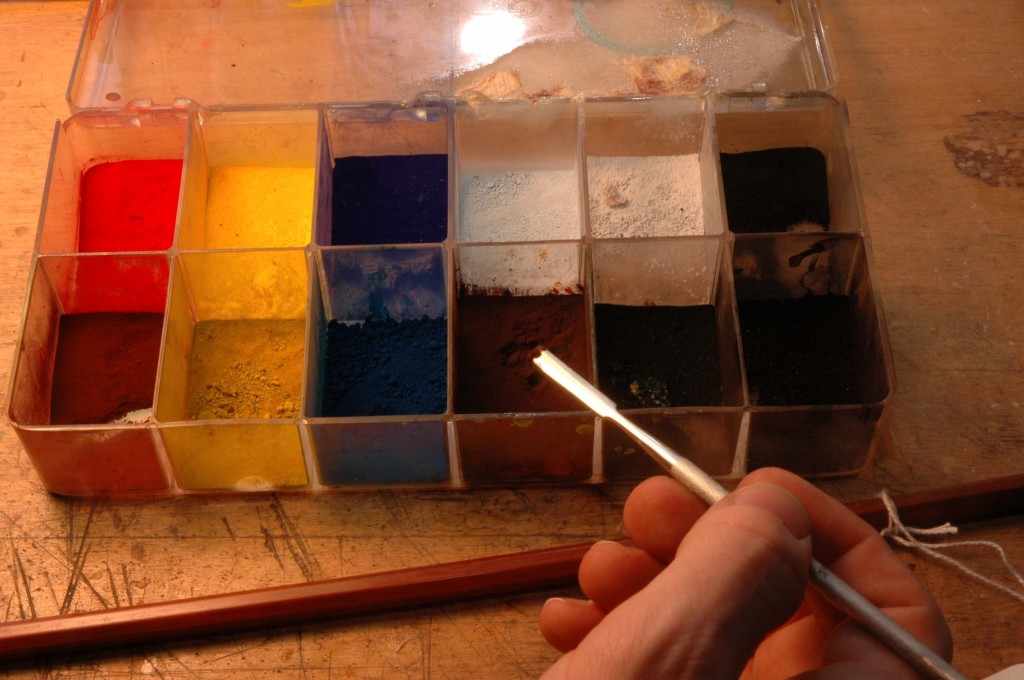
Powdered colours for mixing with Cellosolve.
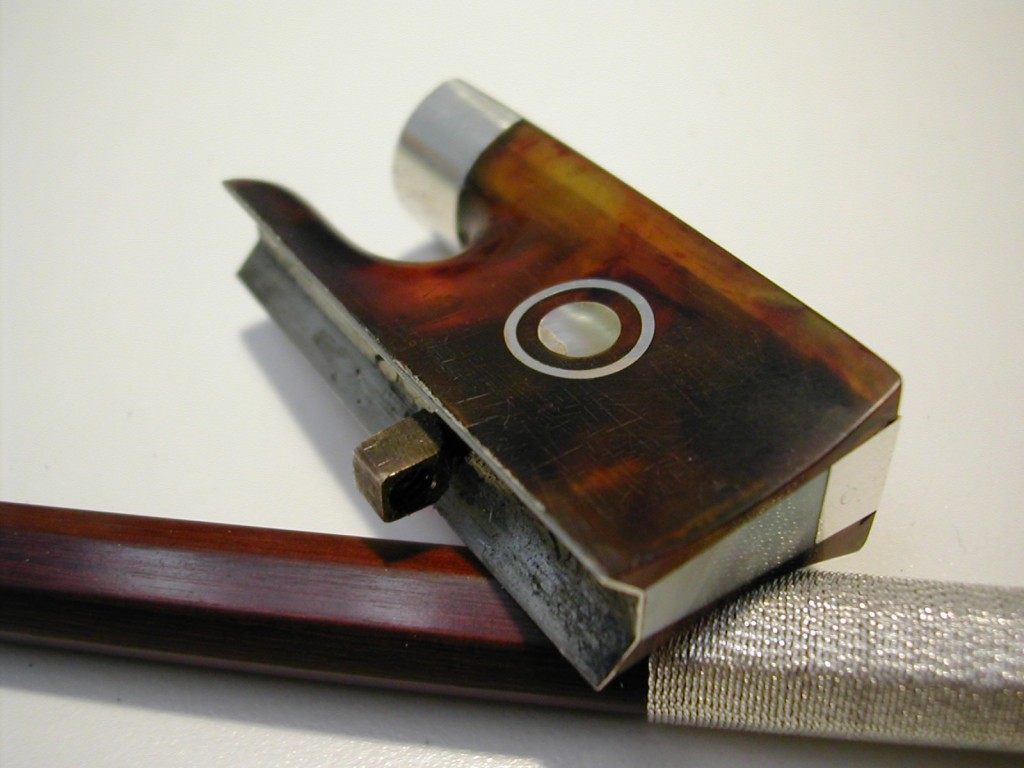
PREPARING THE FROG
Make sure the frog is clean and free of any loose tortoiseshell fragments.
Carefully tape the parts of the frog that are not to be treated.
Make a dam around the area to be filled. Packing tape works best for repairs to the back or along the edges of the frog; modelling clay is best for repairs to the flanks.
MIXING AND TESTING THE EPOXY FILLER
Ensure adequate ventilation in the work area when using epoxy.[1]
Mix the epoxy as described in the instructions.
Place the four dappen dishes on the workbench. Pour the mixed epoxy in clear form into the first dish. Pour the dye powder into the second dish and add a drop of the ethylene glycol monoethyl ether to dissolve it.[2] Add only as much as is needed to dissolve the powder; adding too much may affect the curing of the epoxy. When the colour seems to match the repair area, combine a small amount of the liquid dye and some clear epoxy in the third dish. Very little dye is required to colour the epoxy.
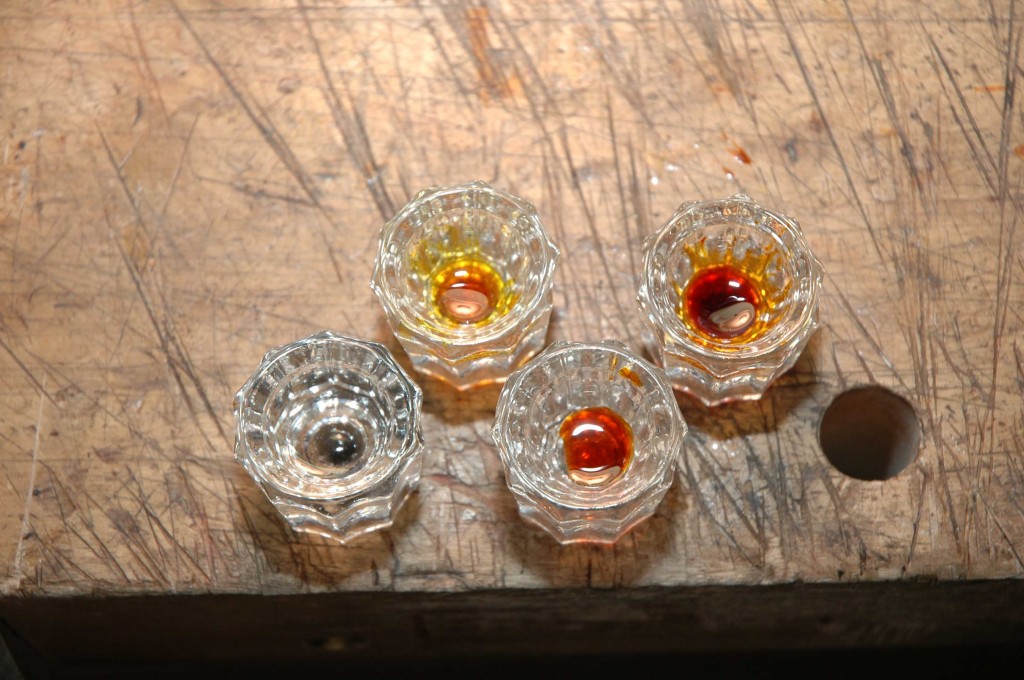
Dappen dishes with epoxy, concentrated colour, and coloured epoxies.
You must now check the hue and opacity of the dyed epoxy. Dip the end of a toothpick into the filler, drop a small amount into the repair area, and hold the frog to a source of light to see if the filler matches the surrounding tortoiseshell.[3] Wipe away the test amount.
Add more liquid dye or clear epoxy to the third dish, as necessary. In cases where less transparency is called for, opaque pigments may be added to the epoxy mixture. Keep testing the filler until you achieve a perfect match.[4]
In most tortoiseshell frogs, the hue, intensity and opacity of the colour varies. Depending on the repair area, more than one colour will be needed for a suitable replacement. The fourth dish can be used to mix a second colour, if necessary.
ADDING THE MATTING AGENT AND APPLYING THE FILLER
When the filler matches the hue and opacity of the repair area, add a small amount of matting agent. The reflectivity of the filler should match that of the surrounding tortoiseshell. Each repair is different, so it is necessary to experiment with the quantity of matting agent.
Retest the filler in the repair area to confirm its suitability one last time.
Pour the filler into the dam.
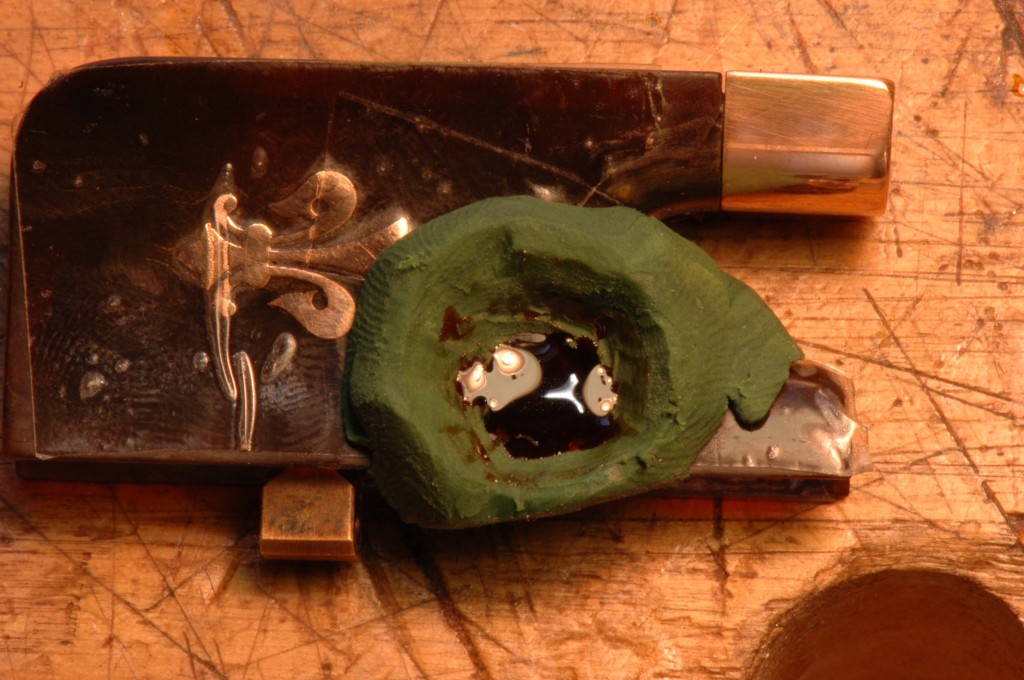
Hill tortoiseshell frog showing tape mask, clay dam and epoxy fill.
Where the area to repair requires both a light and a dark portion of tortoisehell, use one toothpick to apply light-coloured epoxy and a second toothpick to apply dark-coloured epoxy. Drop both colours into the matching portion of the repair area at the same time.
Cure according to the instructions for the particlar climate conditions.
SHAPING AND FINISHING THE REPAIRED AREA
When the filler has cured, remove the dam. Use mineral spirits if the dam is made of tape; modelling clay will fall away easily.
Carefully carve away the excess filler.
Remove the tape from the parts of the frog that were not treated with mineral spirits.
Wipe off any residue with a cloth and alcohol.
Acknowledgements
When I had the pleasure of working with David Burgess, he showed me a method of tortoiseshell replacement using polyesther resin. His experience is the basis for the technique presented in this article.
1. See Monona Rossol, “Chemical Safety in the Workshop,” 1:463-70. Ed.BACK TO POST
2. The same principles of colour matching used in retouching varnish apply here. See J&A Beare Ltd, “Retouching Varnish on Stringed Instruments,” 2:154-62; Stewart Pollens, “Cleaning and Retouching Violin Varnish, with a Discussion of Colour Theory,” 1-664-94; Hans Weisshaar and Margaret Shipman, Violin Restoration: A Manual for Violin Makers (Los Angeles: Weisshaar-Shipman,1988),205-10. Ed.BACK TO POST
3. Use daylight or, if not strong enough, an artificial light source and ideally a full-spectrum light source.BACK TO POST
4. The repair, which should not show in natural conditions, will reveal itself under ultraviolet light.BACK TO POST
Pasewicz, Jerry. “Replacing Missing Tortoiseshell with Dyed Optical Epoxy.” The Conservation, Restoration, and Repair of Stringed Instruments and Their Bows. Vol. 3. Montreal, London: IPCI-Canada, Archetype Publications, 2010. Print.