Instrument, Techniques
Making a Soundpost

Jun

MATERIALS AND TOOLS
-Block Plane
-Fro
-Hammer
-Scraper
-Sound post making jig
-220, 320, and 600 grit sand paper
-Straight splitting and tight grained spruce
-Square
-Metric ruler
-Pencil
-Band saw
-Hand saw
-Straight edge
-High quality digital calipers
-Proper bench lamp
SELECTING TOOLS
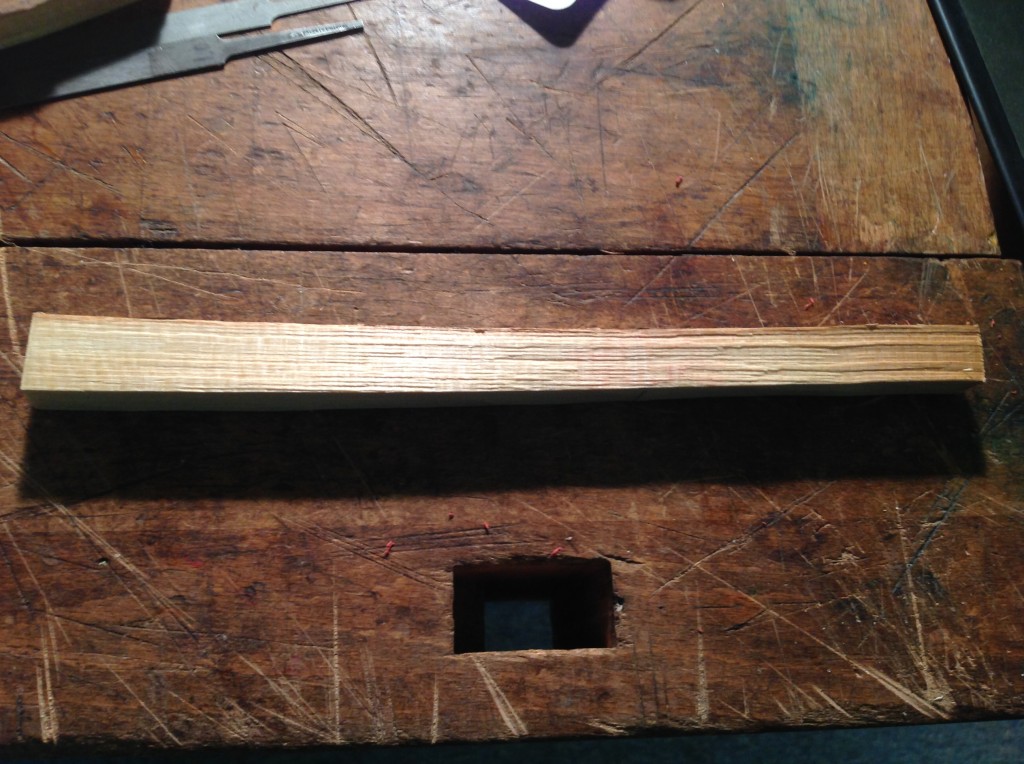
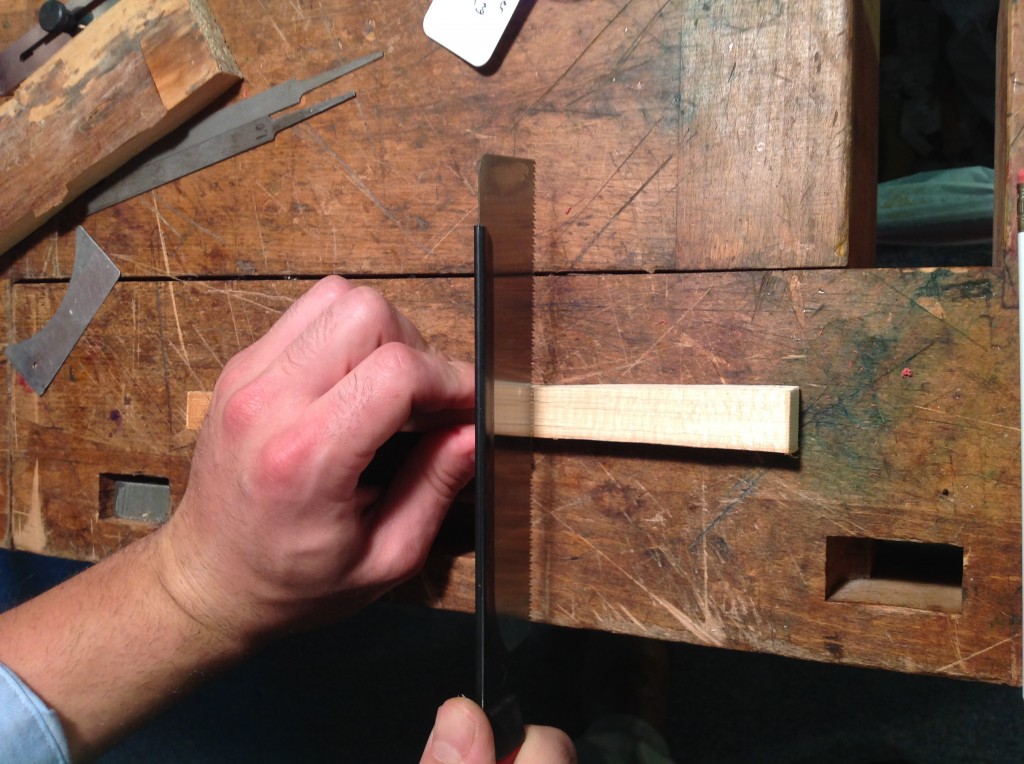
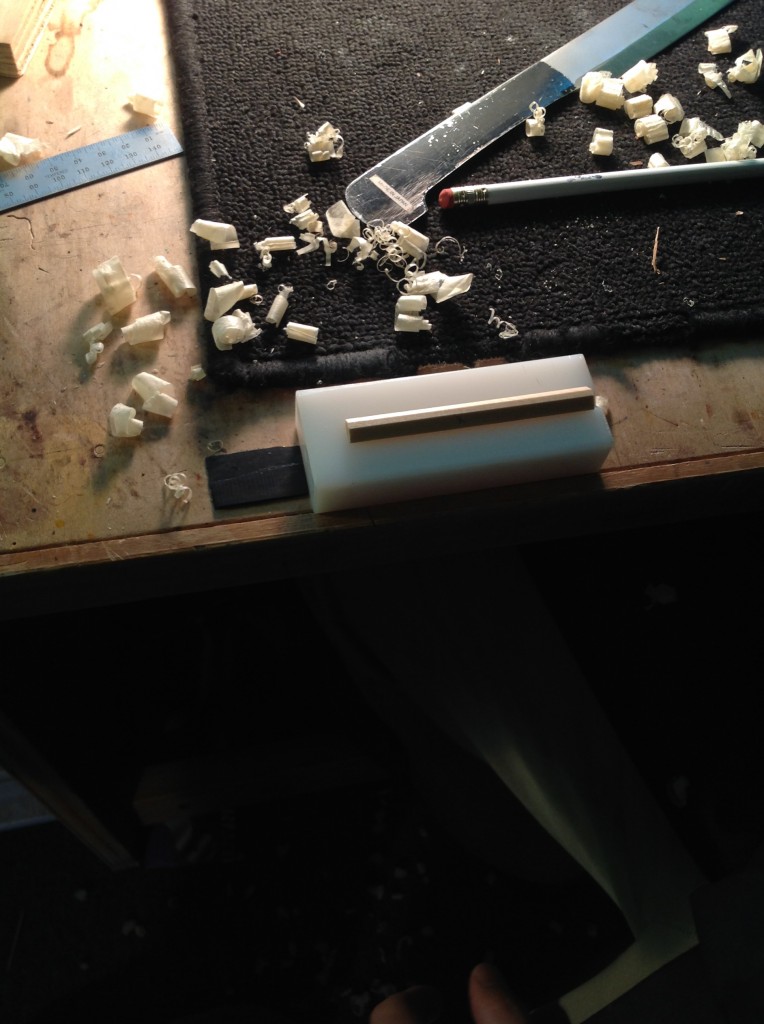
Find high quality straight splitting straight grained spruce. Something considerably larger is best so you can choose a section with the best split possible. I start by marking out the size of the piece that I plan to split off, 10mm or so. This gives me enough room deal with any run out, and still gives me enough room for planing. Then it’s hammer time!

After it’s split I like to choose the straightest section, with the least amount of defects. Then I saw it to length. For violin I like to start around 100mm.
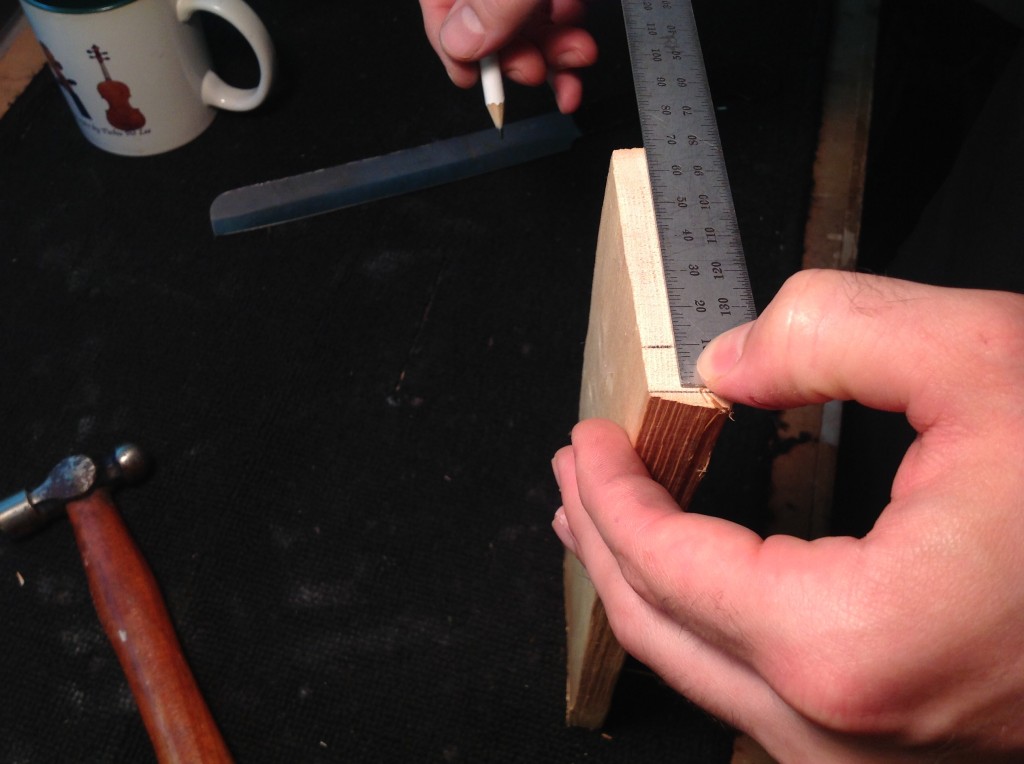
SQUARING UP YOUR SELECTION
Next take your block plane, digital calipers, square, and straight edge, and start planning one side flat and square up the other side. Mark these two finished sides with a pencil mark to keep the original squared up side from getting mixed up. Then I square up the band saw and cut off any excess. I like to have a little less than 8mm before planing.

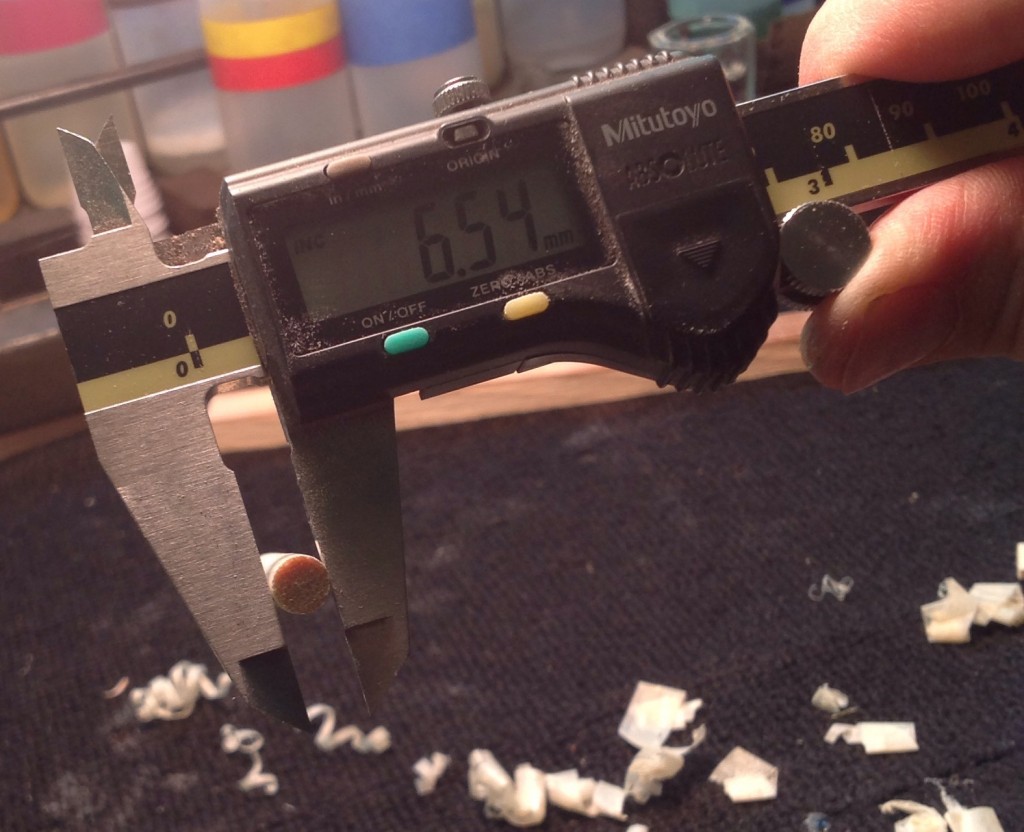
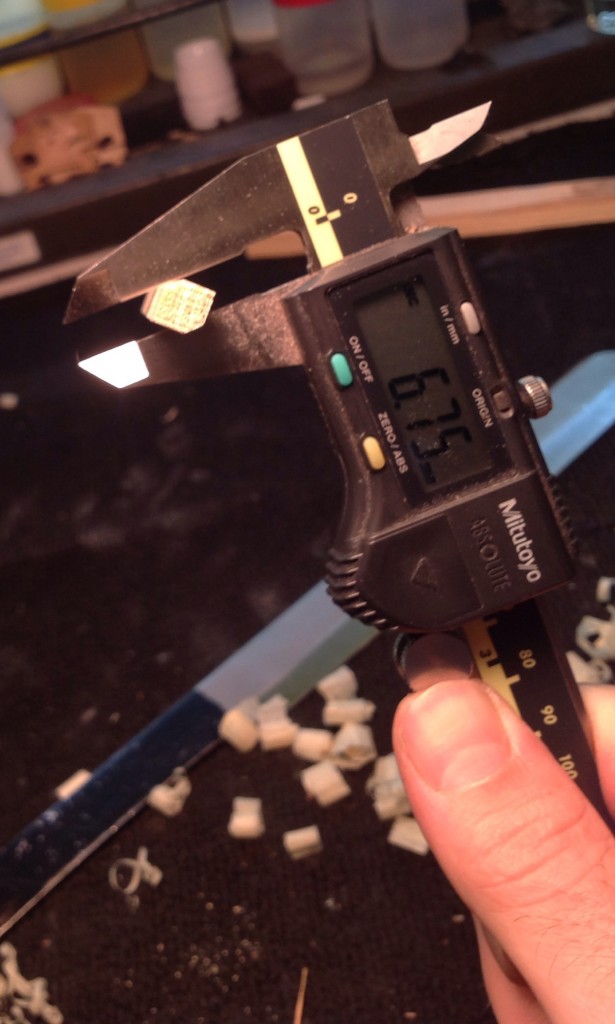
From here on out you can use your digital calipers to check that you are keeping things square.
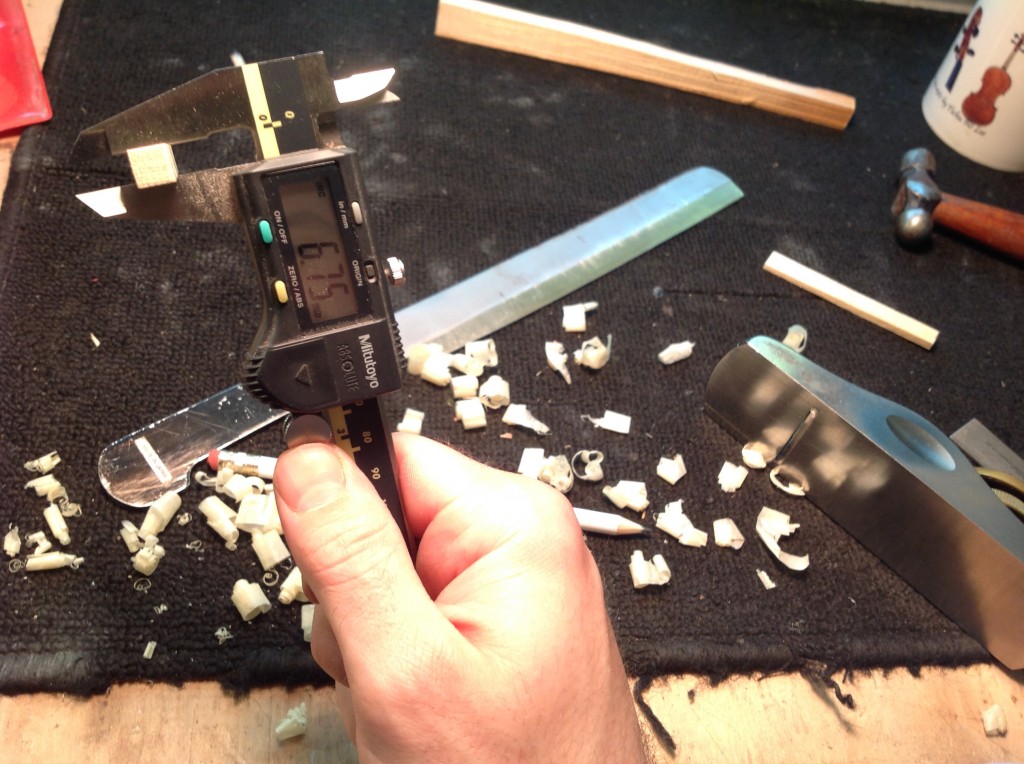
Now you can start planing your sound post down closer to finished numbers. I like to keep things very accurate and try to work to a tolerance of 0.05mm.
Before sanding, the finished number should be 6.75mm. This gives you enough room to sand through the grits and hit out final number of 6.5mm.

TURNING THE SQUARE INTO AN OCTAGON
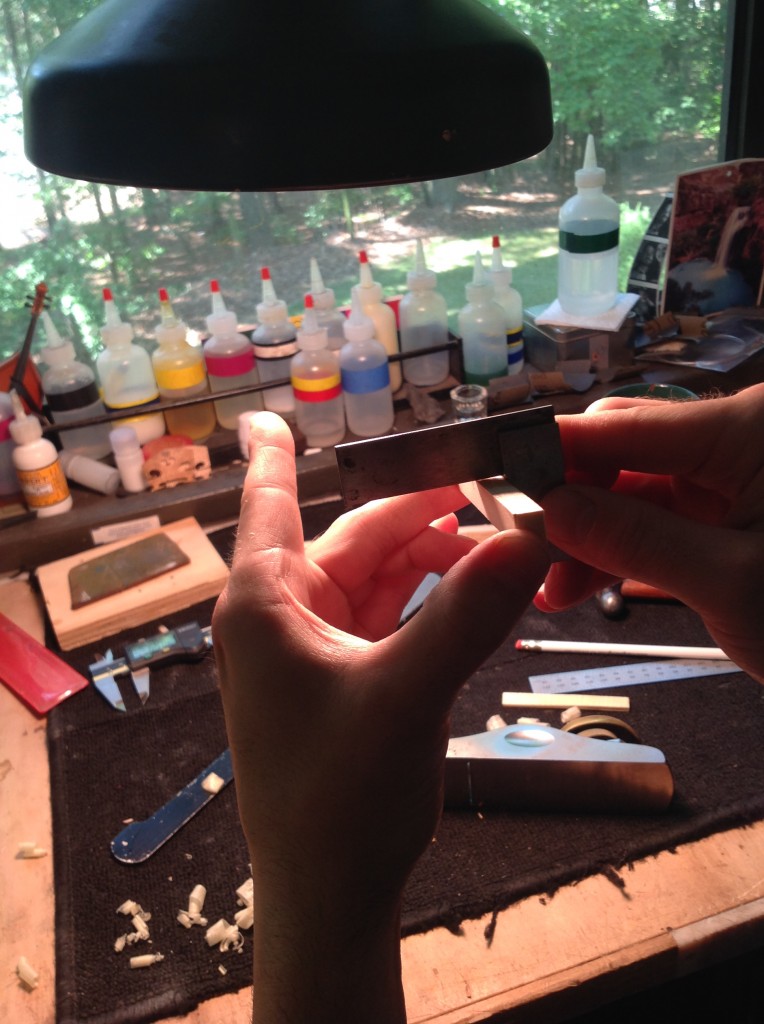
After you have finished the four sides and brought everything in to 6.75mm, keeping everything square and flat, it’s time to make it octagonal.
Use your lamp as a tool for this. If you get the lamp low enough it can show you how consistent your cut is. Once you have a facet the light should reflect white on the side closest to the lamp, grey on the facet you are working on, and black on the side furthest away from the lamp.
I like to constantly work on both sides (that are opposite one another) together to make sure that things are consistent and even. Pay attention to the angles of your facets and make sure that you are keeping them square. The digital calipers are excellent for this. All of the angles should match each other; otherwise you will get a lumpy look to your finished sound post.
Bring these four facets to 6.75mm.
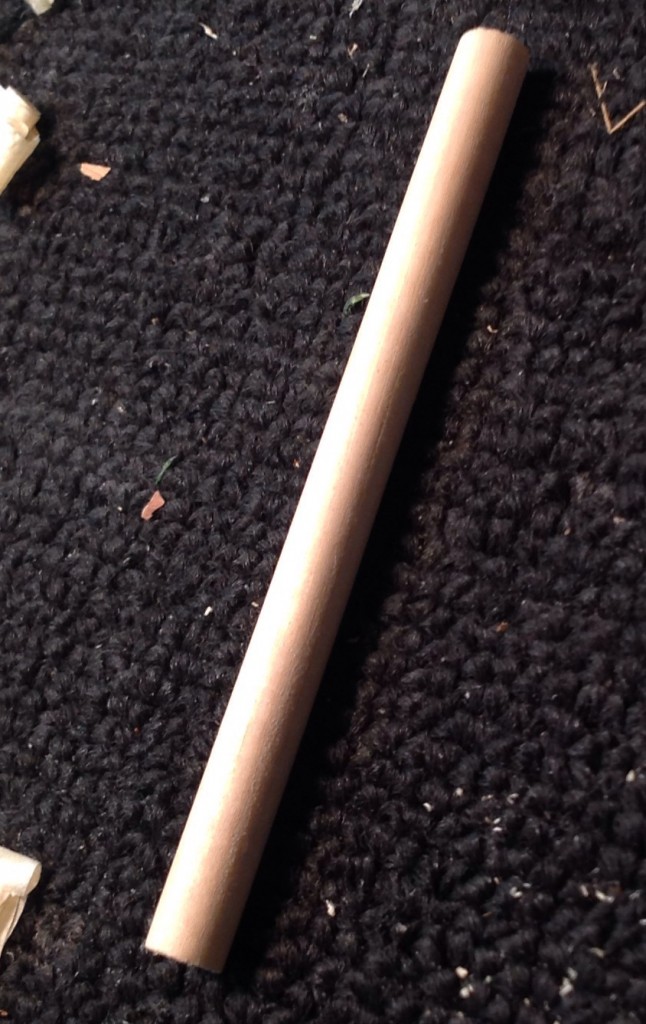
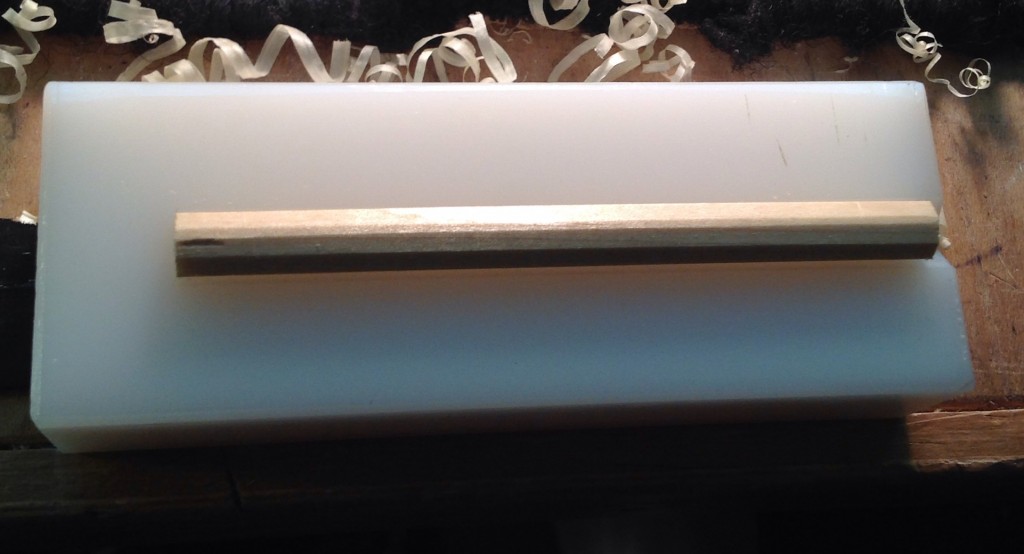
ROUNDING THE OCTAGON
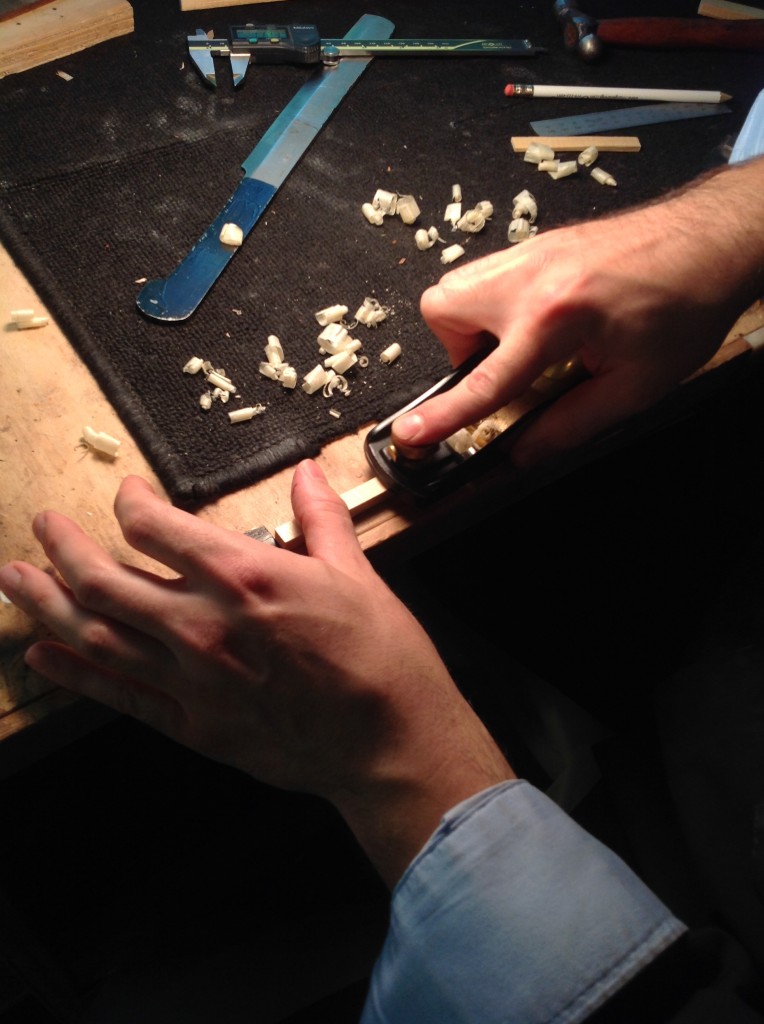
When you have your finished octagon, mark one flat section with a pencil to keep track of where you are. Set up your plane to take light cuts and knock off each corner of your octagon. Light cuts are the key here.

After you have knocked off all the corners use your lamp once again to find all of the facets and scrape them away. Be sure to be consistent and constantly moving.
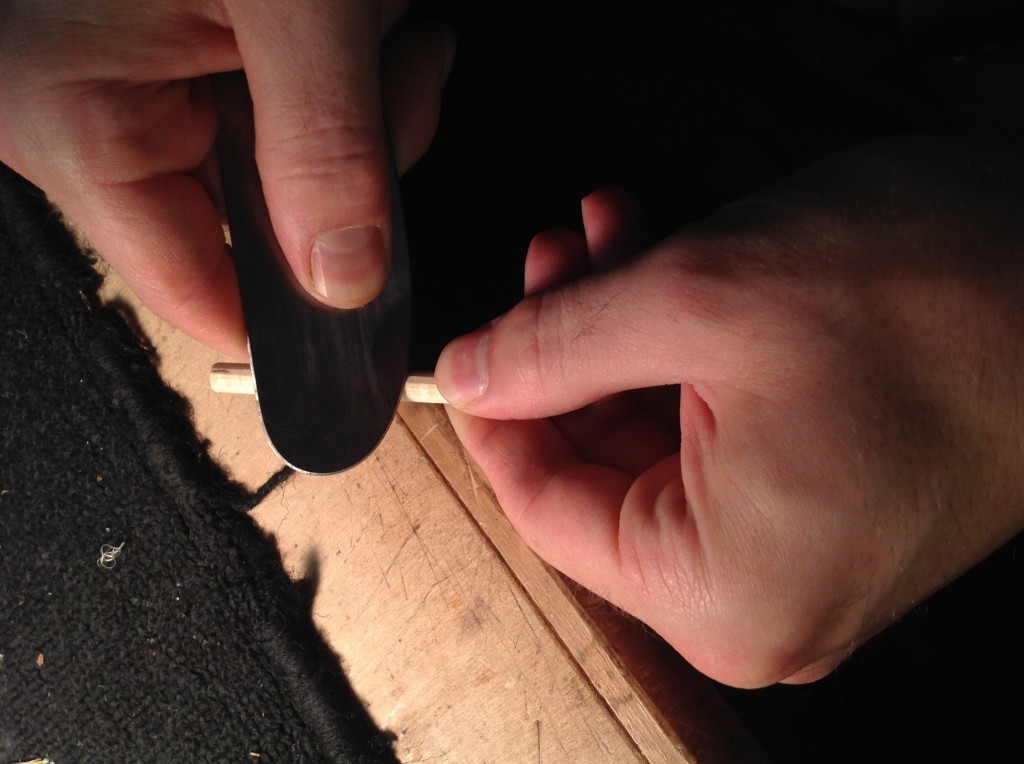
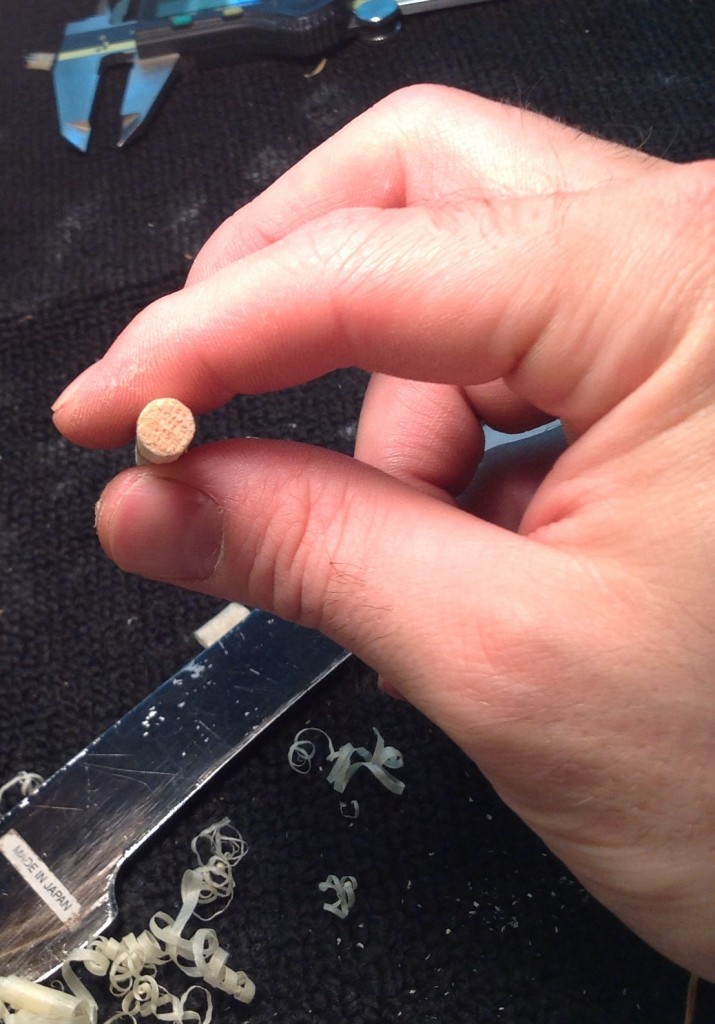
When you are done scraping, sand your sound post with a series of three grits – 220, 320, and 600. Constantly move around the sound post so you don’t take too much off of one area, occasionally stop to measure.
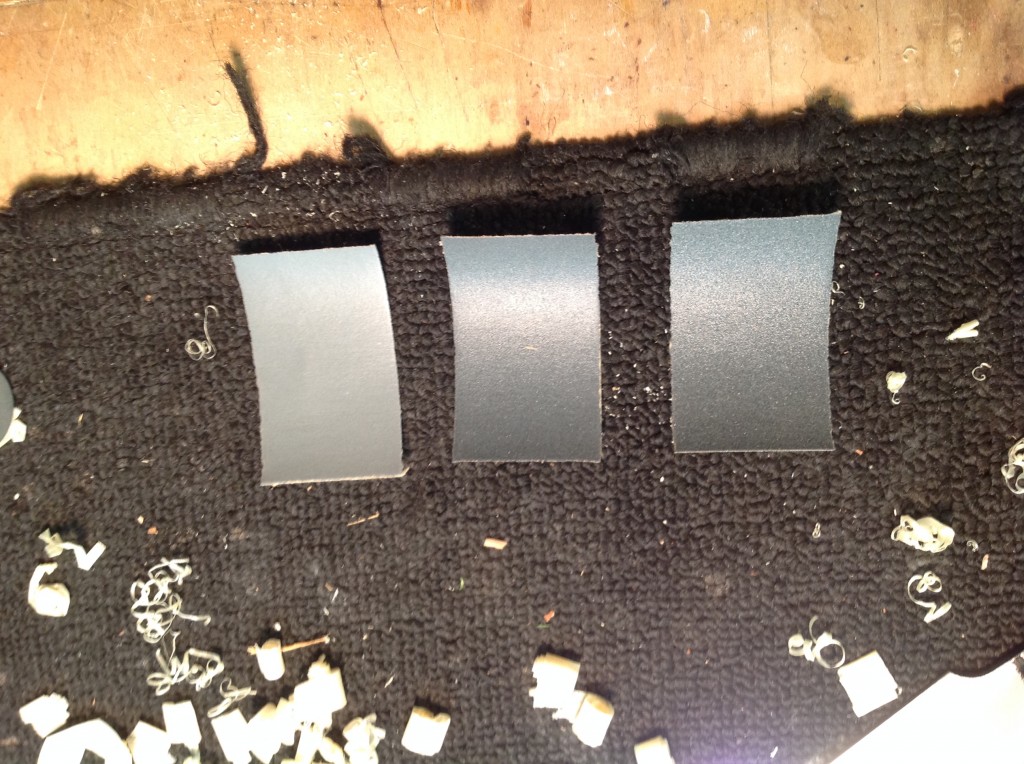

Sand to finished numbers.