Instrument, Techniques
Making a Violin Nut

Jul

The nut is a piece of the setup process that many people overlook. However, it is important to get it right. A well made nut allows the strings to flow unimpeded into the pegbox. It affects the feel and playability of the instrument and is one of those details that shows the competency of the luthier. In this article I will illustrate my method of making a violin nut from start to finish.
MATERIALS AND TOOLS
-Piece of ebony
-Block plane
–Straight-edge
–8 inch flat file: 00 cut
-Masking tape
-Half-inch chisel
–Saddle files: 0.4 mm, 0.6 mm, 0.8, and 1.0 mm
-Rat tail file
–Incannel gouge/scribing gouge
-Knife
-Digital calipers
-Small dividers
-Wet or dry sandpaper: 220 grit, 320 grit, 600 grit
-Mineral Spirits
-Steel wool: extra fine
-Pencil
Selecting the materials
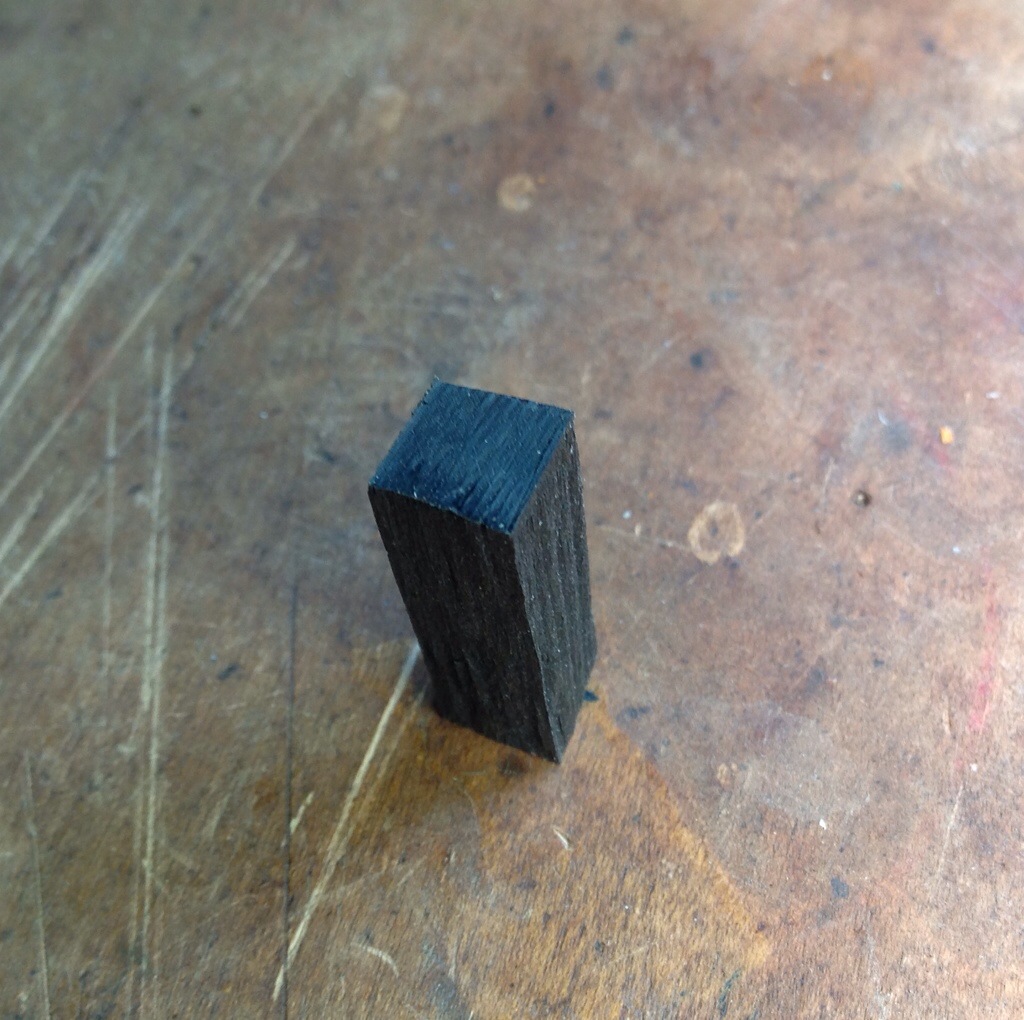
Start off with a piece of split ebony like this:
Preparing the blank for gluing
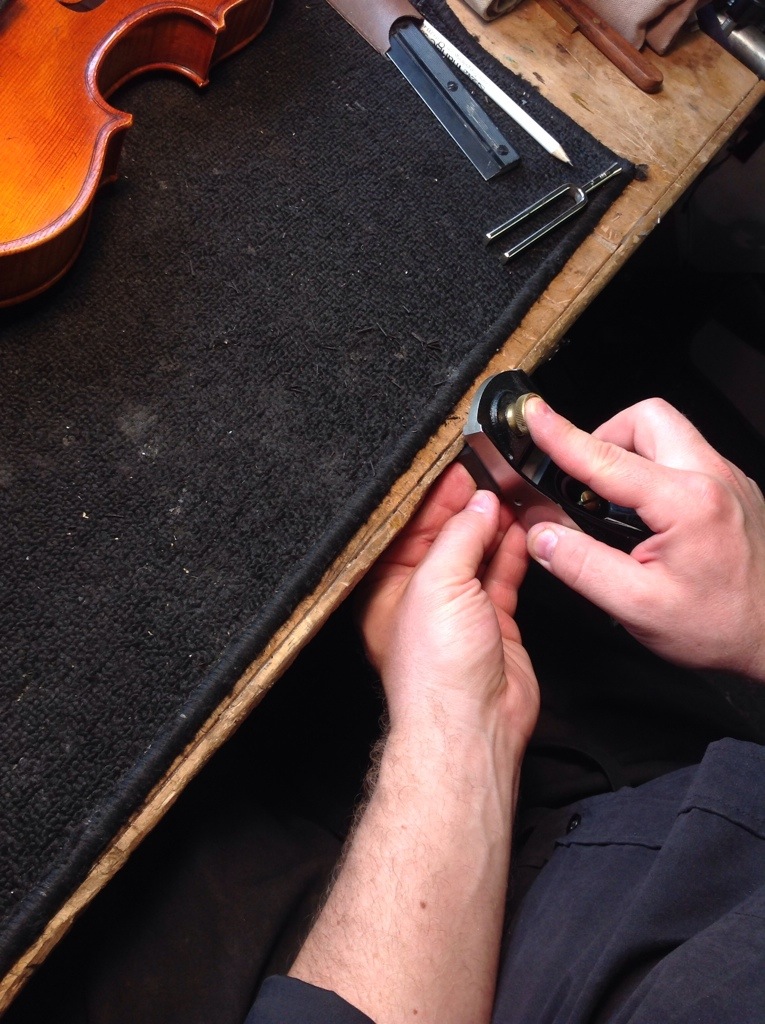
Using your block plane square one corner of the nut.
Check the fit by putting the squared corner against the fingerboard end and neck surface. Look to see if there are any adjustments necessary. You can also slide the nut back and forth to check for any inconsistencies.

At this point I usually make any corrections with a file although a block plane can be used. With the file, put more pressure on one side than the other to make any corrections.
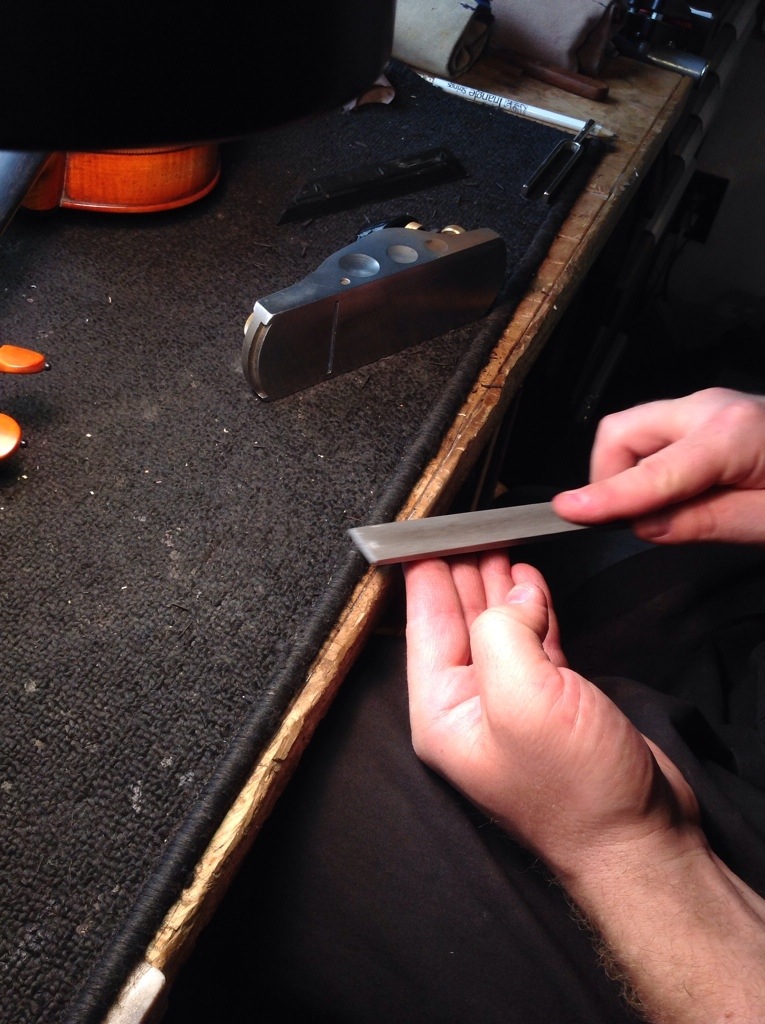
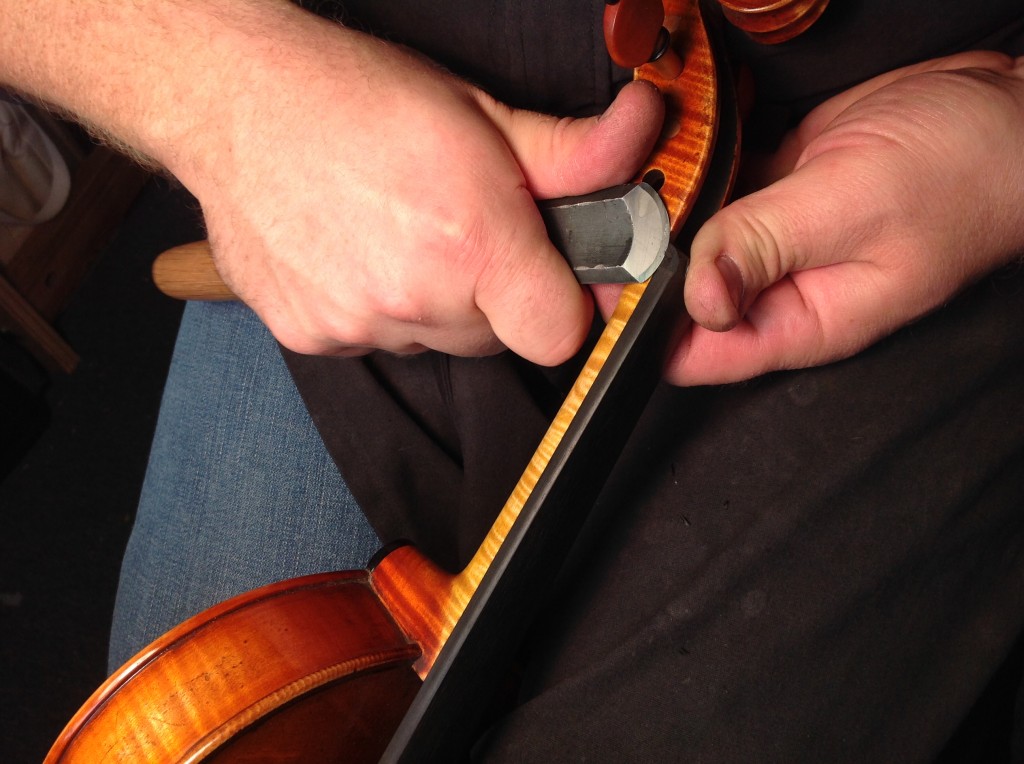
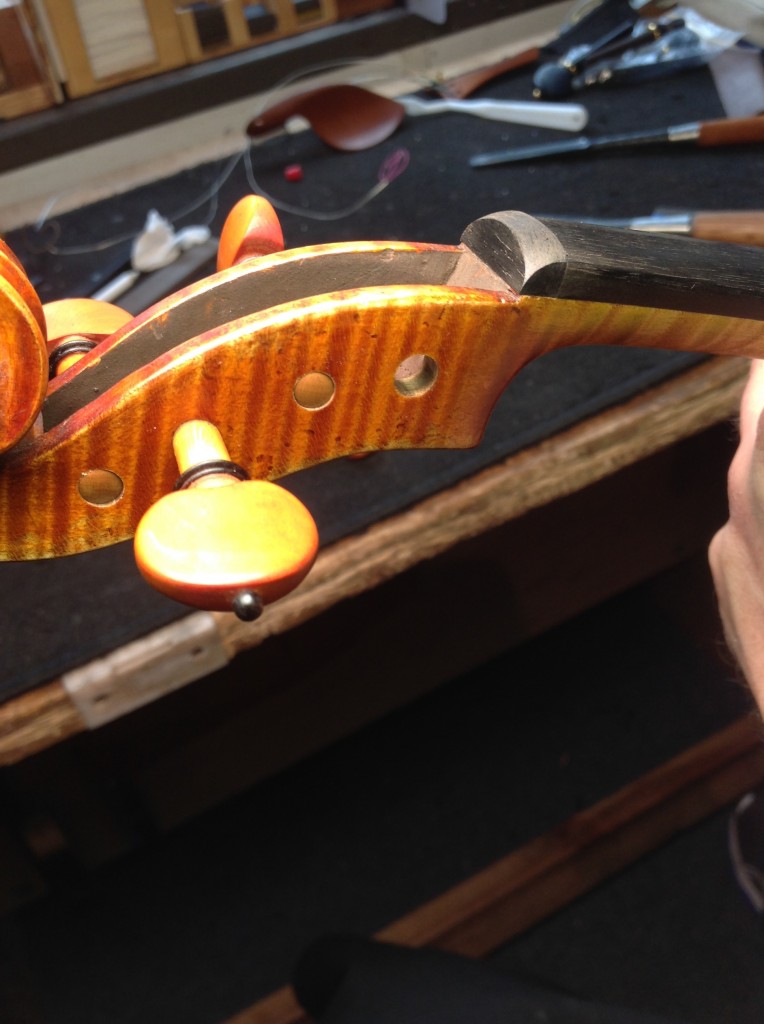
Once the fit to the fingerboard surface is sufficient, I establish the angle on the back of the nut. I check the angle of the pegbox slope against the angle of the nut using my knife straight edge. Ideally these angles will match up in the end and there will be a continuous line from the top of the nut down to the bottom of the pegbox. If the angle of the pegbox is too extreme, and matching the angle with the nut would require the top of the nut to be too thin, I will make a compromise. One has to develop a sense for themselves for what is too thin, but I think anything below 3.5 mm looks too thin.

I use my plane to adjust the angle until the nut’s thickness matches the pegbox like this:
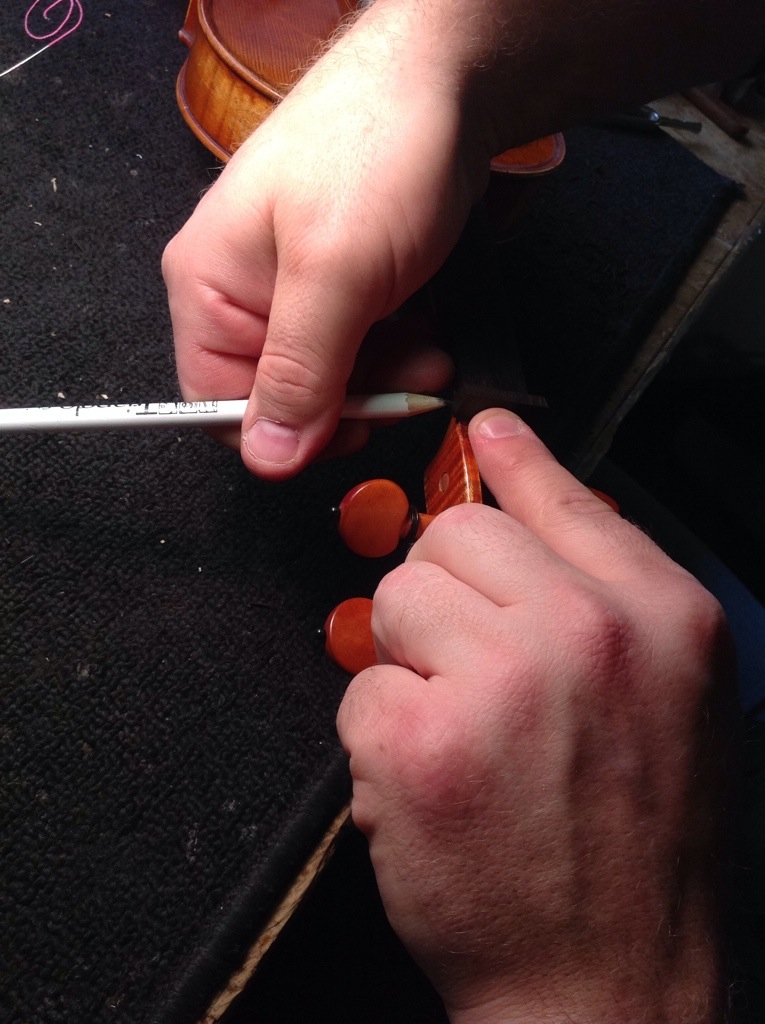
At this point I mark the lines under the nut where I will trim off the excess.

Once the excess is trimmed, I glue the nut in place using hide glue. I only glue the surface of the nut that touches the fingerboard.

Shaping
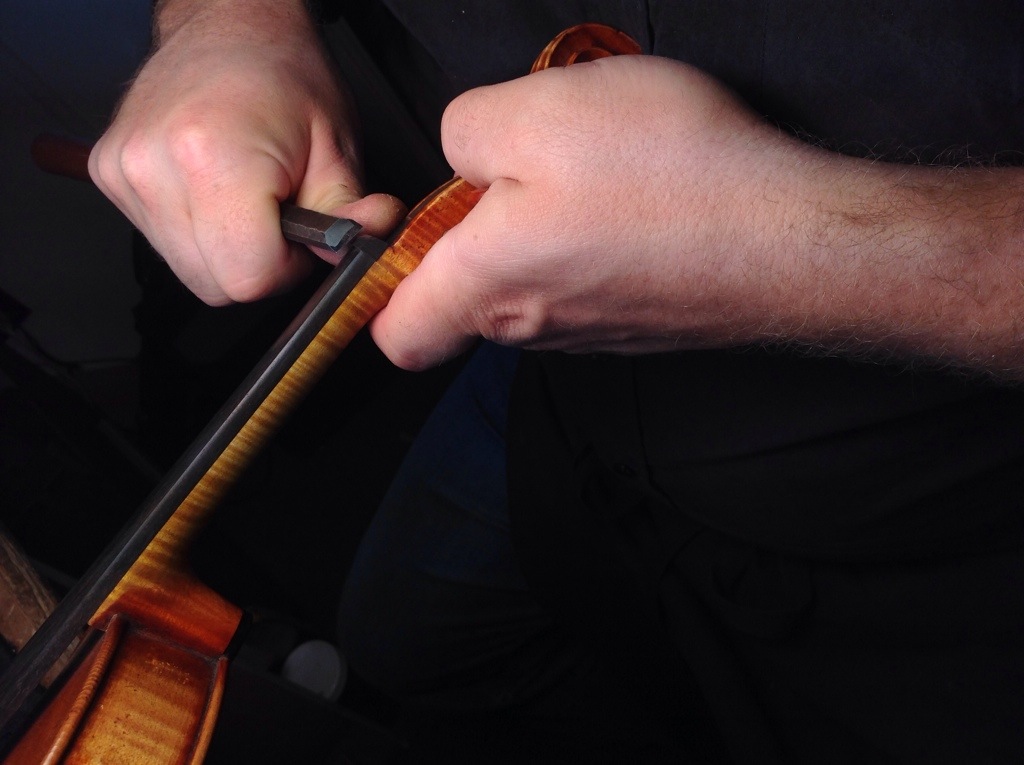
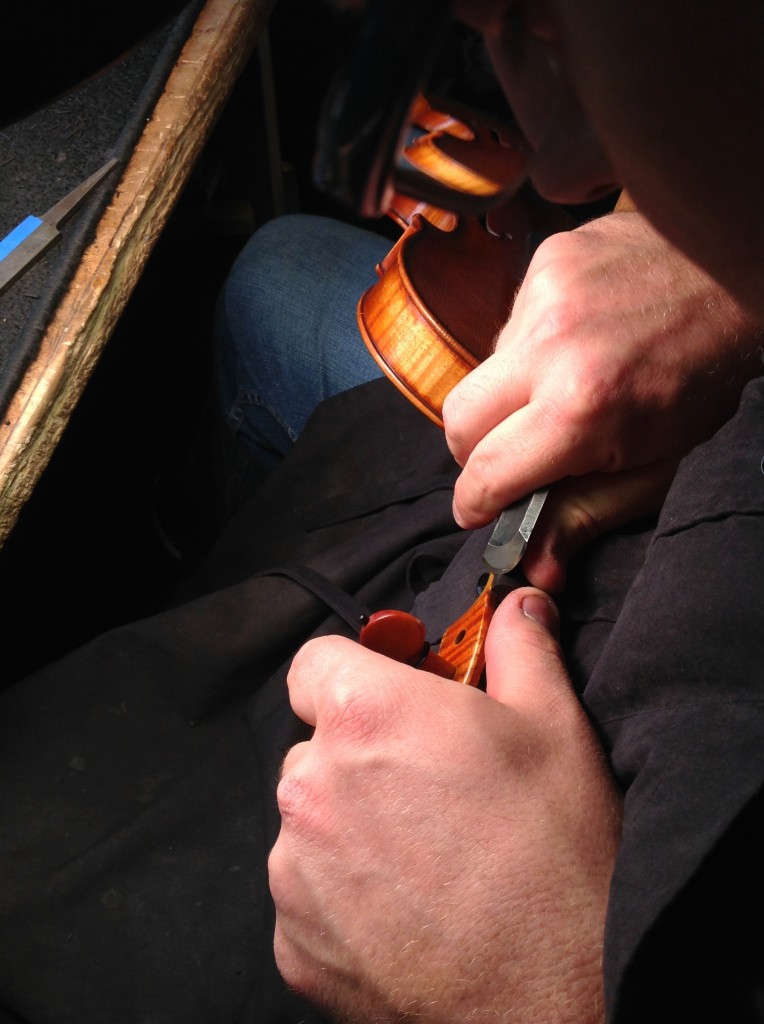
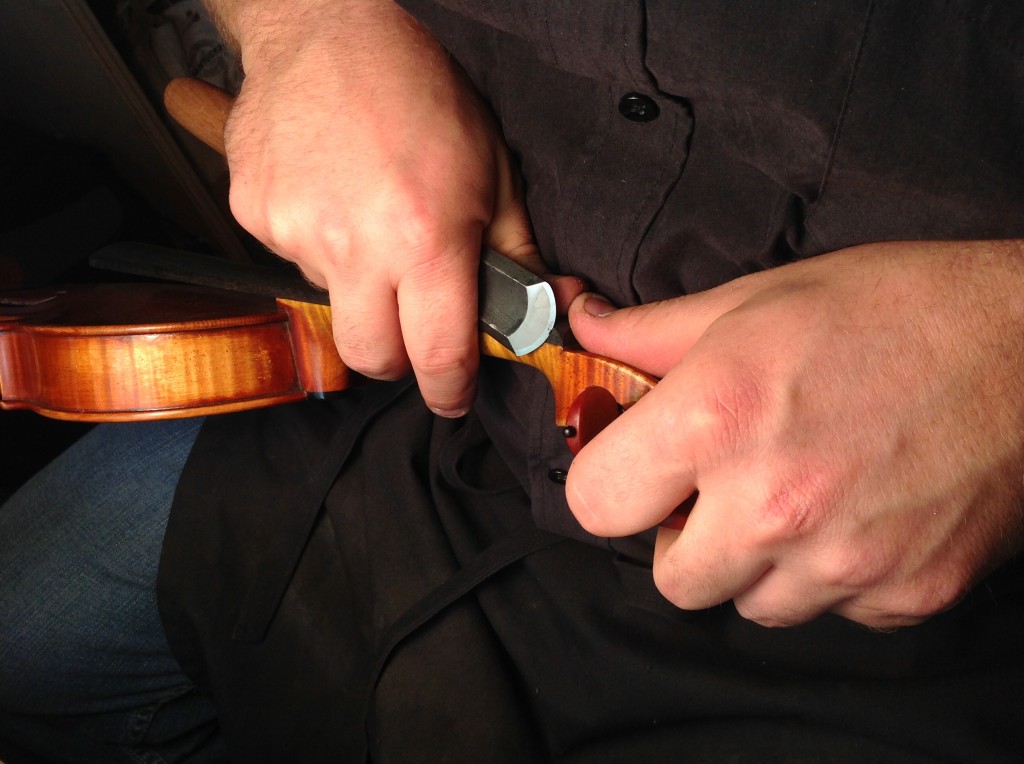
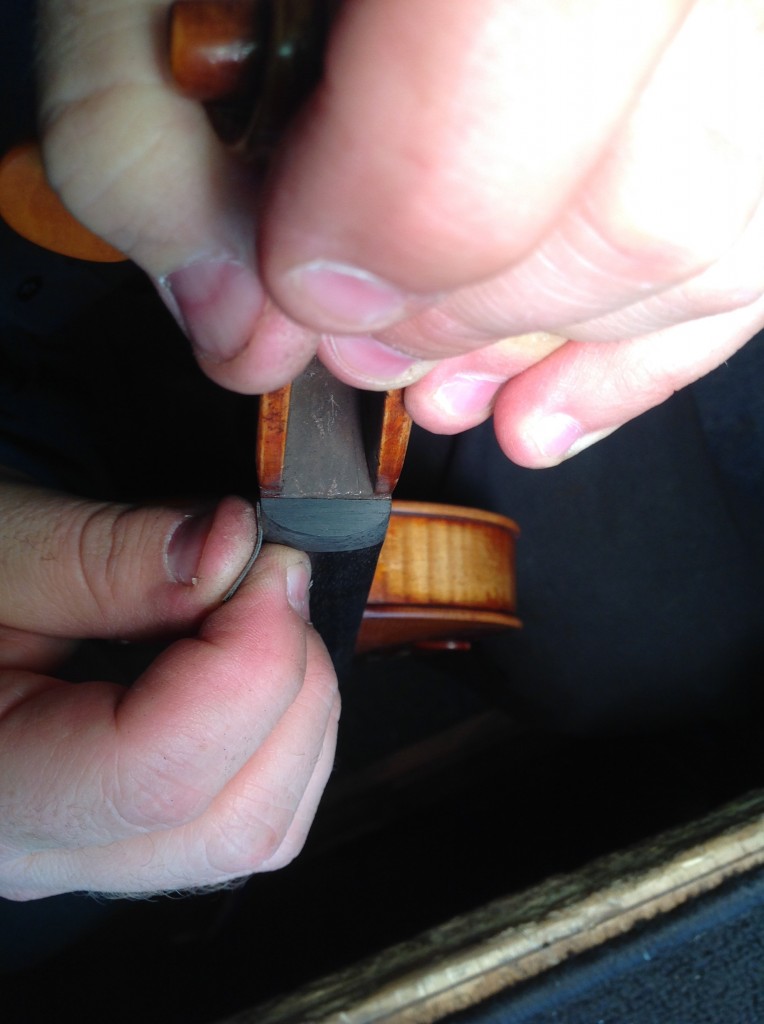
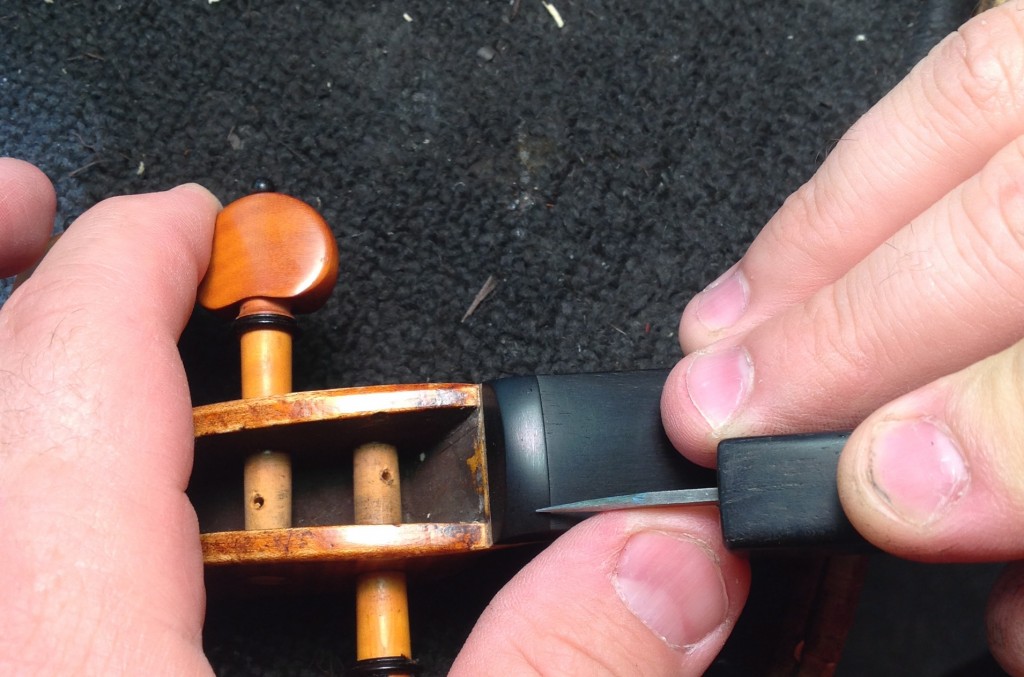
I start by using my half-inch chisel to get the general shape. Notice in the pictures where my hands are placed, especially my thumbs. I’m careful to always have the path of the blade restricted. I have complete control. Otherwise I may nick the instrument, or worse, myself. While I’m shaping the nut, I keep in mind the eventual pathway of the strings into the pegbox. This influences the shape.
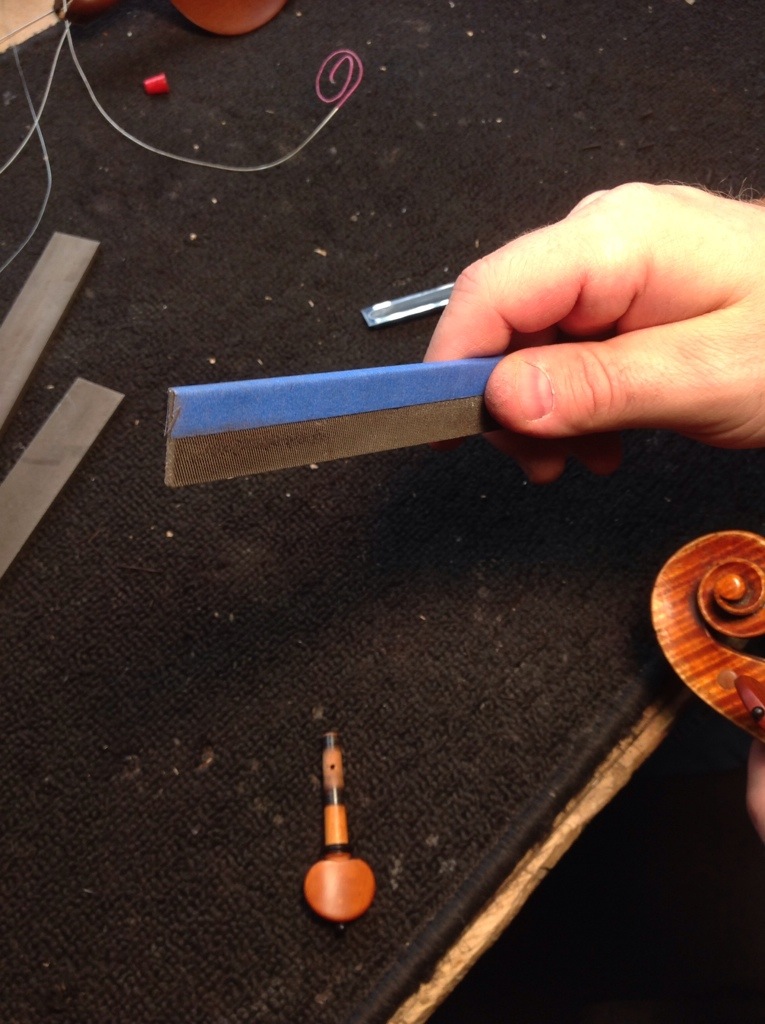
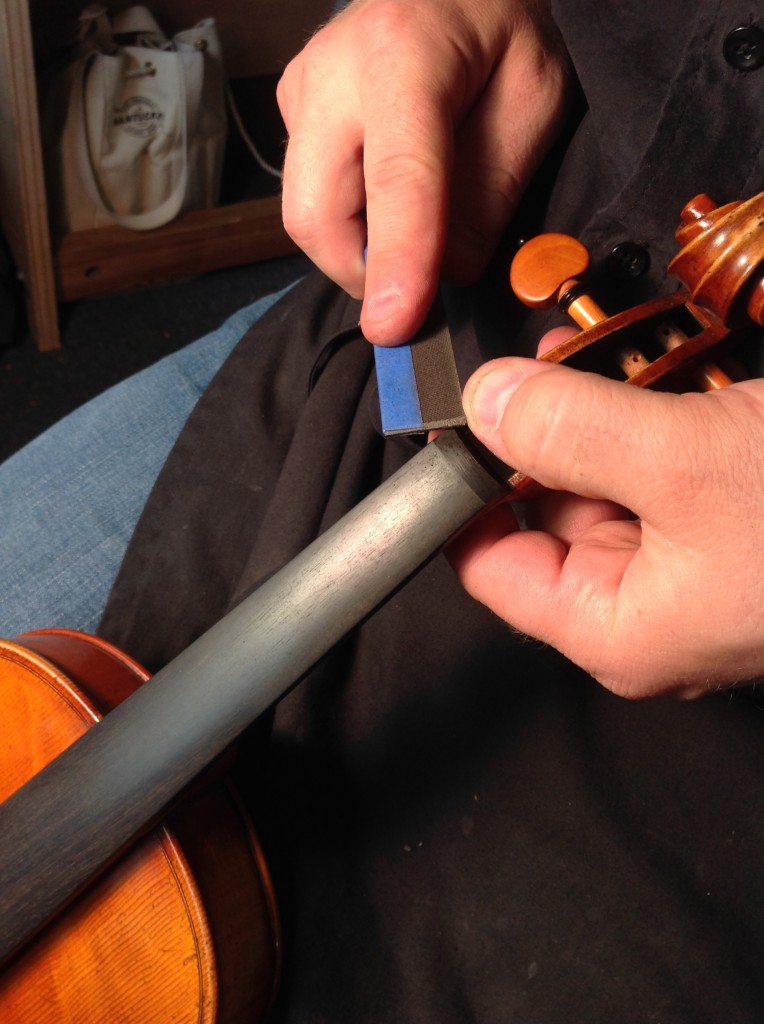
After the rough shaping, I put masking tape on half of an 8 inch file. I put the tape on both sides of the file and am careful to make the sides evenly taped. This way, while using the file, I know exactly where the taped surface ends by viewing the opposite side.
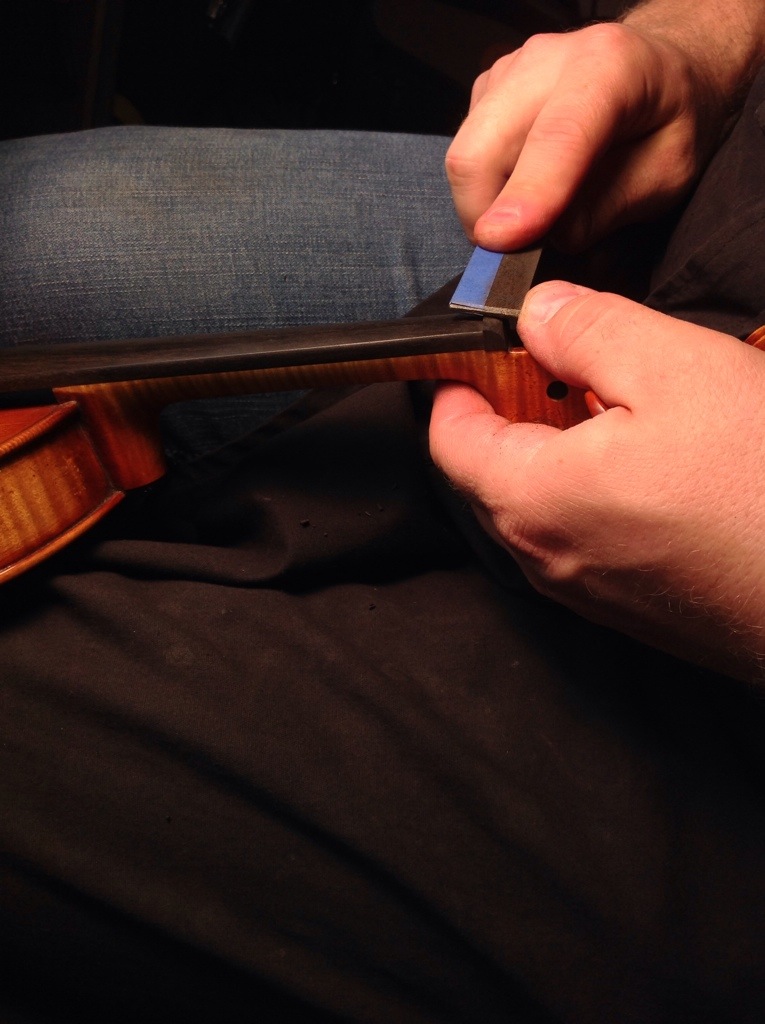
I start shaping with the file. I used my left thumb as a guide for the path of the file.

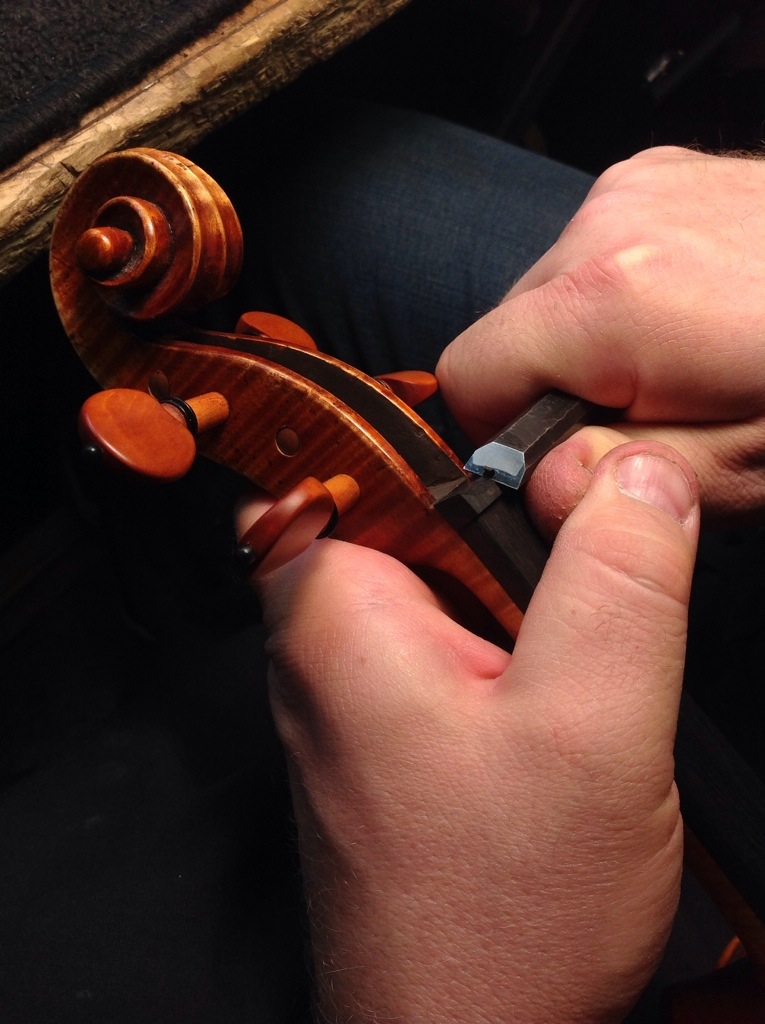
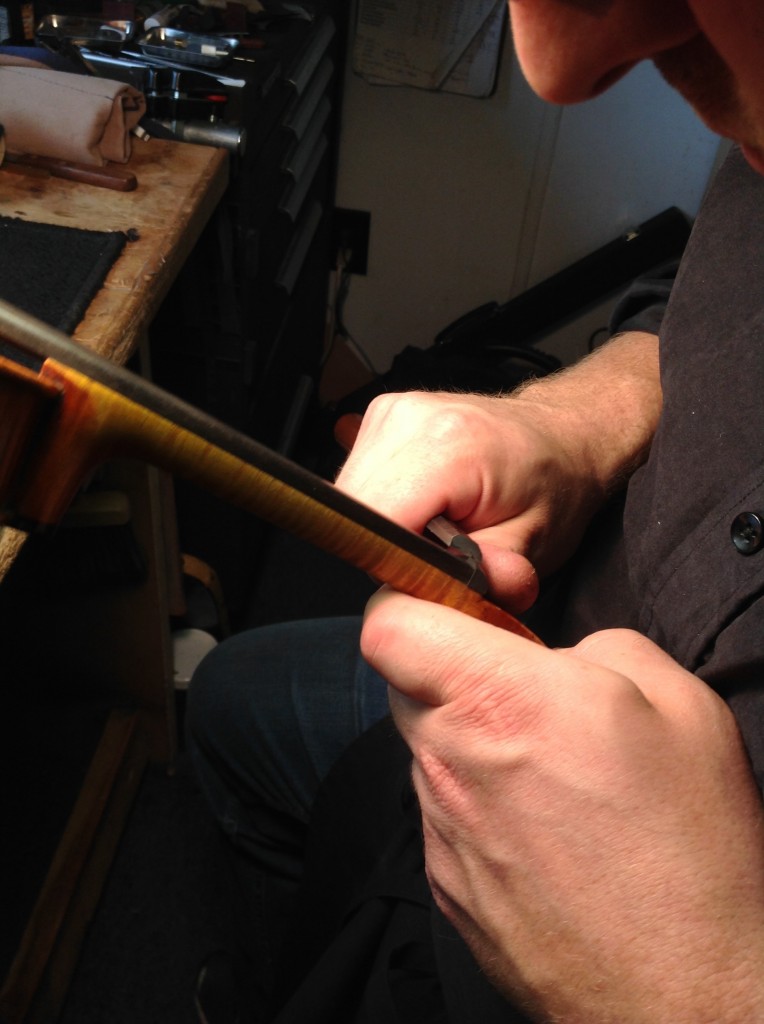
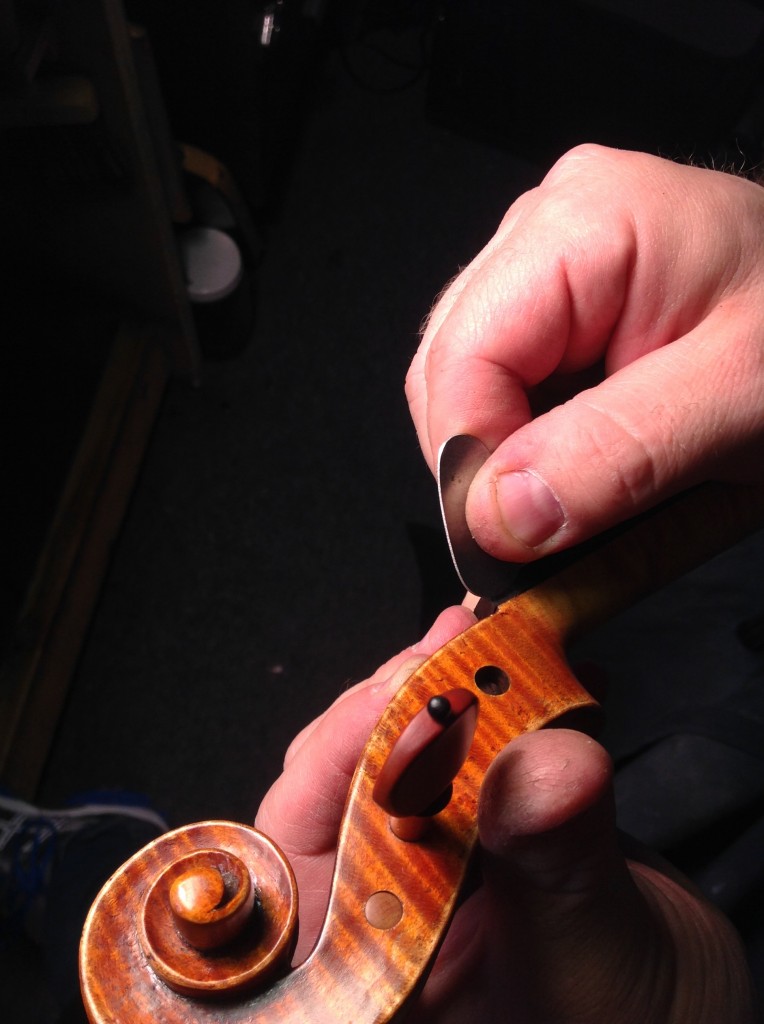
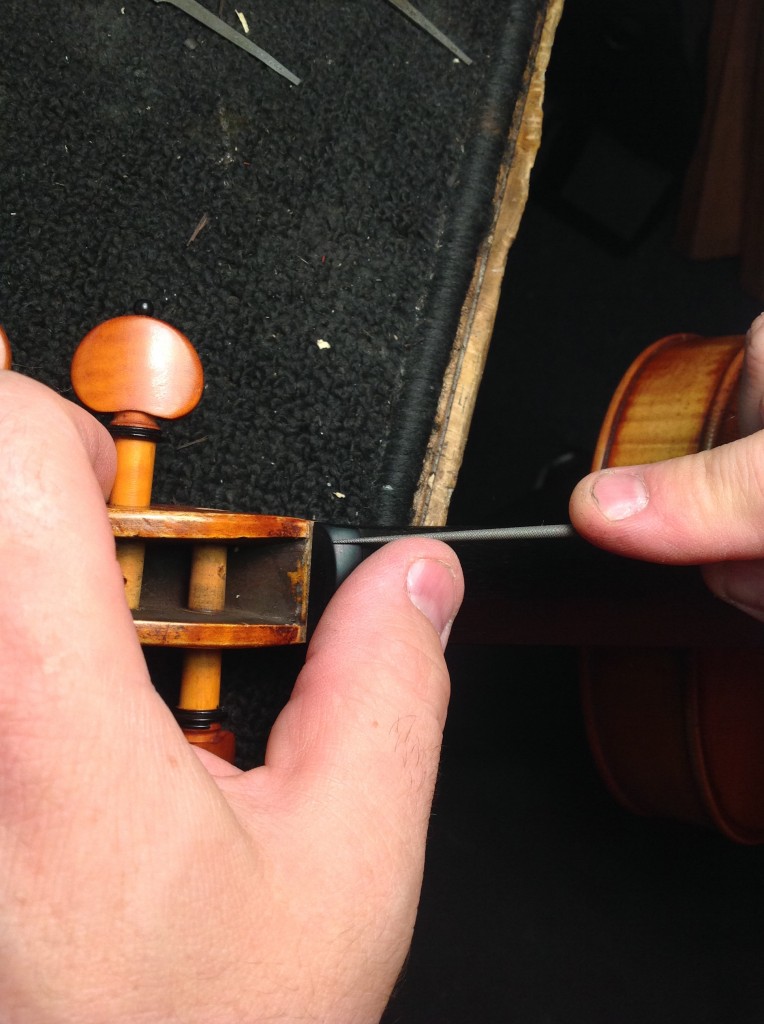
I get the shape close but I don’t finish it entirely. I move on to the sides. The top shape is easier to finalize when the sides are trimmed. For this I use an incannel gouge. The shape of the sides should be a continuation of the shape of the fingerboard. Notice again the placement of my hands. The pathway of the blade is very restricted. I don’t leave anything to chance.
Once the sides are trimmed, I go back with my file and finalize the shape of the top surface. On the curved surfaces at the ends, I will place my left thumb as a pivot point and roll the file around it. This allows me to get a nice controlled flow as the nut slopes down on both ends of the top surface. At this time I am also establishing a nice line as the edge of the fingerboard flows into the nut. There should be no kinks in the line and it should flow continuously from larger radiuses to smaller radiuses.
At this time I make sure the height of the nut is where I want it. I do this step by eye with any final tweaking of the string heights done by feeling where the strings are after it is strung up. To give a measurement guideline, I measured a few finished nuts. The measurement from the bottom the fingerboard to the bottom of the g string is 0.4 mm and to the bottom of the e string is 0.3 mm.


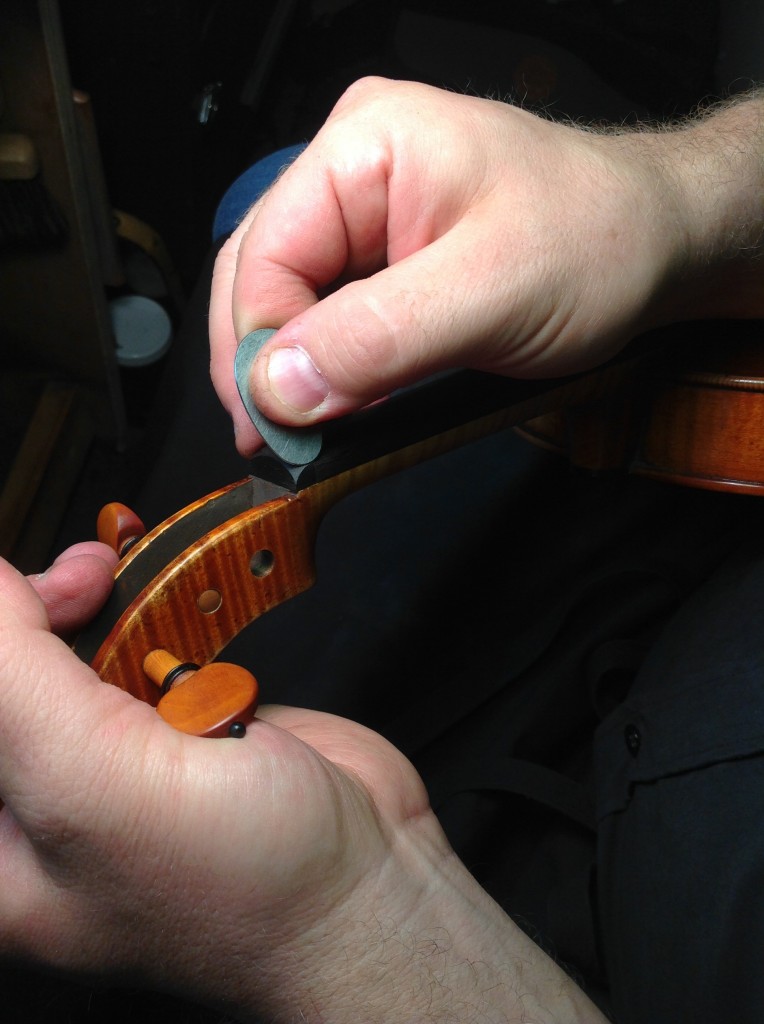
I then clean everything up with a scraper.
Sanding
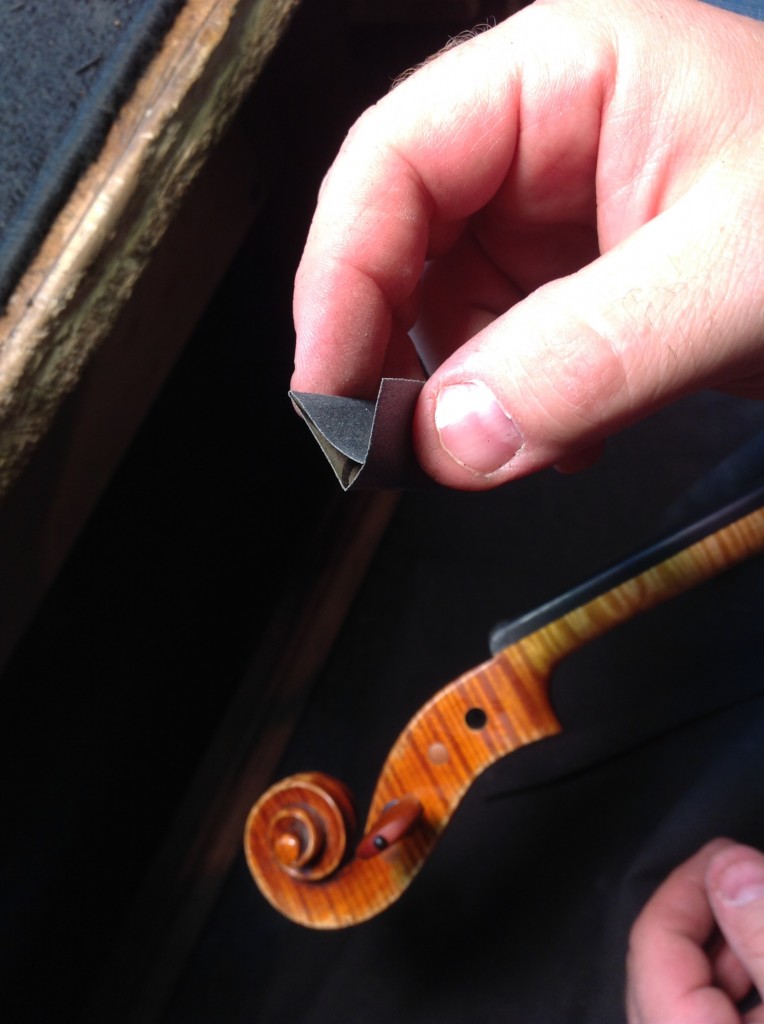
It’s time to sand! I set out three pieces of sandpaper (I have stacks of them that I precut for applications such as these). 220 grit, 320 grit, and 600 grit. Starting with the 220 grit, I fold the sandpaper into three. I hold it between my thumb and first finger and use my finger as a stop to keep me from sanding anything but the ebony.

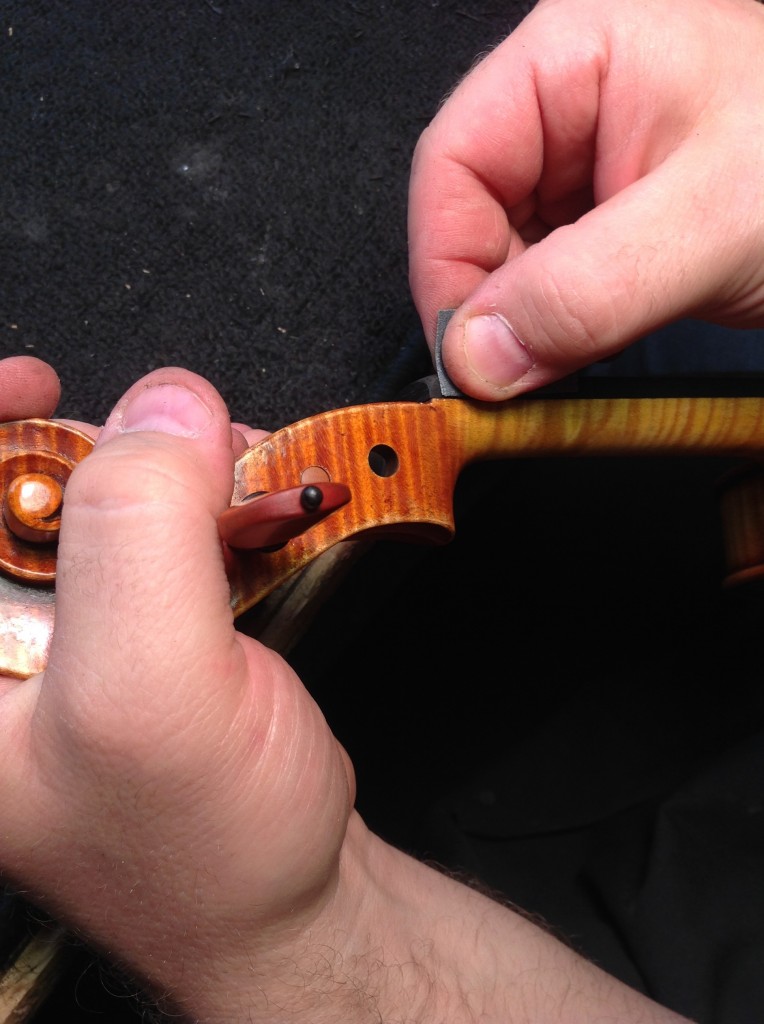
I then bend the sandpaper and sand the top surface, being careful not to touch the fingerboard.

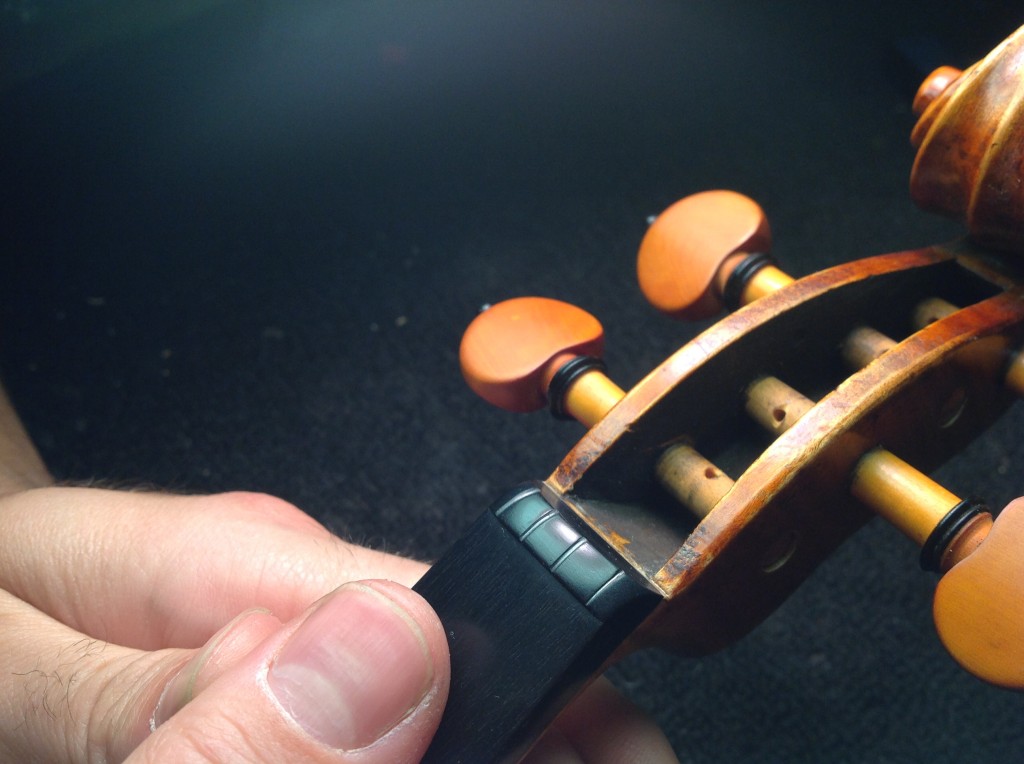
After sanding with 220 grit, it should look like this:
At this time, I move on to finer grits. I repeat the processes in the previous steps with 320 grit paper. Then I do it with 600 grit, lubricated with a little mineral spirits. I lightly break any edges with extra fine steel wool. The final result looks like this:

Establishing the String Grooves
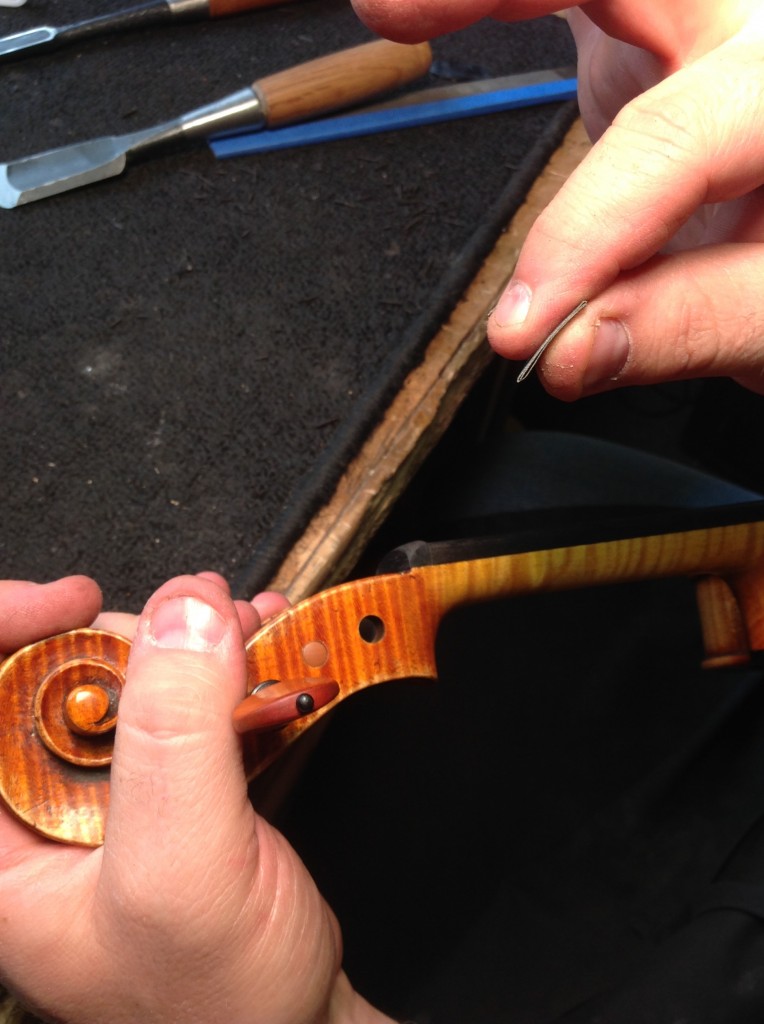
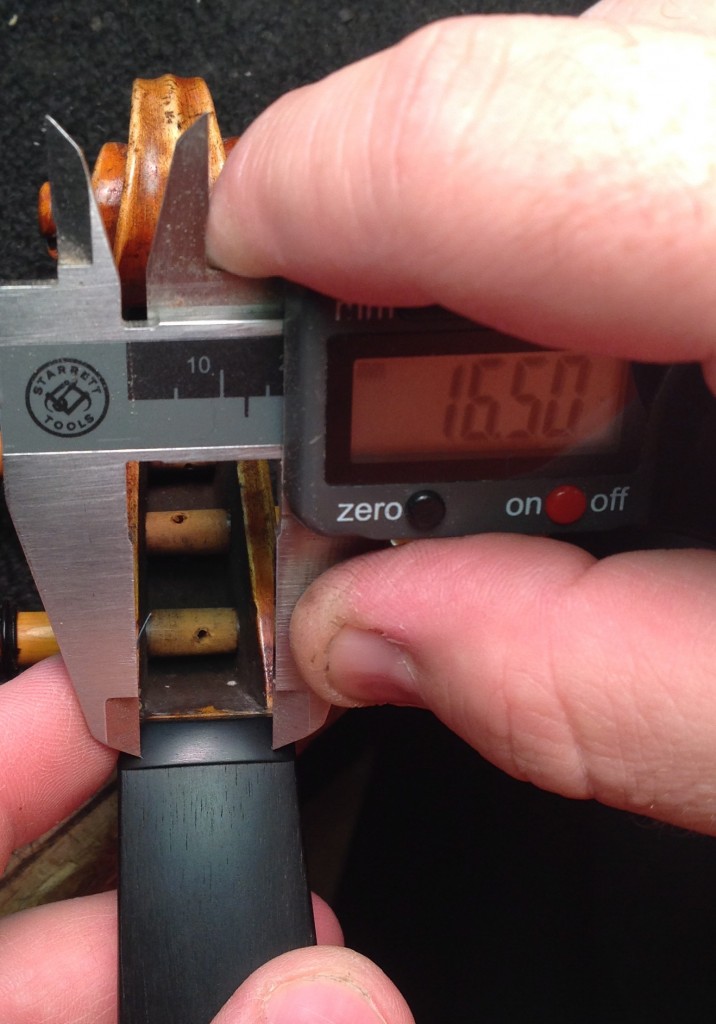
Start out by marking the position of the outside strings. Lock your calipers at 16.5 mm and mark the nut with the sharp points of the calipers. I usually place the marks equal distance from the edges or I leave a little bit more room on the e side. It depends on the instrument and the player. If you place the marks equally, you will still end up with slightly more room on the e side because of string thicknesses. This is a good thing because players will naturally pull the strings in the direction of the e string side with their left hands, so it is necessary to leave a little room for this.
At the marks made by the calipers, I use my knife to score the pathway of the two outer strings. I pay attention to where the string will flow over nut and into the pegbox. This is the pathway my knife takes.
I then enlarge the knife mark into an actual groove. I use my 0.4 mm saddle file for the e string and my 1.0 mm saddle file for the g string. I then use a rat tail file to open up the groove slightly in the back. This ensures there won’t be anything binding the string as it flows into the pegbox.

Once the outside grooves are done, it’s time to put the e and g strings on.
Using small dividers, I establish the starting place for the middle 2 strings. I walk the dividers between the outside strings and adjust the dividers until it is possible to walk them evenly between the outside strings. This will become clearer, while watching the following video. Once the dividers are set, I make 2 marks for the middle strings. I use a knife to score the pathway of the strings and enlarge the score into a groove with the 0.4 mm file. 0.4 mm is too small for the middle strings, but they will be enlarged in the next step when I adjust the distances between the strings.
I now put the middle strings on. Using my digital calipers, I measure the distance between the strings. My goal is to have the distances between the strings be equal. Once I measure the distances, I pull the middle strings to the side exposing the the grooves in the middle. With my knife, I carve away one side or the other of the grooves depending on which way the string needs to move to achieve my goal of having equal distances between the strings. I clean up the groove with the appropriate saddle files. Usually this is the 0.8 mm saddle file, but it depends on the string. I then put the strings back on and check the distances again. I will continue to adjust until the distances are within 0.1 mm. I actually have some customers that require tighter tolerances than 0.1 mm and I work to accommodate them, but the vast majority of players will not feel differences of less than a tenth.
I finish the nut by taking my extra fine steel wool and lightly rubbing it over the grooves. This softens any possible sharp points that could unravel a string or impede it from moving freely over the groove. I will also take my pencil and rub a little graphite into the grooves.
Finished product
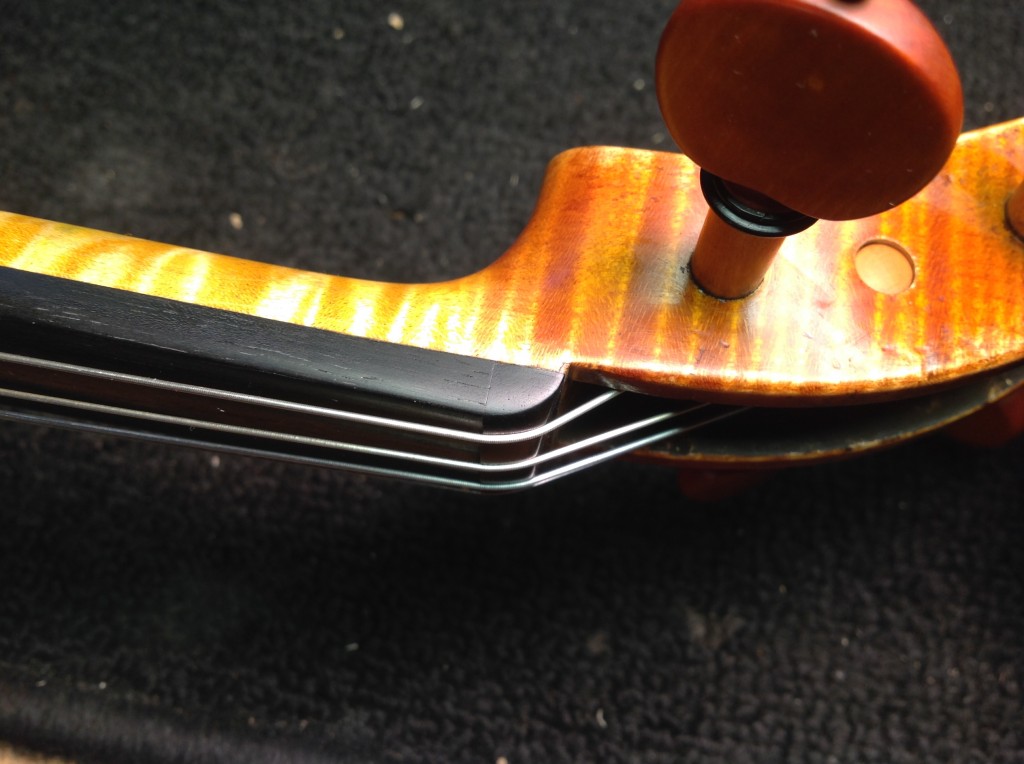
Here are a few pictures of finished nuts. I will explain a few things to look for in a finished nut.
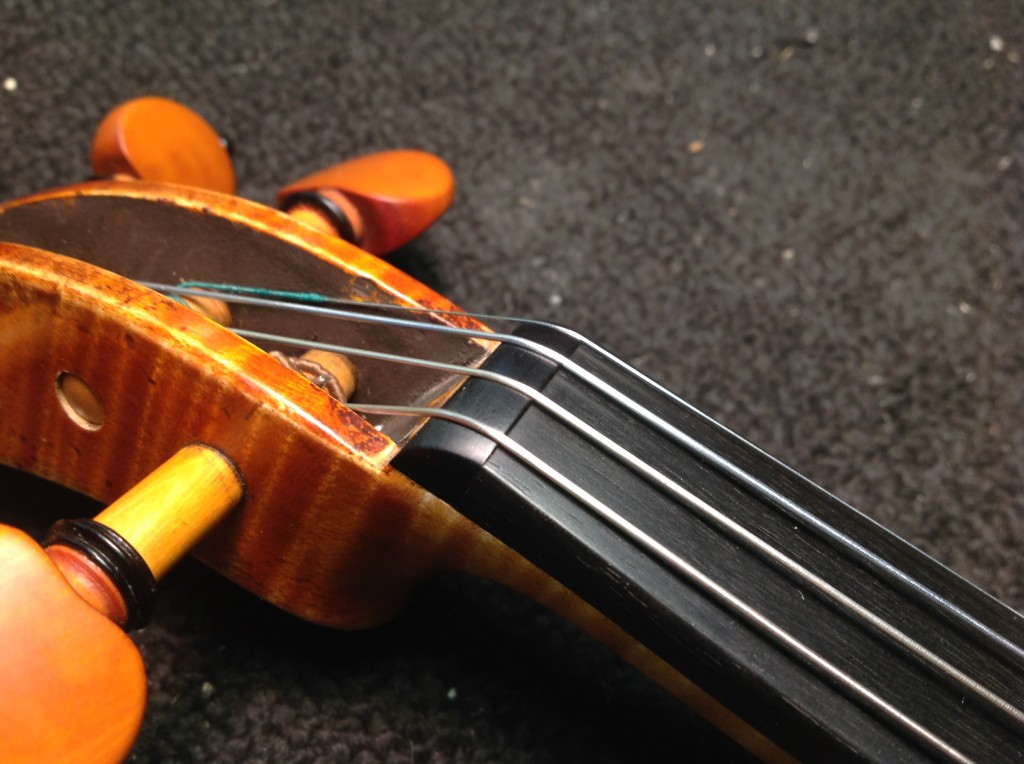
This picture shows what the grooves will look like when finished. In this picture I buffed the nut with a piece of leather to give it extra shine. I don’t do this step anymore, as I tend to like the look of the nut finished with steel wool, but I included it as an option.
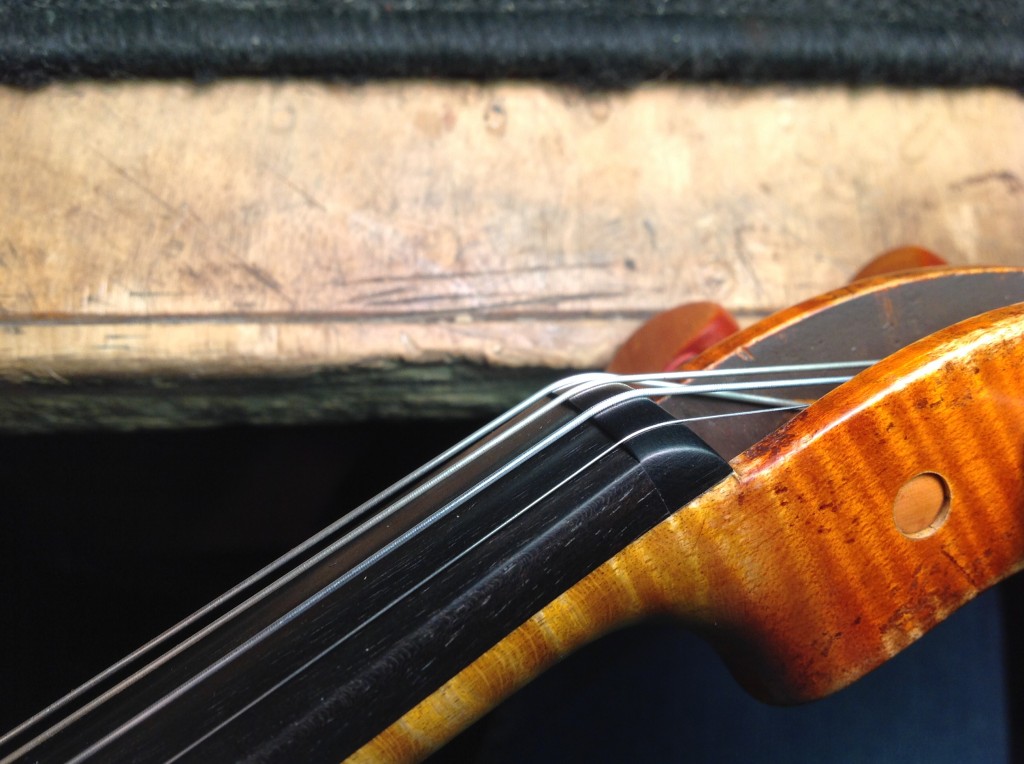
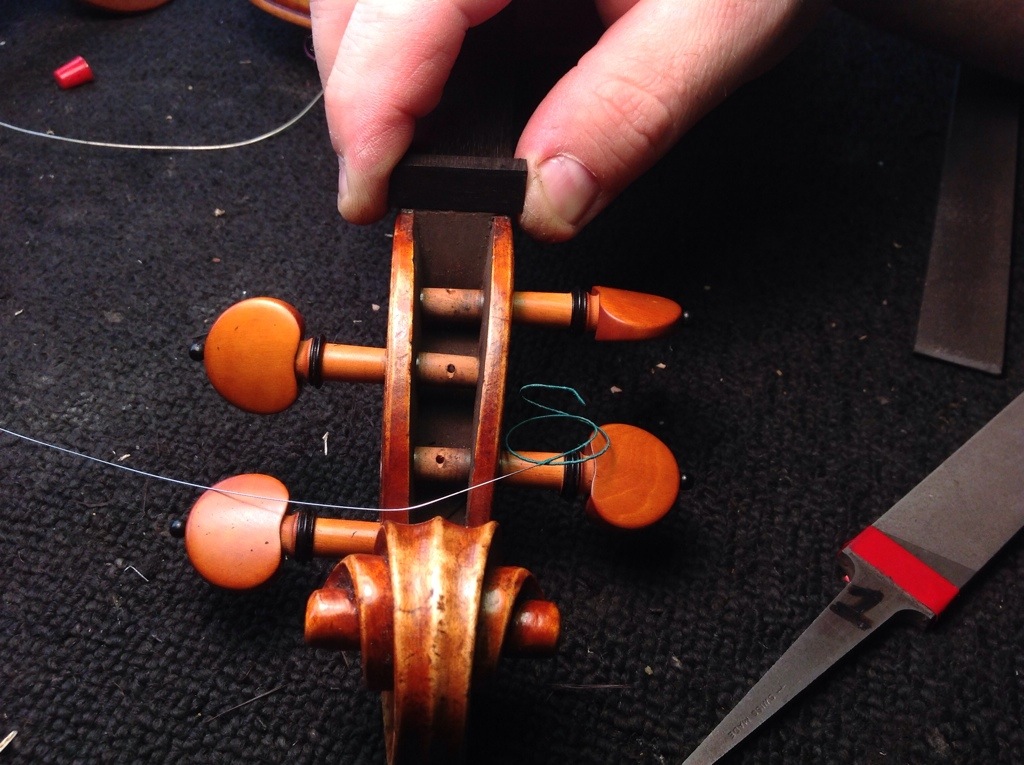
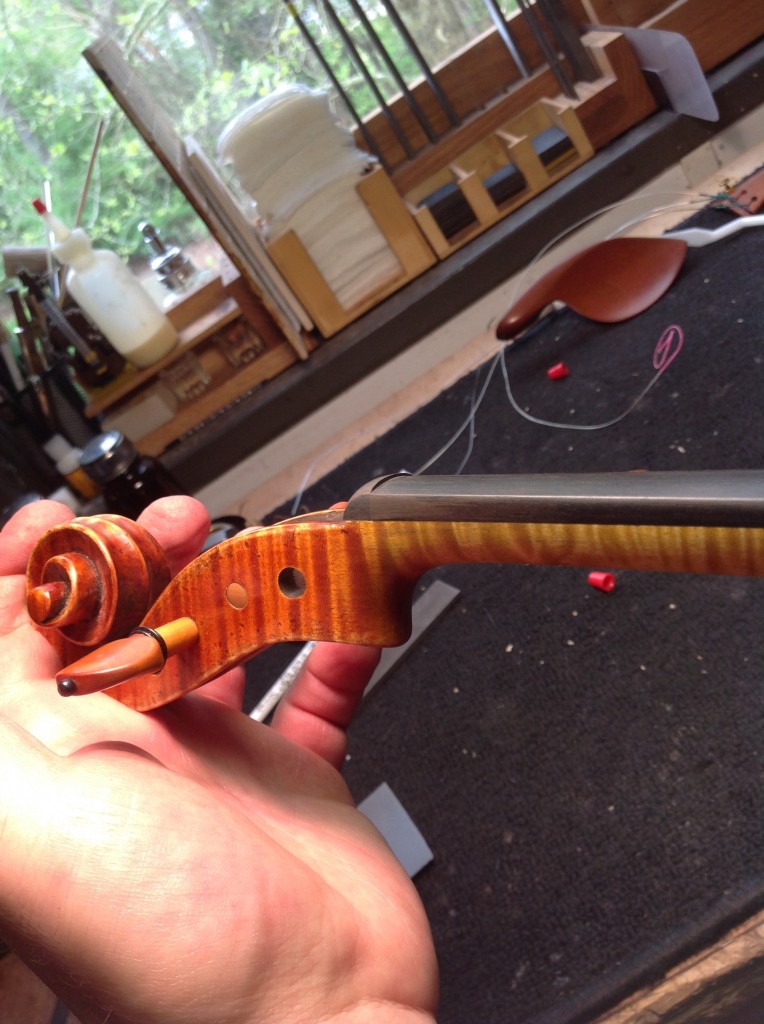
Here is a different example of a nut I carved. This particular picture shows the strings flowing into the pegbox. The end goal is to have the strings flow over the nut with no kinks.
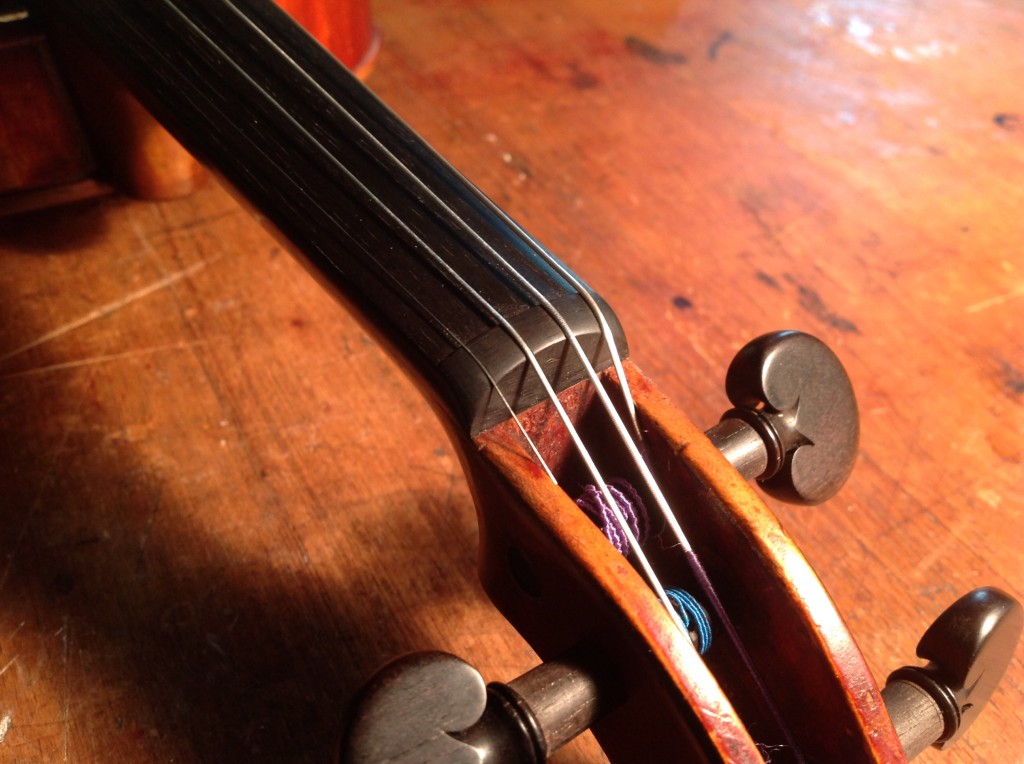
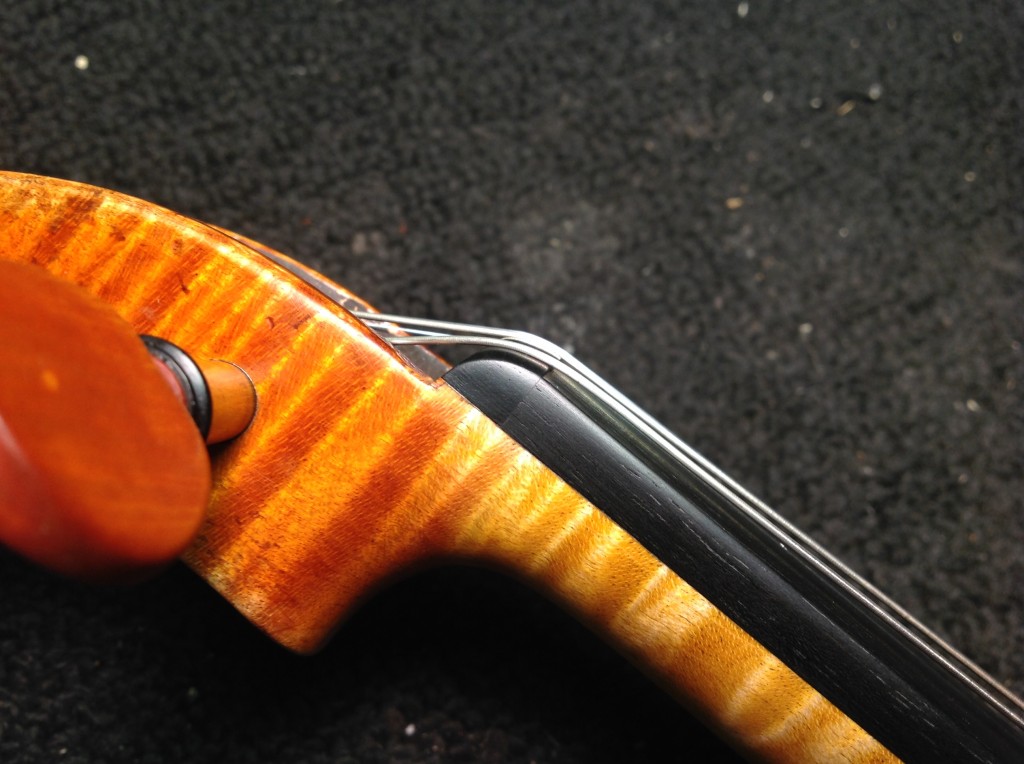
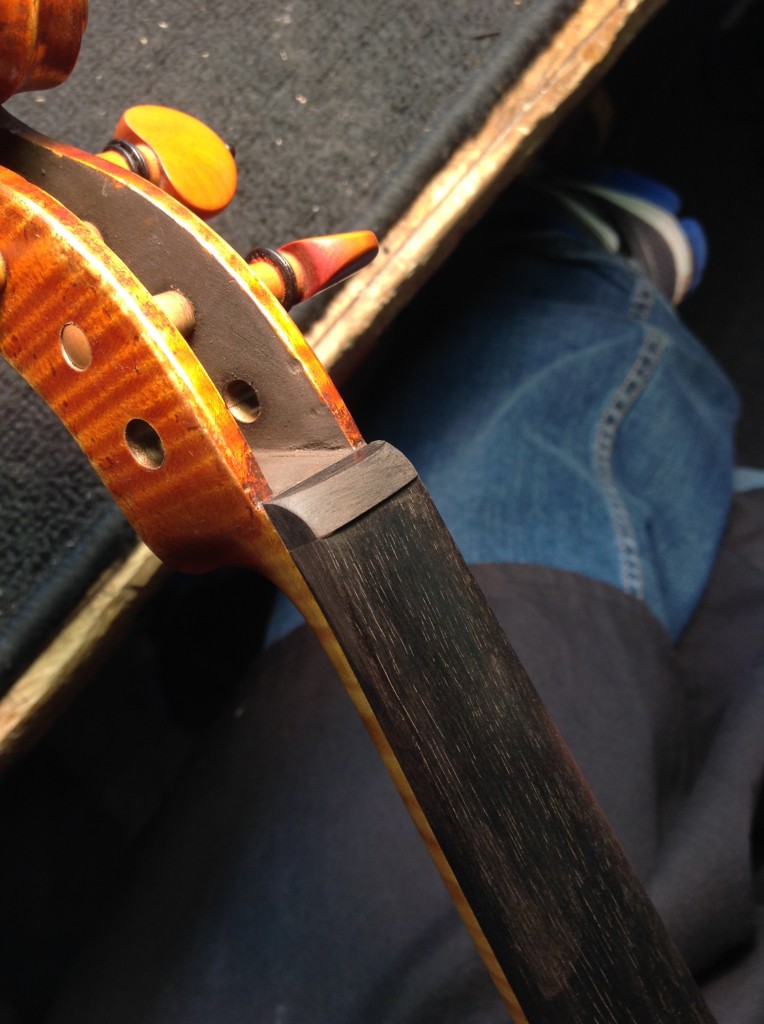
In these pictures the side profile is clearly visible. The aim is to have a continuous line from the edge of the fingerboard into the nut and turning down into the pegbox smoothly from there. The tendency is to have an abrupt slope at the point where the fingerboard meets the nut. This is also an important spot for the player not to feel any sharp points. The transition should not only look smooth, but feel smooth.